A Complete Guide to Audio Mastering for Better Sound
Last Edited: May 21, 2026

Most musicians assume mastering is just about cranking up the volume. Push the limiter hard enough, and you're done. That belief has cost countless tracks their emotional punch, their clarity, and their chances of sounding great on Spotify, Apple Music, or on the radio. Real mastering is a precise, intentional craft that balances loudness, dynamics, tonal consistency, and platform requirements simultaneously. In this guide, you'll learn exactly what mastering is, how it differs from mixing, which metrics actually matter, what mistakes to avoid, and how to start mastering your own tracks with confidence.
Key Takeaways
| Point | Details |
|---|---|
| Mastering defined | Audio mastering polishes and prepares tracks for release, ensuring they sound great everywhere. |
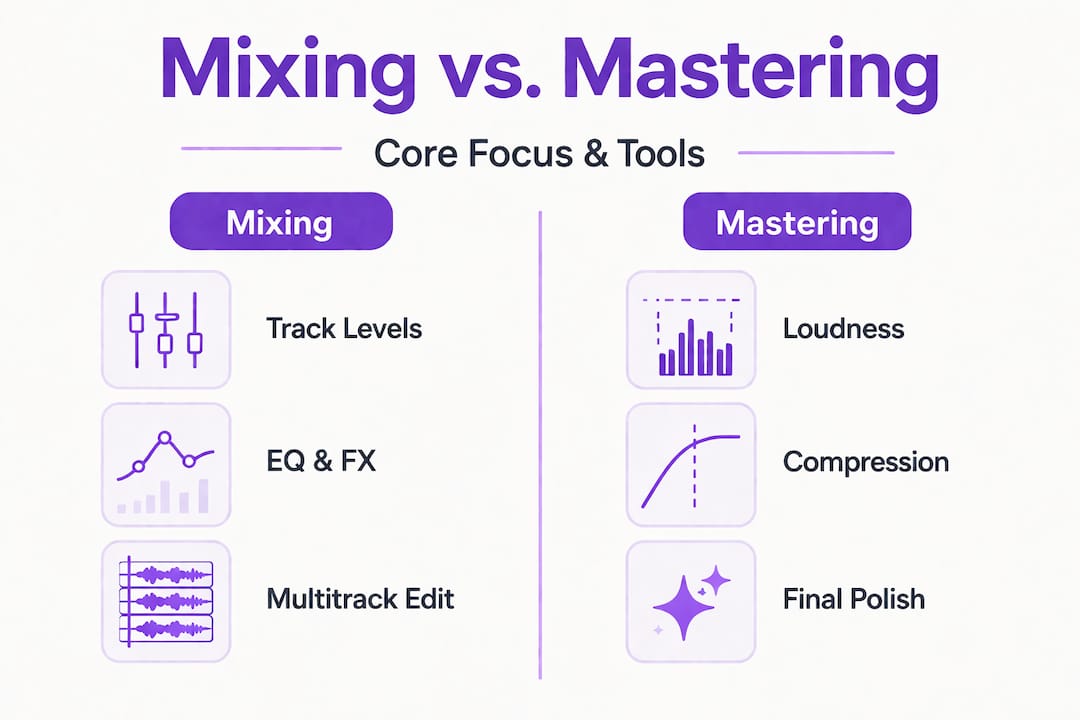
| Mixing vs. mastering | Mixing balances individual elements, mastering optimizes the overall finished mix. |
| Follow loudness standards | Aim for -14 LUFS (streaming) or -23 LUFS (broadcast) and keep true peaks below -1 dBTP. |
| Avoid loudness war mistakes. | Preserve dynamics and avoid over-compressing to keep your music emotionally engaging. |
| Apply best practices | Step-by-step mastering with careful listening helps you reach professional results, even at home. |
Understanding Audio Mastering: The Final Polish
Mastering is the last creative and technical step before your music reaches listeners. It takes your finished stereo mix and optimizes it for distribution across every playback system imaginable, from a phone speaker to a club sound system to a broadcast television mix.
The core goals of mastering are:
- Volume consistency: Your track should sit at a competitive, appropriate loudness without sounding crushed or distorted.
- Tonal balance: Frequencies should translate well across different speakers, headphones, and listening environments.
- Stereo integrity: The stereo image should be wide and stable, without phase issues that collapse in mono.
- Format compliance: Your master must meet the technical specifications for every platform you're releasing on.
“A great master doesn’t just sound loud. It sounds intentional. Every frequency has a purpose, every dynamic choice serves the emotion of the song.”
One of the most important technical benchmarks in modern mastering is the EBU R128 standard, which specifies a limiter ceiling of no more than -1.0 dBTP to prevent inter-sample clipping, with streaming targets around -14 LUFS integrated loudness. Understanding this standard is foundational for any serious engineer or producer.
Why does every musician need basic mastering knowledge? Because even if you hire a professional mastering engineer, you need to understand what you're asking for, what a great master sounds like, and how to deliver a mix that's ready to be mastered. You can stay current with evolving standards and techniques by following music production news as the industry shifts quickly.
How Mastering Differs From Mixing
Mixing and mastering are two completely different disciplines. Confusing them is one of the most common mistakes beginners make, leading to poor decisions at both stages.
Here's a clear breakdown of how they compare:
| Stage | Focus | Tools Used | Output |
|---|---|---|---|
| Mixing | Balancing individual tracks | EQ, compression, reverb, panning | Stereo mix file |
| Mastering | Polishing the final mix | Stereo EQ, limiting, metering | Distribution-ready master |
| Mixing | Works on a multitrack session | Plugin chains per channel | Pre-master WAV/AIFF |
| Mastering | Works on a single stereo file | Mastering-grade processors | Final release file |
The key distinction is scope. Mixing is about the relationships between elements inside the song. You're deciding how the kick drum sits against the bass, how unique vocal processing shapes the lead, and how reverb creates depth. Mastering steps back and asks: Does this song sound right as a complete piece, and will it translate everywhere?
Here's how to know when you're ready to move from mixing to mastering:
- Your mix sounds balanced on multiple playback systems. Check it on headphones, studio monitors, a laptop speaker, and a car stereo.
- You've left enough headroom. Your mix should peak around -6 dBFS or lower to give the mastering stage room to work.
- You've addressed all technical issues. No clicks, pops, phase problems, or frequency buildups that you're hoping mastering will fix.
- You've taken a break. Fresh ears catch things tired ears miss. Step away from the mix for at least a day before mastering.
- Reference tracks sound better than your mix. If professional tracks in your genre clearly outshine yours on the same speakers, go back and mix more.
Pro Tip: Never use mastering to fix a bad mix. Mastering can enhance a good mix, but it cannot rescue a broken one. If your low end is muddy or your vocals are buried, address it with transient control in mixing and proper gain staging before you ever touch the master bus.
The EBU R128 standard sets the broadcast benchmark at -23 LUFS, with a ±0.5 LU tolerance and a true-peak ceiling of -1 dBTP. Knowing this helps you understand why your mix headroom matters so much before mastering begins.
Key Metrics in Mastering: LUFS, dBTP, and More
Numbers matter in mastering. Not because music is math, but because these measurements tell you whether your track will survive the platform normalization algorithms that every major streaming service uses.
LUFS (Loudness Units relative to Full Scale) is the industry-standard measurement for perceived loudness. Unlike peak meters that measure instantaneous signal spikes, LUFS measures how loud a track sounds to human ears over time. Streaming platforms use LUFS to normalize playback loudness, which means if your track is too loud, it gets turned down. If it's too quiet, it gets turned up. Either way, you want to hit the target.
| Platform | Target LUFS | True Peak |
|---|---|---|
| Spotify | -14 LUFS | -1 dBTP |
| Apple Music | -16 LUFS | -1 dBTP |
| YouTube | -14 LUFS | -1 dBTP |
| Broadcast (EBU) | -23 LUFS | -1 dBTP |
| Tidal | -14 LUFS | -1 dBTP |
dBTP (decibels True Peak) measures the actual peak level of your audio, including inter-sample peaks that standard peak meters miss. Inter-sample clipping happens when your audio is converted from digital to analog during playback, and peaks that look fine on a meter can actually clip during that conversion. The EBU R128 standard is clear: your limiter ceiling should sit at no higher than -1.0 dBTP to prevent inter-sample clipping, with streaming targets around -14 LUFS integrated.
Other metrics worth knowing:
- Dynamic Range (DR): Measures the difference between the loudest and quietest parts of your track. Higher DR means more punch and emotion.
- LRA (Loudness Range): A related measurement that captures how much loudness variation exists throughout the track. Useful for understanding how dynamic your master is.
- RMS (Root Mean Square): An older loudness measurement still used in some workflows, though LUFS has largely replaced it for streaming purposes.
Understanding sidechain compression techniques in your mix can help you manage dynamic range before the mastering stage, making the mastering engineer's job significantly easier and your final result much more polished.
The EBU R128 broadcast standard specifies -23 LUFS integrated for broadcast, with a ±0.5 LU tolerance and a true peak ceiling of -1 dBTP. If you're producing music for TV, film, or radio, these numbers aren't suggestions. They're requirements.
Common Pitfalls: The Loudness War and Dynamic Range Mistakes
For decades, record labels and artists competed to make their tracks sound louder than everyone else's. The logic was simple: louder sounds better on first listen. Engineers pushed limiters harder, compressed everything into a wall of sound, and sacrificed dynamics in the process. This became known as the loudness war.
“Hypercompression sacrifices dynamics; modern LUFS normalization favors preservation over peak max.” The EBU R128 standard was developed precisely to end this arms race by normalizing playback loudness across platforms.
The loudness war is effectively over for streaming. Here's why: when you upload an over-compressed, hyper-loud track to Spotify, the platform's normalization algorithm normalizes it to -14 LUFS. Now, your crushed, dynamics-free track is playing at the same volume as a well-mastered, dynamic track. Except yours sounds flat and lifeless by comparison.
Common mastering mistakes that kill your sound:
- Over-limiting: Pushing your limiter too hard creates distortion, pumping artifacts, and a fatiguing listen. Your transients disappear, and your mix loses punch.
- Ignoring mono compatibility: Many listening environments, including Bluetooth speakers and club PA systems, sum the stereo signal to mono. Phase issues that sound fine in stereo can destroy your mix in mono.
- Skipping reference tracks: Without a professional reference track in the same genre playing side by side, you lose perspective on where your master actually sits.
- EQing without context: Adding low-end boost in mastering without checking how it translates on small speakers often results in a boomy, muddy final product.
- Mastering immediately after mixing: Your ears are fatigued and biased. You'll make decisions that sound good in the moment but fall apart the next morning.
Pro Tip: Use a loudness meter that shows both integrated LUFS and true peak simultaneously while you master. This gives you a real-time picture of where your track sits relative to platform targets and prevents you from accidentally crossing the -1 dBTP ceiling.
Dynamic range is not just a technical value. It's the emotional heartbeat of your track. The quiet moments make the loud moments hit harder. When you compress everything into the same loudness level, you remove that contrast, and the emotional impact disappears with it.
Steps to Master Your Own Tracks
You don't need a $500,000 analog mastering suite to get professional results. With the right approach and tools, you can master your own tracks effectively. Here's a proven workflow:
- Prepare your mix export. Bounce your final mix at 24-bit, 48kHz or higher with no processing on the master bus. Leave at least -6 dBFS of headroom. Label the file clearly.
- Set up your mastering session. Open a new session in your DAW and import only the stereo mix file. Keep it clean and separate from your mix session.
- Critical listening first. Play the track on multiple systems before touching anything. Identify what needs attention: is the low end too heavy? Are the highs harsh? Does it feel too narrow?
- Apply a high-pass filter. Remove sub-bass rumble below 20-30 Hz that wastes headroom and muddies the low end.
- Stereo EQ for tonal balance. Make subtle, broad adjustments. Think 0.5 to 2 dB moves, not 6 dB boosts. You're shaping, not sculpting.
- Stereo widening (optional). If the mix feels narrow, a gentle mid-side processor can open up the stereo field without causing phase problems.
- Multiband compression (if needed). Address specific frequency ranges that vary dynamically. Use sparingly.
- Limiting. Set your limiter ceiling to -1.0 dBTP as required by the EBU R128 standard, with streaming targets around -14 LUFS integrated. Bring up the input gain until your integrated LUFS meter reads your target.
- Reference and compare. A/B your master against professional tracks in the same genre at matched loudness levels.
- Export and check. Export at the required format, then re-import and verify your LUFS and dBTP readings with a metering plugin.
Pro Tip: Tools like those discussed in the audio innovation with zplane can significantly improve the quality of your time-stretching and pitch-shifting during mastering, especially for tracks that need tempo or key adjustments without artifacts.
What Most Guides Miss: The Art Behind Audio Mastering
Here's something most technical mastering guides won't tell you: hitting -14 LUFS and -1 dBTP does not guarantee a great master. It guarantees a technically compliant one. Those are very different things.
The best masters we've heard don't just pass a meter check. They feel right. They have a character that matches the song's emotion. A dark, melancholic ambient track mastered to sound bright and wide might technically meet every standard but miss the point entirely emotionally. A raw punk record that's been over-polished loses the grit that made it compelling in the first place.
This is where mastering becomes an art. The engineer's job is to serve the music, not the meter. Metrics are guardrails, not destinations. You use them to stay within the boundaries of what platforms and listeners expect, but within those boundaries, you make creative decisions about warmth, air, weight, and space.
We've seen producers get so obsessed with hitting exact LUFS targets that they forget to ask whether the master actually sounds good. Trust your ears as much as you trust your meters. If something sounds wrong, it probably is, even if the numbers look perfect.
The best approach is to treat technical standards as your floor, not your ceiling. Start by meeting the requirements, then ask what this specific song needs to reach its full emotional potential. That question, explored through advanced production discussion, is what separates technically correct masters from truly memorable ones.
Enhance Your Sound: Tools and Resources for Mastering
Ready to put these mastering principles into practice? The right environment makes all the difference.
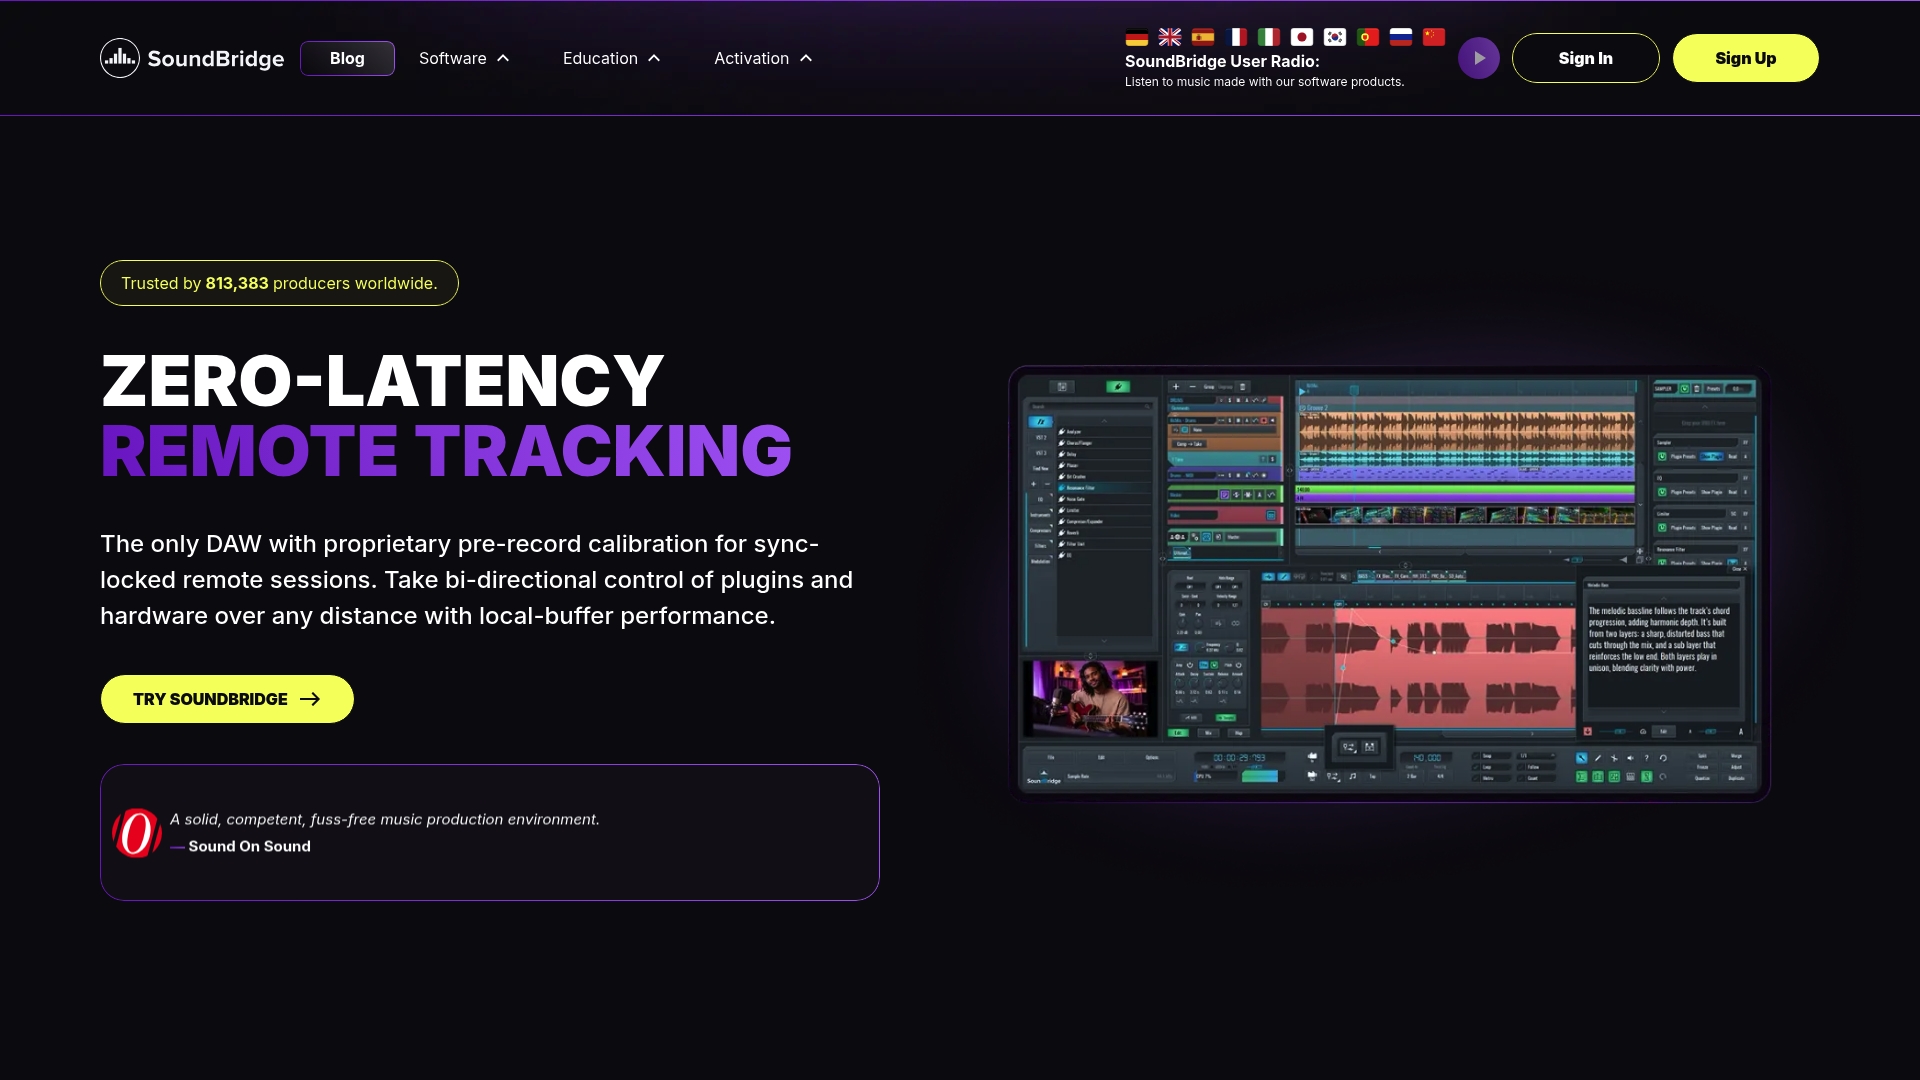
SoundBridge DAW gives you a professional, intuitive platform built for exactly this kind of precision work. With support for 192kHz sample rates, high-fidelity audio processing, and a customizable workflow, you can build a mastering chain that fits your creative process without fighting your tools. Whether you're refining vocal mastering tips or experimenting with multiband transient processing to tighten your low end, SoundBridge gives you the precision and flexibility to do it right. Start for free and unlock features as your skills develop.
Frequently Asked Questions
What are the standard loudness targets for streaming services?
Most streaming platforms recommend mastering to -14 LUFS, with a true peak ceiling of -1 dBTP, as defined by the EBU R128 standard, to prevent inter-sample clipping.
Why is dynamic range important in mastering?
Dynamic range preserves the emotional contrast in your track, whereas hypercompression, which sacrifices dynamics, makes music sound flat and fatiguing, especially after streaming platforms normalize your loudness anyway.
Can you master at home without expensive hardware?
Yes, with the right plugins and careful listening, you can achieve professional results with affordable digital tools, as long as your monitoring environment is accurate and your mix is well prepared.
Is it necessary to master differently for streaming vs. broadcast?
Yes, broadcast standards require -23 LUFS with a ±0.5 LU tolerance, while streaming platforms target approximately -14 LUFS, so your approach and targets must shift depending on the destination.
What's the difference between a limiter and a compressor in mastering?
A limiter acts as a hard ceiling, preventing peaks from exceeding a set level, while a compressor reduces dynamic range more gradually across a broader range of signal levels.
Recommended
MASTER MUSIC PRODUCTION
Expert-led courses designed to take you from fundamentals to finished tracks.

HOUSEFrom bouncy bass and solid kicks, this course teaches you the most modern House music production techniques needed to succeed and stand out.

TRAPQuit sounding like generic Trap and produce something World with hints of the Far East. Create ethnic soundscapes to put your Trap ahead of the curve.

AMBIENTProduce relaxing, sophisticated psy-influenced ambient. Psychedelic and relaxing to listen to, create meditative soundscapes to put your listeners in Zen.