Beginner Music Production: Your Step-by-Step Guide
Last Edited: Jun 16, 2026
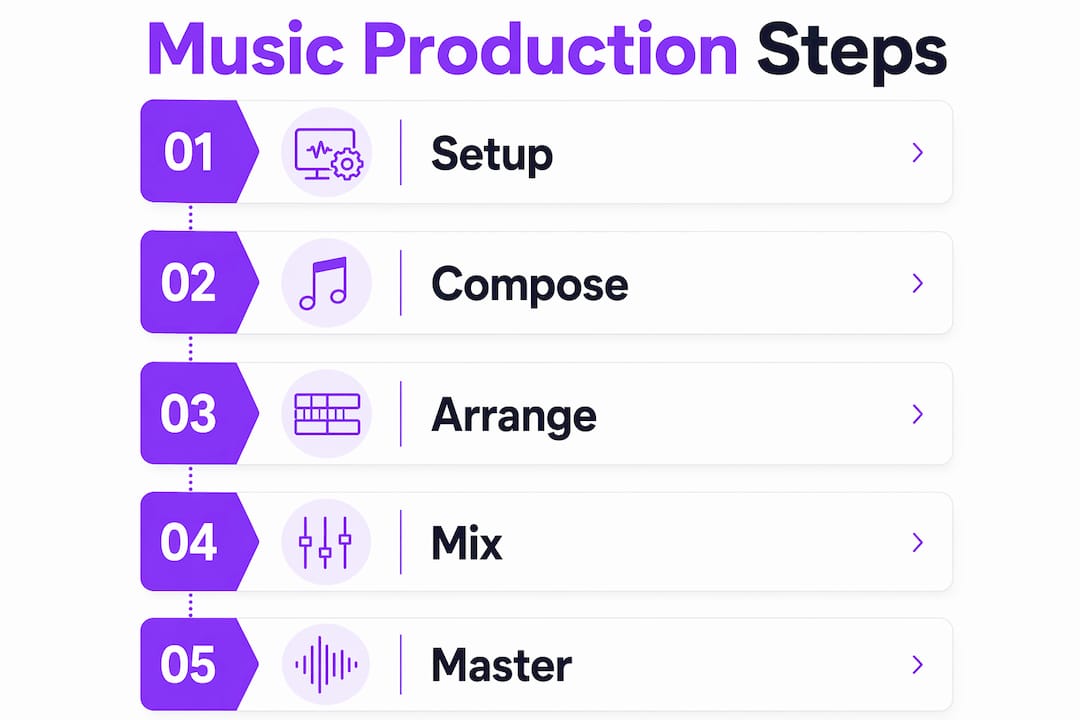
Beginner music production is the process of composing, arranging, mixing, and finishing original tracks using software tools called Digital Audio Workstations, or DAWs. Music production follows five core stages: DAW setup, session configuration, arrangement, mixing, and mastering. You don’t need a professional studio or expensive gear to start. What you need is one solid DAW, a clear workflow, and the discipline to finish tracks. This guide walks you through every stage, from picking your first DAW to exporting a release-ready file, with practical tips that cut the learning curve fast.
What Is Beginner Music Production and Where Do You Start?
Beginner music production is the art and science of building finished songs from scratch using software, virtual instruments, and audio processing tools. The industry term for this practice is music production, and the workflow applies whether you’re making lo-fi beats in your bedroom or crafting cinematic soundscapes for a short film. The keyword is finished. Finishing tracks teaches more than any tutorial, because arrangement, transitions, and production discipline only develop when you push a song all the way through.
The production process breaks down into five clear stages. First, you set up your DAW and configure your audio interface and monitoring. Second, you build a session template with tempo, key, and track routing already in place. Third, you arrange your ideas into a structured song. Fourth, you mix for balance and clarity. Fifth, you master and export for streaming. Each stage builds on the last, which is why skipping ahead, say, obsessing over mastering before your mix is solid, creates frustration instead of progress.
Your home studio setup doesn’t need to be expensive to be functional. A laptop, a pair of studio headphones like the Audio-Technica ATH-M50x, a basic audio interface like the Focusrite Scarlett Solo, and a free DAW will get you further than most beginners expect. The gear matters far less than your understanding of the workflow.
What’s the Best DAW for Beginners?
A DAW is the central hub of your entire production workflow. It’s where you record audio, program MIDI, arrange tracks, mix, and export your finished song. Choosing the right one early matters because mastering one DAW first accelerates progress far more than hopping between several. Every hour you spend relearning a new interface is an hour not spent making music.
Here’s a quick comparison of the most beginner-friendly options:
| DAW | Platform | Cost | Best for |
|---|---|---|---|
| GarageBand | Mac only | Free | Melody-focused, singer-songwriters |
| FL Studio | Windows/Mac | Paid (free trial) | Beat-making, electronic music |
| Cakewalk by BandLab | Windows only | Free | Rock, multi-track recording |
| SoundBridge | Windows/Mac | Free and paid tiers | Collaboration, advanced audio processing |
GarageBand transitions cleanly to Logic Pro as your skills grow, making it one of the smartest free starting points for Mac users. FL Studio offers lifetime free updates, which means the version you buy today stays current indefinitely. Cakewalk by BandLab is a fully featured free option for Windows users who want a traditional recording environment.
Pro Tip: Pick your DAW based on your music style and operating system, then commit to it for at least six months before considering alternatives. You’ll learn more in-depth than from variety.
For a deeper breakdown of what a DAW actually does under the hood, SoundBridge’s guide on choosing your first DAW covers configuration, routing, and setup in detail.
How to Set Up Your First Session and Build a Track
Getting your first session right saves hours of frustration later. Follow these steps to build a solid foundation before you write a single note:
- Create a session template. Set your tempo, time signature, and sample rate (44.1kHz for music, 48kHz for video). Save this as a template so every new project starts with your preferred routing already in place.
- Set your tempo intentionally. Tempo shapes everything from the feel of your kick drum to how reverb tails behave. A bouncy bass line at 128 BPM feels completely different at 95 BPM. Decide your tempo before you build, not after.
- Program a basic drum pattern. Start with a kick on beats 1 and 3, a snare on beats 2 and 4, and a hi-hat pattern. Solid kicks and a clear snare give your track a rhythmic spine to build around.
- Add a bass line. Keep it simple. A root-note bass line that follows your chord progression locks the low end in place and gives your mix a foundation.
- Layer chords and melody. Use a simple pad or piano for chords, then write a short melodic phrase on top. You don’t need complexity. You need contrast between elements.
- Arrange early. Copy your loop into an arrangement view and start shaping an intro, verse, and chorus. This is where most beginners stall.
Avoiding “loop hell” is one of the most important skills you can develop. Loop hell is the trap of endlessly refining an 8-bar loop without ever building a full song. The fix is simple: force yourself into arrangement mode after 30 minutes of loop building. Copy sections, subtract elements to create contrast, and build tension by stripping the track back before a drop or chorus.
Pro Tip: Use a reference track as your arrangement roadmap. Load a finished song you admire into your DAW and study how elements enter and exit. Count bars, note where the energy builds, and mirror that structure in your own track.
Beginner-Friendly Mixing Techniques for Balance and Clarity
Mixing is where your arrangement becomes a polished, listenable track. The goal at this stage is not loudness. The goal is balance, space, and clarity. Beginners who chase loudness early sacrifice dynamics and end up with flat, fatiguing mixes. Here are the core techniques to focus on first:
- Gain staging. Gain staging is continuous level management throughout your signal chain. Keep individual track levels averaging around -18 dBFS, so your master bus has headroom before any processing. This prevents distortion and makes every plugin you insert behave more predictably.
- High-pass filtering. Apply a high-pass filter to every non-bass track. Cutting frequencies below 80Hz to 100Hz on elements like pads, guitars, and synths removes low-end muddiness that clutters your mix. Small, narrow cuts in the 250Hz to 600Hz range reduce boxiness and open up the midrange.
- Compression basics. A compressor controls dynamic range. Start with a 4:1 ratio, a medium attack (around 10ms), and a fast release. Aim for 3-6 dB of gain reduction on drums and bass. The goal is control, not squashing the life out of your groove.
- Panning for stereo space. Keep kick, bass, and lead vocals centered—Pan guitars, pads, and supporting synths left and right to create width. A wide stereo image makes your mix feel professional without any complex processing.
- Avoid over-processing. Beginners often stack plugins, hoping to fix problems. Gain staging as an operational discipline means trusting your monitoring and making fewer, more deliberate moves. Less processing on a well-staged mix almost always sounds better.
Managing headroom in digital audio gives you creative freedom with EQ, compression, and limiting before clipping occurs. Think of headroom as the breathing room your mix needs to stay dynamic and punchy.
For a deeper walkthrough of mixing fundamentals, SoundBridge’s step-by-step mixing guide covers balance and clarity techniques built specifically for aspiring producers.
How to Master and Finish Your First Track for Streaming
Mastering is the final stage of music production. It’s where you apply tonal balancing, dynamic control, and loudness optimization to prepare your track for distribution. For beginners, mastering does not need to be complex. A limiter and gentle EQ are sufficient for your first releases.
The most critical mastering target to know is loudness. Spotify normalizes streaming loudness to approximately -14 LUFS integrated, and mastering louder than this reduces dynamics without any audible benefit on the platform. Here’s a simple mastering reference table:
| Parameter | Target value | Why it matters |
|---|---|---|
| Integrated loudness | -14 LUFS | Matches Spotify and Apple Music normalization |
| True Peak ceiling | -1 dBTP | Prevents inter-sample clipping on streaming |
| Stereo width | Mono-compatible | Avoids phase issues on mono playback devices |
| Export format | WAV, 24-bit, 44.1kHz | Preserves quality for distribution platforms |
Apply a gentle high-shelf boost around 10kHz to add air, a subtle low-shelf cut below 30Hz to remove sub-rumble, and a limiter set to a ceiling of -1 dBTP. That’s a functional mastering chain for a beginner release.
Pro Tip: Bounce your mix to a stereo file, take a 24-hour break, then master with fresh ears. Distance from the mix gives you the objectivity to hear what actually needs adjusting.
The SoundBridge audio mastering tutorial walks through this process in any DAW, with practical examples for streaming-ready results.
Common Beginner Mistakes and Music Production Tips
Most beginners hit the same walls. Knowing them in advance puts you ahead of the curve.
- Switching DAWs too often. Building foundational skills inside one DAW beats collecting software. Commit to your choice and go deep.
- Staying in loop mode. An 8-bar loop is not a track. Push into arrangement mode every session, even if the arrangement is rough.
- Skipping gain staging. Setting levels once at the start is not gain staging. Gain staging is an ongoing process that requires attention every time you add a plugin or change routing.
- Ignoring the habit of finishing. Finishing more tracks quickly teaches more than polishing one song for months. Set a rule: finish one track per month, no exceptions.
- Buying plugins before mastering the basics. A stock compressor used well beats a premium plugin used poorly. Learn what your DAW’s built-in tools do before spending money on third-party options.
“The producer who finishes 20 average tracks will outgrow the producer who spends a year perfecting one. Volume builds skill. Completion builds confidence.”
Start building a simple portfolio of finished tracks, even rough ones. Share them with other producers in communities like Reddit’s r/WeAreTheMusicMakers or Discord servers focused on your genre. Feedback from peers accelerates growth faster than solo practice alone.
Key Takeaways
Beginner music production requires one DAW, a clear five-stage workflow, and the consistent habit of finishing tracks to build real skill and confidence.
| Point | Details |
|---|---|
| Choose one DAW and commit | GarageBand, FL Studio, and Cakewalk are proven starting points; master one before exploring others. |
| Finish tracks over perfecting loops. | Completing songs develops arrangement skills and production discipline faster than refining loops. |
| Gain stage throughout your session | Keep track of levels around -18 dBFS and revisit levels every time you add a plugin or change routing. |
| Target -14 LUFS for streaming | Mastering to Spotify’s loudness standard preserves dynamics without sacrificing platform compatibility. |
| Avoid over-processing early | Balance, space, and clarity matter more than loudness at the mixing stage. |
Why Finishing Your First Track Matters More Than You Think
Most beginners spend months building the perfect loop and never release a song. I’ve seen it happen repeatedly, and I’ve done it myself. The uncomfortable truth is that the loop is a comfort zone. It sounds good on repeat, it never fails, and it never forces you to solve the hard problems: transitions, energy builds, drops, and endings.
Every track I’ve finished, even the ones I’d never share publicly, taught me something a tutorial couldn’t. The first time you realize your chorus sounds thin compared to your verse, you learn about arrangement contrast. The first time your export sounds quieter than every reference track, you learn about loudness standards. These lessons only come from finishing.
My honest advice: set a tempo, build a 4-bar loop, then immediately drag it into arrangement view and force yourself to build 16 bars. Then 32. Then a full song structure. It will feel uncomfortable. That discomfort is where growth lives. One finished track per month for a year gives you 12 songs, a portfolio, and a skill set that no amount of plugin collecting can match. Start scrappy. Finish often. It improves with every release.
— Wake
Start Your Production Journey With SoundBridge
Ready to put these techniques into practice? SoundBridge is built for producers at every level, from first-time beat-makers to seasoned engineers. The platform offers an intuitive interface, zero-latency remote tracking, and a full suite of virtual instruments and effects, all designed to help you move from idea to finished track without friction.
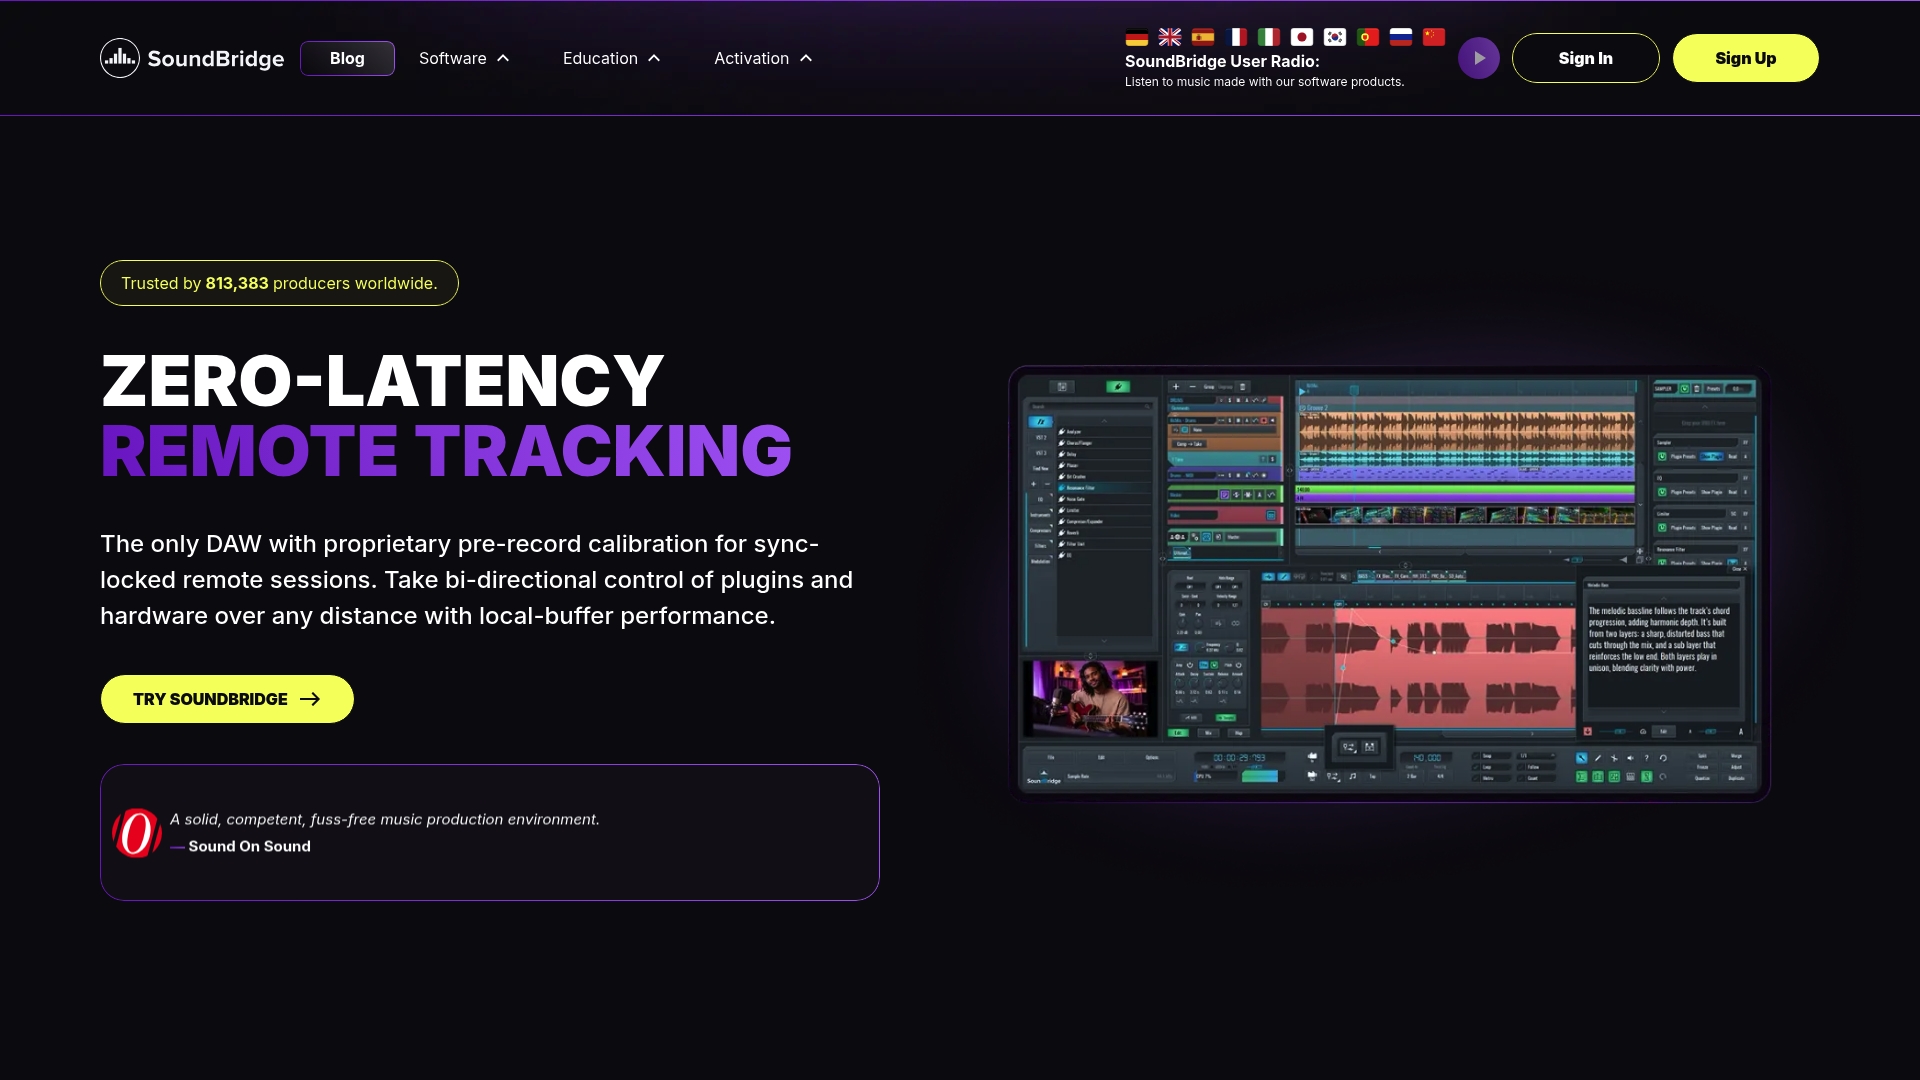
Whether you’re setting up your first home studio or learning how to mix your first track, SoundBridge’s beginner DAW guide gives you the foundation to start strong. Explore step-by-step tutorials, expert-guided courses, and a platform that grows with your ambition. Your first finished track is closer than you think.
FAQ
What does a beginner need to start music production?
A beginner needs a computer, a DAW, and a pair of studio headphones or monitors. An audio interface like the Focusrite Scarlett Solo is helpful for recording but not required for purely digital production.
How long does it take to learn the basics of music production?
Most beginners can produce a simple, complete track within one to three months of consistent practice. Mastering mixing and arrangement takes longer, typically six months to a year, of finishing tracks regularly.
What is the best free DAW for beginners?
GarageBand is the best free DAW for Mac users, with a direct upgrade path to Logic Pro. Cakewalk by BandLab is the strongest free option for Windows users, offering professional-grade features at no cost.
What is gain staging, and why does it matter?
Gain staging is continuous level management throughout your signal chain to prevent distortion and maintain headroom. Proper gain staging makes plugins behave predictably and results in cleaner, more dynamic mixes.
What loudness level should I target when mastering for streaming?
Target -14 LUFS integrated loudness and a True Peak ceiling of -1 dBTP. This matches Spotify and Apple Music normalization standards and preserves the dynamics of your mix.
Recommended
MASTER MUSIC PRODUCTION
Expert-led courses designed to take you from fundamentals to finished tracks.

HOUSEFrom bouncy bass and solid kicks, this course teaches you the most modern House music production techniques needed to succeed and stand out.

TRAPQuit sounding like generic Trap and produce something World with hints of the Far East. Create ethnic soundscapes to put your Trap ahead of the curve.

AMBIENTProduce relaxing, sophisticated psy-influenced ambient. Psychedelic and relaxing to listen to, create meditative soundscapes to put your listeners in Zen.