

Compression in Music Production: Your 2026 Guide
Last Edited: Jul 6, 2026
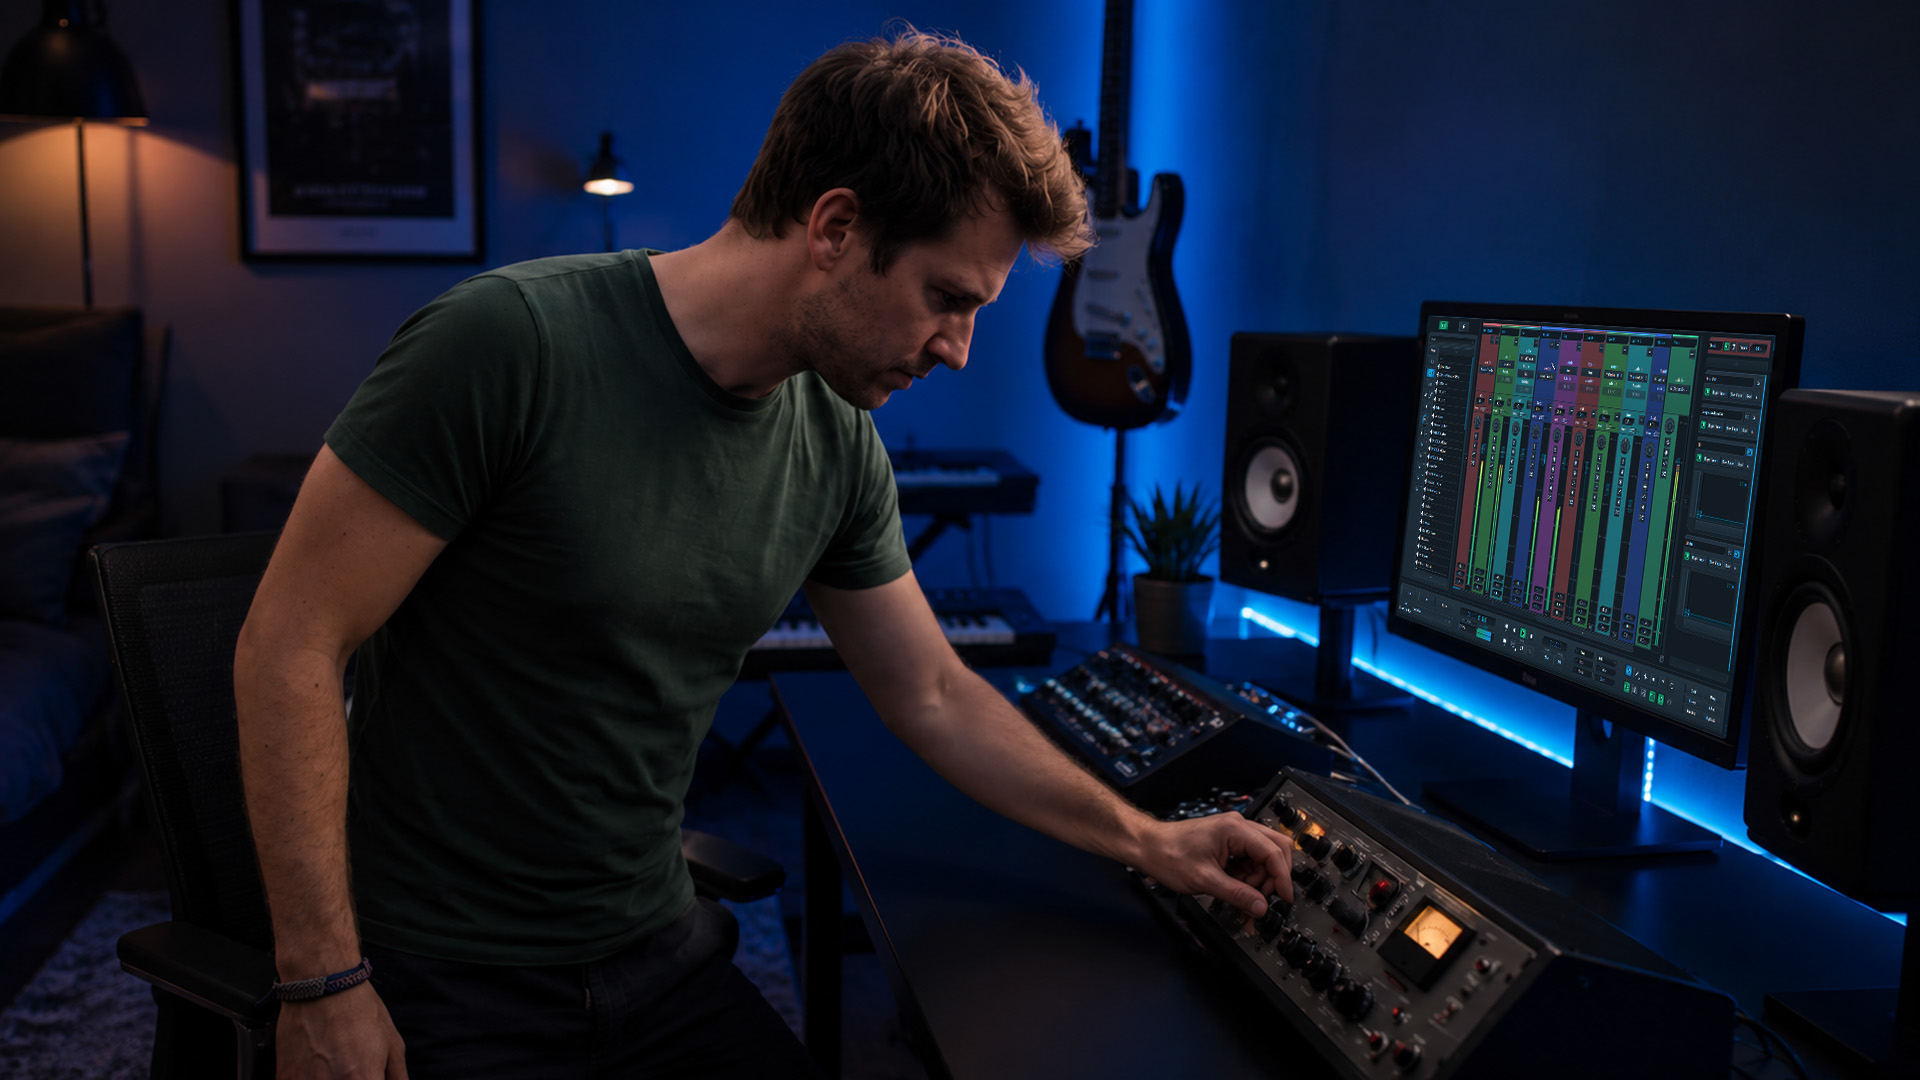
Compression in music production is the automatic process of reducing the dynamic range of an audio signal to control volume fluctuations and create a more consistent, controlled sound. Every professional mix relies on it. Whether you are shaping a punchy snare, smoothing out a vocal performance, or gluing a full drum bus together, dynamic range control sits at the center of the work. This guide covers how compressors work, which audio compression techniques apply to which situations, and how to set parameters with the confidence of an engineer who has heard thousands of mixes.
How Does Compression in Music Production Work?
A compressor monitors an incoming audio signal and automatically reduces the volume when the signal crosses a set level called the threshold. Everything above the threshold gets reduced. Everything below it passes through untouched.
The five parameters you will use on every compressor are:
- Threshold: The level at which gain reduction begins. Lower the threshold, and the compressor grabs more of the signal.
- Ratio: How much the compressor reduces the signal above the threshold. A 4:1 ratio means every 4 dB above the threshold becomes 1 dB at the output.
- Attack: How fast the compressor responds after the signal crosses the threshold. A slow attack lets transients through before clamping down.
- Release: How fast the compressor stops reducing gain after the signal drops below the threshold. Too short and you hear pumping. Too long and the compressor never fully lets go.
- Makeup gain: Once you reduce the loud parts, the overall signal is quieter. Makeup gain brings the output level back up to match the original perceived loudness.
Compression controls transients through the attack setting, which directly affects the rhythm and perceived energy of a sound. A fast attack on a kick drum softens the punch. A slow attack preserves the snap and lets the transient hit the listener first.
Pro Tip: Set your attack to 10ms and your release to 100ms as a starting reference on any new channel. This gives you a clear, neutral window to hear what the compressor is actually doing before you start shaping.
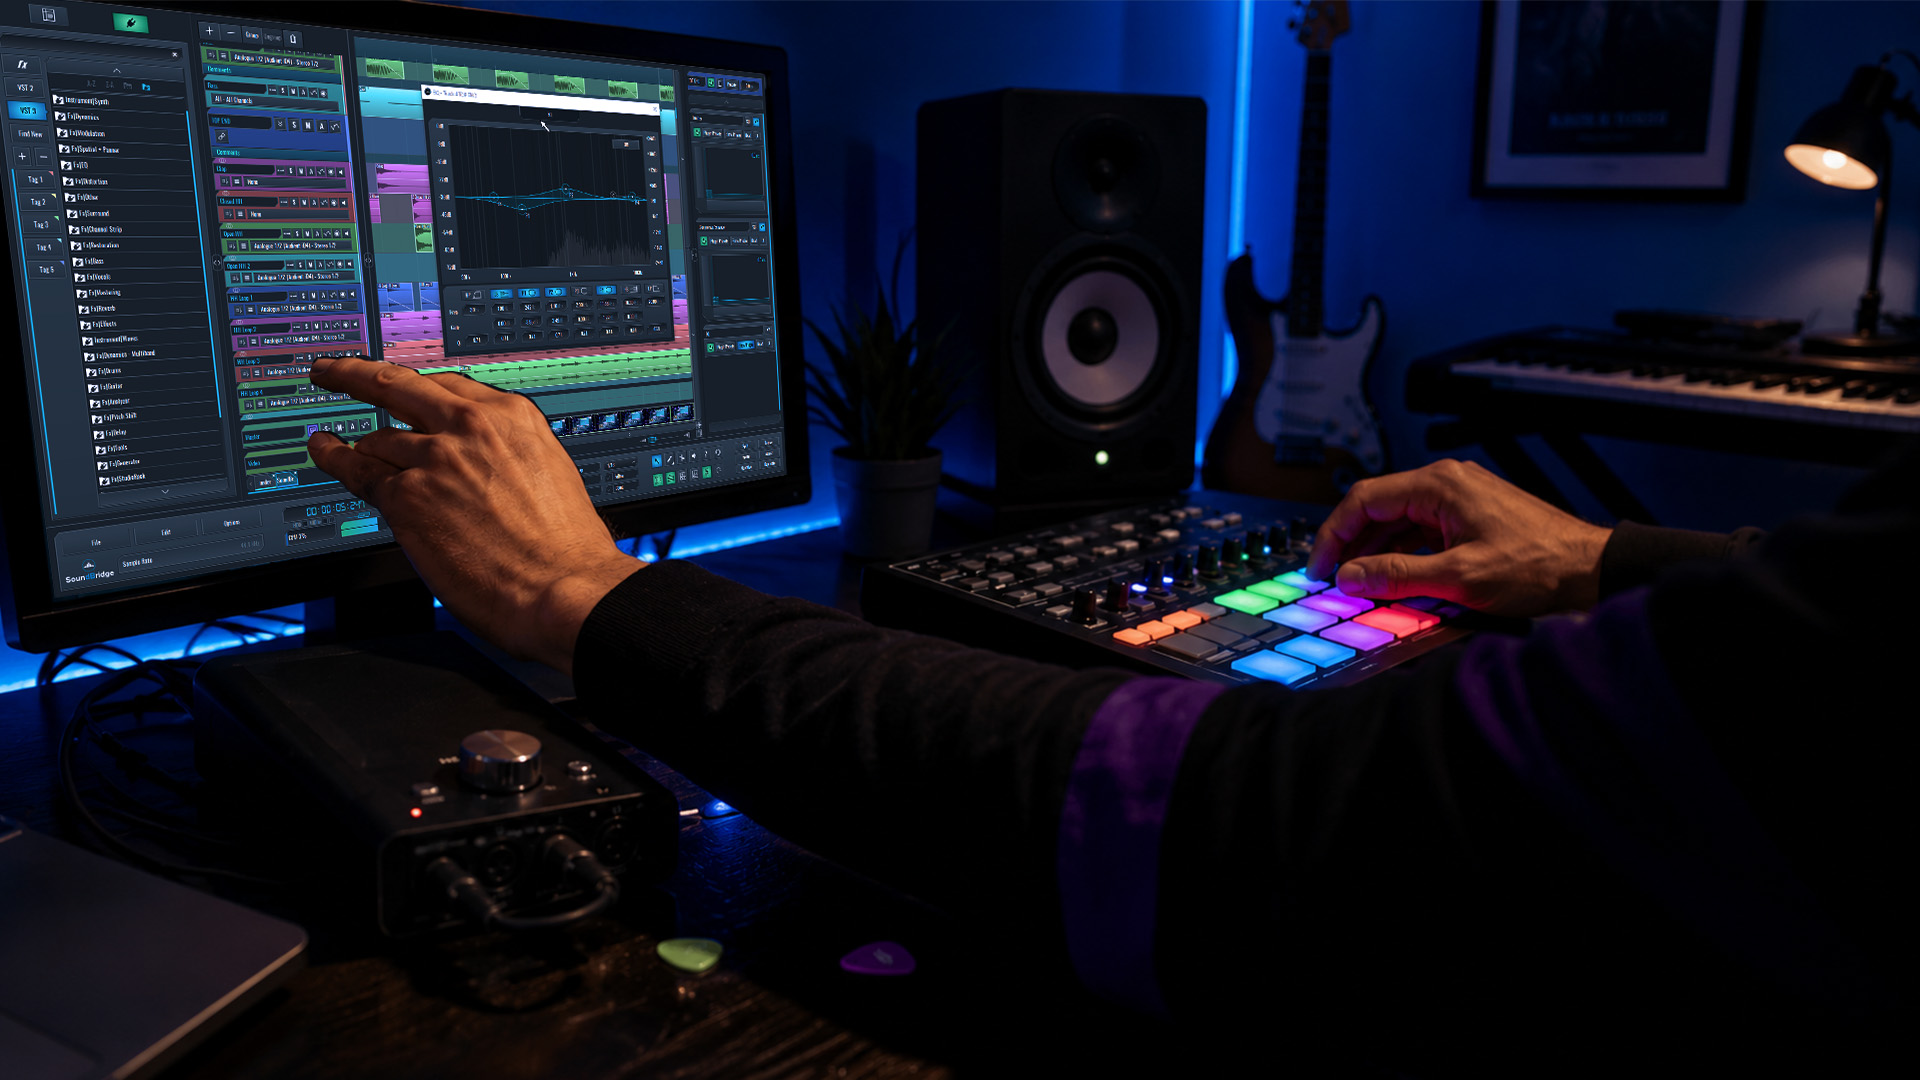
What Are the Main Types of Audio Compression Techniques?
Understanding which technique to reach for is what separates a polished mix from a flat one. Each approach serves a different purpose.
Single-Band Compression
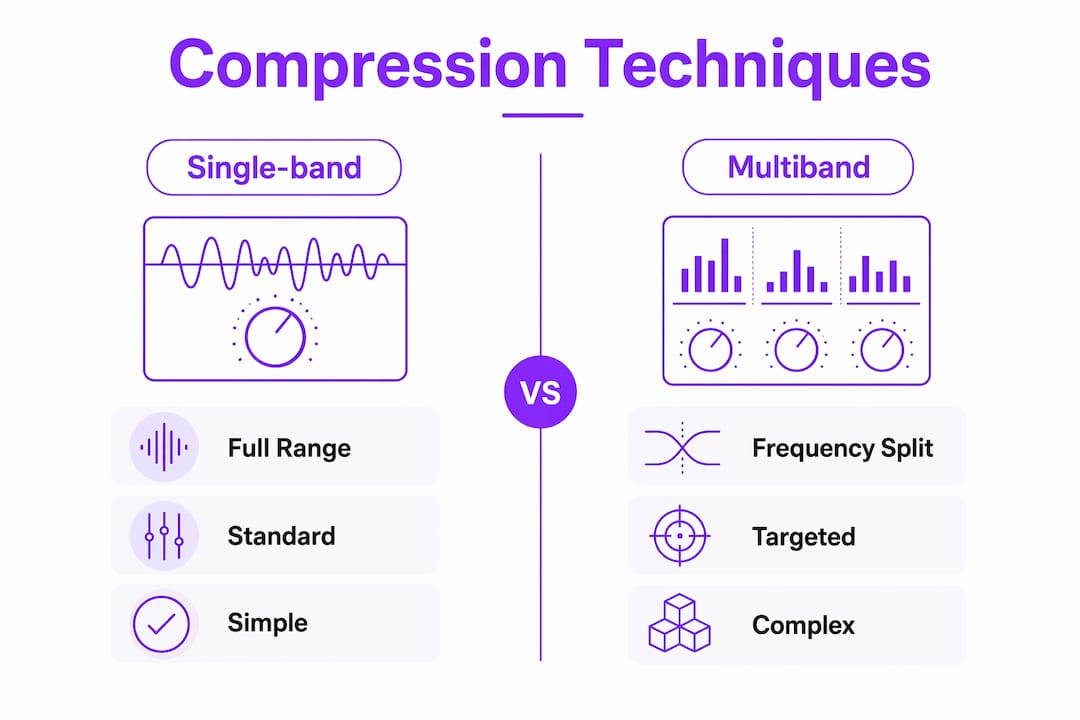
Single-band compression applies gain reduction across the full frequency range of a signal. This is the standard approach for individual channels: vocals, bass, guitars, and drums. It controls overall dynamics without touching the tonal balance.
Parallel Compression
Parallel compression blends a heavily compressed copy of a signal, often at a 10:1 ratio or higher, with the original dry signal. The result is density and sustain without killing the transients that give a track its punch. This technique is especially effective on drums and bass, where you want size and weight without losing the initial attack.
Pro Tip: On a drum bus, send the full drum mix to a parallel channel, crush it hard with a fast attack and high ratio, then blend it underneath the dry mix until you feel the room fill out.
Serial Compression
Serial compression uses two compressors in sequence, each handling a small portion of the gain reduction. A classic vocal chain pairs a fast-responding compressor with a slower, program-dependent one. Each stage handles roughly 3 dB of reduction, which spreads the work and produces a smoother, more natural result than one compressor doing all the heavy lifting.
Multiband Compression
Multiband compression splits the signal into frequency bands and compresses each independently. It is the right tool when one frequency range is causing dynamic problems without affecting others. A boomy low end on an acoustic guitar, for example, can be tamed without touching the mids or highs.
Bus and Master Bus Compression
Bus compression works differently from channel compression. When a compressor sits across a group of tracks, it responds to the combined dynamics of all the tracks. That reaction creates a “glue” effect, making the group feel like one cohesive sound rather than a collection of separate elements. This is why a drum bus compressor can make a kit feel as if it were recorded in the same room, even when the samples came from different sources.
How Do You Set Compression Parameters Effectively?
Knowing where to start saves you from chasing your tail through a session. Standard starting points for most sources are a 4:1 ratio, 10ms attack, and 100ms release. From there, you listen and adjust.
For gain reduction targets, professional practice draws a clear line:
- Individual channels: aim for 3–6 dB of gain reduction
- Bus channels: aim for 2–4 dB of gain reduction
- Master bus: aim for 1–2 dB of gain reduction, with a gentle ratio of 2:1
Exceeding 4 dB on a bus risks audible distortion and a flattened mix that loses its sense of depth and movement. The numbers are not arbitrary. They reflect what the ear tolerates before compression stops sounding like control and starts sounding like damage.
The most reliable method for evaluating your settings is the reference workflow. Fix your attack at 10ms and release at 100ms, set your ratio, and listen to the gain reduction without any creative adjustments. Once you can clearly hear what the compressor is doing, then you shape the timing.
Null your makeup gain during A/B comparisons. Louder always sounds better to the human ear. If you leave makeup gain active while comparing compressed versus uncompressed, you will almost always favor the compressed version simply because it is louder, not because it sounds better.
Common mistakes to avoid:
- Compressing every track by default without asking whether it needs it
- Using compression to fix poor gain staging instead of correcting the gain structure first
- Setting a fast attack on everything, which kills the transients that give your mix life
- Ignoring the release time, which controls the groove and breathability of a track
- Treating compression as a substitute for volume automation when automation would give you more precise, musical control
What Are the Most Common Compression Pitfalls?
Overcompression is the most common problem in amateur mixes. The signs are clear: tracks sound flat, lifeless, and fatiguing to listen to. The transients that make a snare crack or a vocal consonant cut through the mix disappear, and everything sits at the same perceived level with no sense of dynamics or movement.
Using compression as a catch-all fix is a beginner mistake that leads directly to flat mixes. Compression does not fix poor performance, a poorly recorded signal, or a gain-staging problem. It controls dynamics. If the problem is not dynamic, compression is not the solution.
- Overcompression: Too much gain reduction removes the natural ebb and flow of a performance. Aim for subtle reduction on most sources and reserve heavy compression for specific creative effects.
- Wrong tool for the job: Compression is not a replacement for automation. If a vocal phrase is too loud in one bar, automate the level. Compression reacts to the signal in real time, but it cannot make the same musical decisions you can.
- Louder is not better: Always null makeup gain before comparing settings. The version that sounds better at the same level is the version that actually sounds better.
- Ignoring the source: Drums and bass benefit from compression on almost every session. Lightly played acoustic guitar or a well-recorded string section may need none at all. Ask whether the track has a dynamic problem before reaching for a compressor.
Pro Tip: Bypass the compressor on a track and listen for 10 seconds. Then engage it. If you cannot immediately identify what improved, the compressor is probably doing more harm than good. Pull back the ratio or raise the threshold until the effect becomes clearly musical.
Knowing when to make instruments punch through the mix with compression, and when to step back, is a skill that develops with critical listening. The goal is always a mix that feels alive, not one that sounds like it was controlled into submission.
Key Takeaways
Compression in music production is a dynamic range tool, and the most effective approach combines targeted gain reduction, disciplined reference workflows, and technique selection matched to the source material.
| Point | Details |
|---|---|
| Start with reference settings | Use a 4:1 ratio, a 10ms attack, and a 100ms release to hear the gain reduction clearly before adjusting. |
| Target gain reduction by channel type | Aim for 3–6 dB on individual channels and 2–4 dB on buses to preserve musicality. |
| Match technique to the source | Use parallel compression for density, serial for smoothness, and bus compression for glue. |
| Null makeup gain during A/B tests | Louder always sounds better; null gain to evaluate compression effect objectively. |
| Compression is not a fix-all | Gain staging and automation solve different problems; use compression only for dynamic control. |
Compression as a Time Tool, Not Just a Volume Knob
The framing that changed how I hear compression is this: compression manages time, not just volume. When you adjust the attack, you are deciding how much of the initial transient reaches the listener before the compressor clamps down. That decision shapes the rhythm and energy of the sound more than any EQ curve ever will.
Most producers I have worked with reach for compression out of habit. They drop it on every channel before they have even listened to whether the track needs it. The discipline I advocate is the opposite: listen first, compress second, and always ask what specific dynamic problem you are solving.
Parallel compression is the technique I return to most in modern production. The ability to blend density underneath a dry signal without touching its transients gives you control that single-band compression cannot match. If you have not built a parallel processing workflow into your sessions, start there.
The producers who use compression best are the ones who hear it least. Their mixes breathe, punch, and sit together without sounding squeezed. That is the target. Subtle, musical, and always in service of the song.
— Wake
SoundBridge and Dynamic Control in Your DAW
Applying these techniques well requires a DAW that gives you full, transparent control over your signal chain. SoundBridge is built for exactly that kind of work, with high-fidelity audio processing at up to 192kHz and a workflow designed for producers and engineers who take dynamic control seriously.

Whether you are setting up your first parallel compression chain or dialing in bus glue on a full mix, SoundBridge gives you the environment to hear every decision clearly. The platform’s intuitive interface makes it straightforward to route signals, set up parallel channels, and compare settings in real time. Explore the SoundBridge DAW guide to see how its features support every stage of dynamic processing, from tracking to final mix.
FAQ
What is compression in music production?
Compression in music production is the automatic reduction of an audio signal’s dynamic range, turning down loud peaks and raising the perceived level of quieter parts to create a more consistent, controlled sound.
What are good starting compression settings for vocals?
A 4:1 ratio with a 10ms attack and 100ms release gives you a clear reference point for vocals. Aim for 3–6 dB of gain reduction, then adjust from there based on performance.
What is the difference between parallel and serial compression?
Parallel compression blends a heavily compressed copy with the dry signal to add density while preserving transients. Serial compression runs two compressors in sequence, each handling a small portion of the gain reduction for a smoother result.
How much gain reduction is too much?
On individual channels, more than 6 dB of gain reduction typically flattens the sound and removes musical dynamics. On buses, exceeding 4 dB risks audible distortion and a lifeless mix.
When should I use automation instead of compression?
Use automation when a specific moment in a performance is too loud or too quiet. Compression reacts to dynamics in real time but cannot make the same bar-by-bar musical decisions that volume automation gives you.
Recommended
MASTER MUSIC PRODUCTION
Expert-led courses designed to take you from fundamentals to finished tracks.

HOUSEFrom bouncy bass and solid kicks, this course teaches you the most modern House music production techniques needed to succeed and stand out.

TRAPQuit sounding like generic Trap and produce something World with hints of the Far East. Create ethnic soundscapes to put your Trap ahead of the curve.

AMBIENTProduce relaxing, sophisticated psy-influenced ambient. Psychedelic and relaxing to listen to, create meditative soundscapes to put your listeners in Zen.