Create a Psytrance Riser
Last Edited: Mar 13, 2024
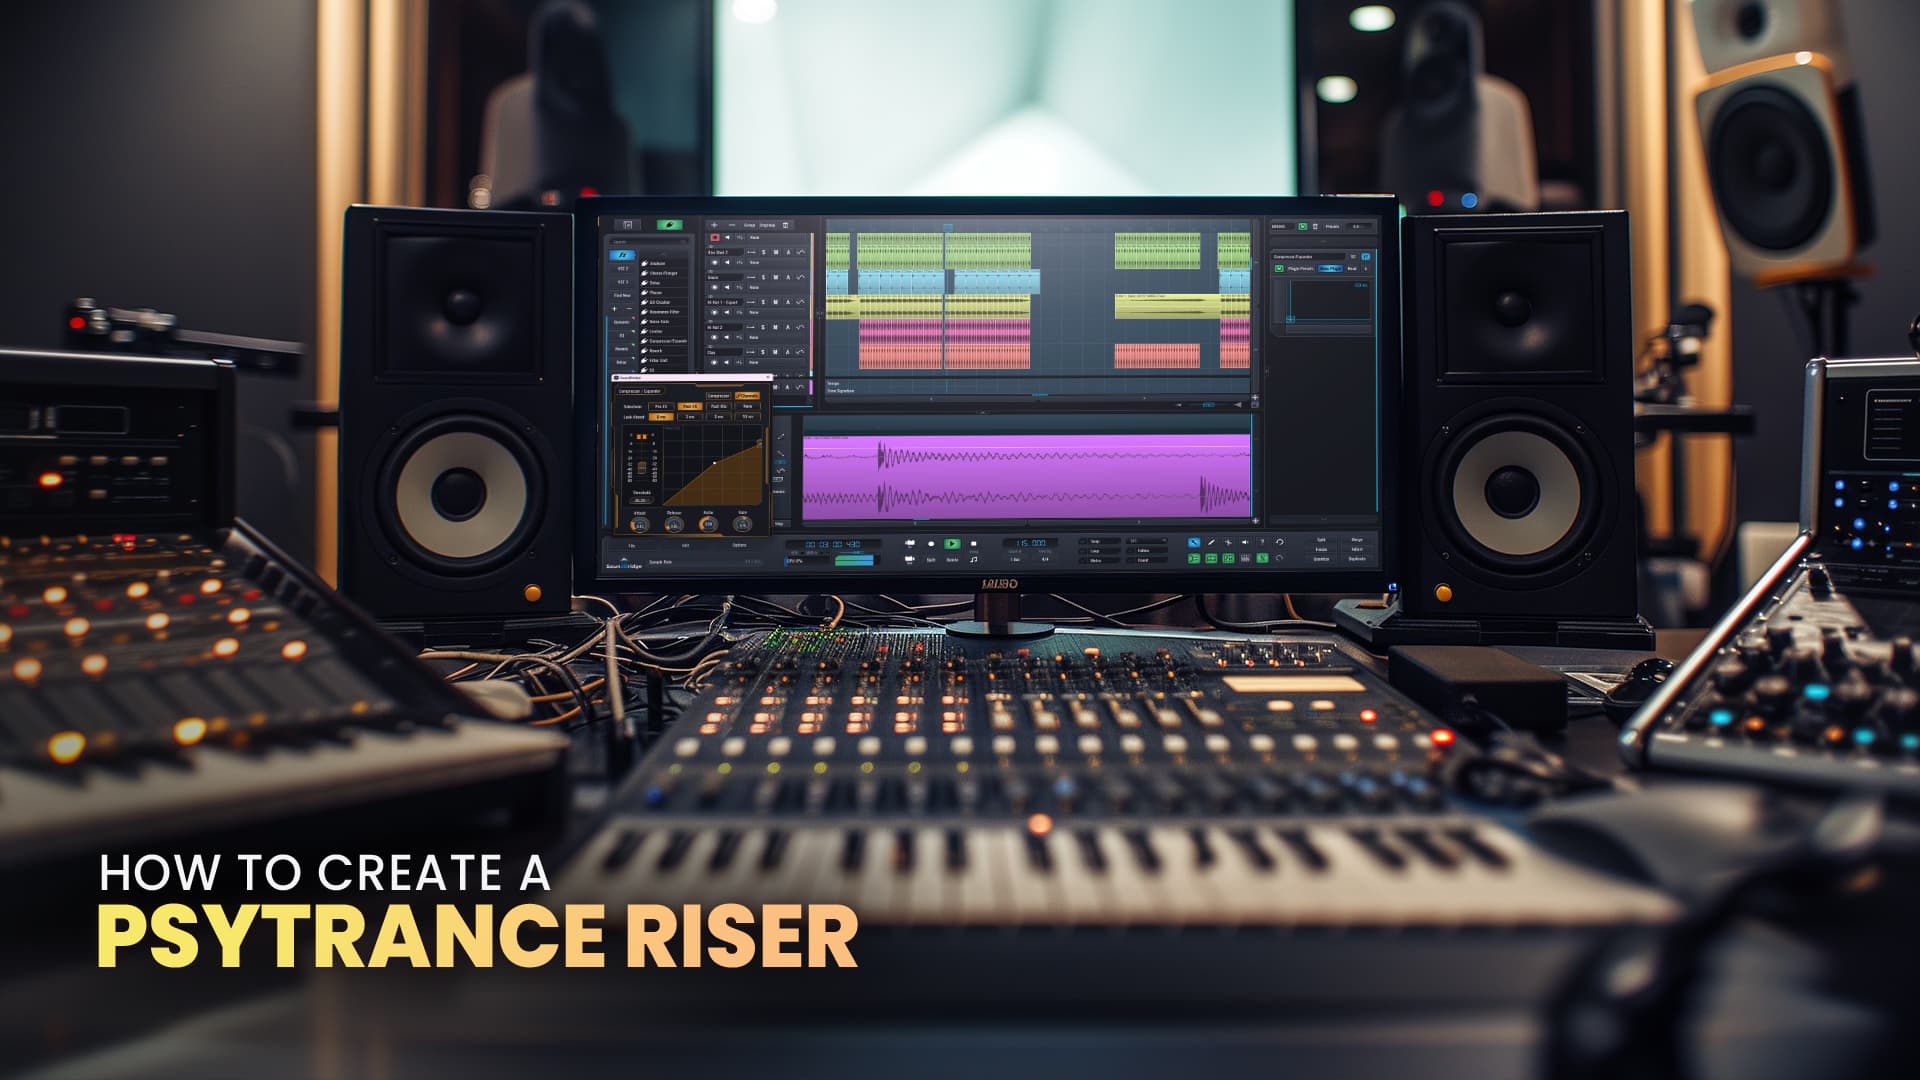
Psytrance is a subgenre of modern electronic dance music known for its complex structure and high energy. Producers of this style dedicate a lot of time to intricate details of audio processing. One inevitable element of Psytrance arrangements is a riser effect. The following tutorial will show you how to create a Psytrance riser effect.
As usual, let's listen to the sequence we created in SoundBridge: DAW. It includes most of the entire mix's elements and the break that leads to the drop.
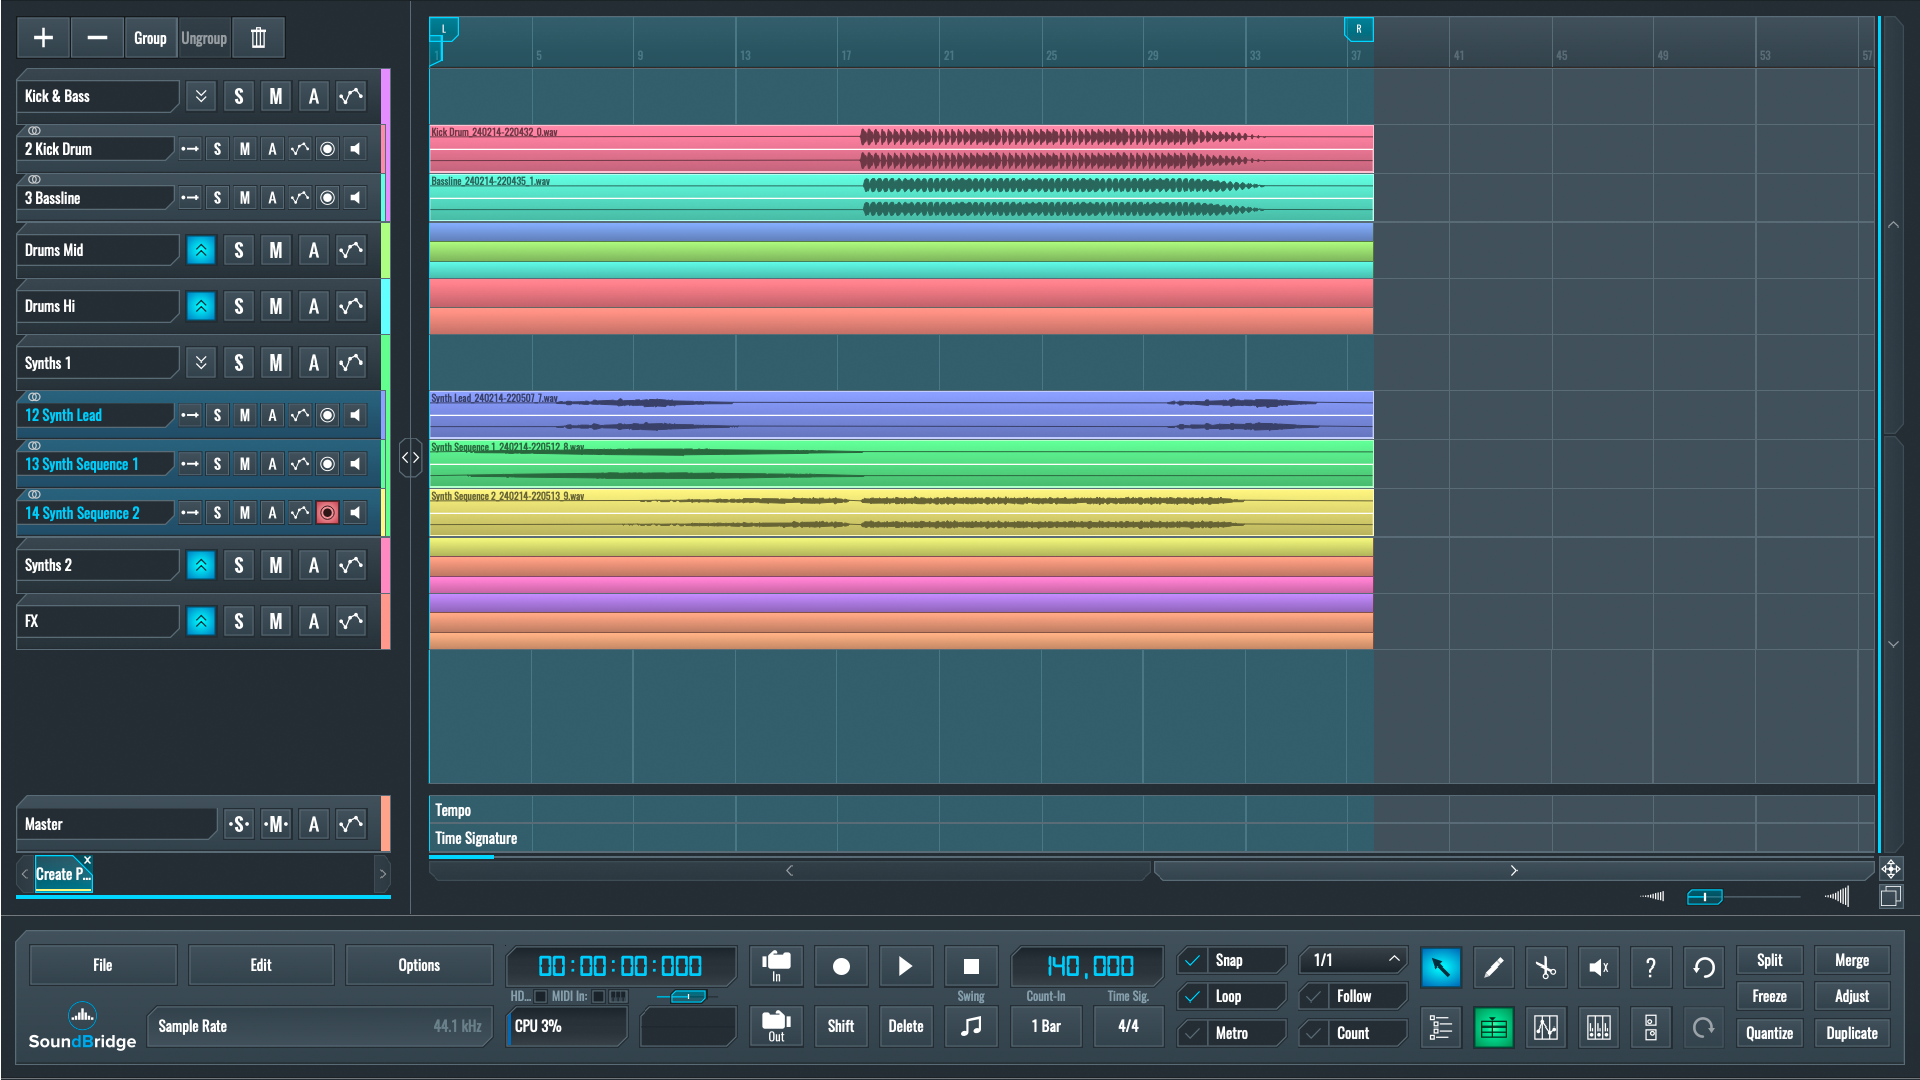
~Full Mix - Without Psytrance Riser Effect
Create Your Psytrance Riser by Sampling a Suitable Element of Your Mix
From the audio example above, the breakdown could use a more prominent riser for the drop to hit harder. We could search for riser sounds in sample banks that are available online, but here, we want to create a psytrance riser from scratch. We will be using Vital soft-synth by Vital Audio for this. At this point, let's create a new MIDI track for it in our SoundBridge: DAW.
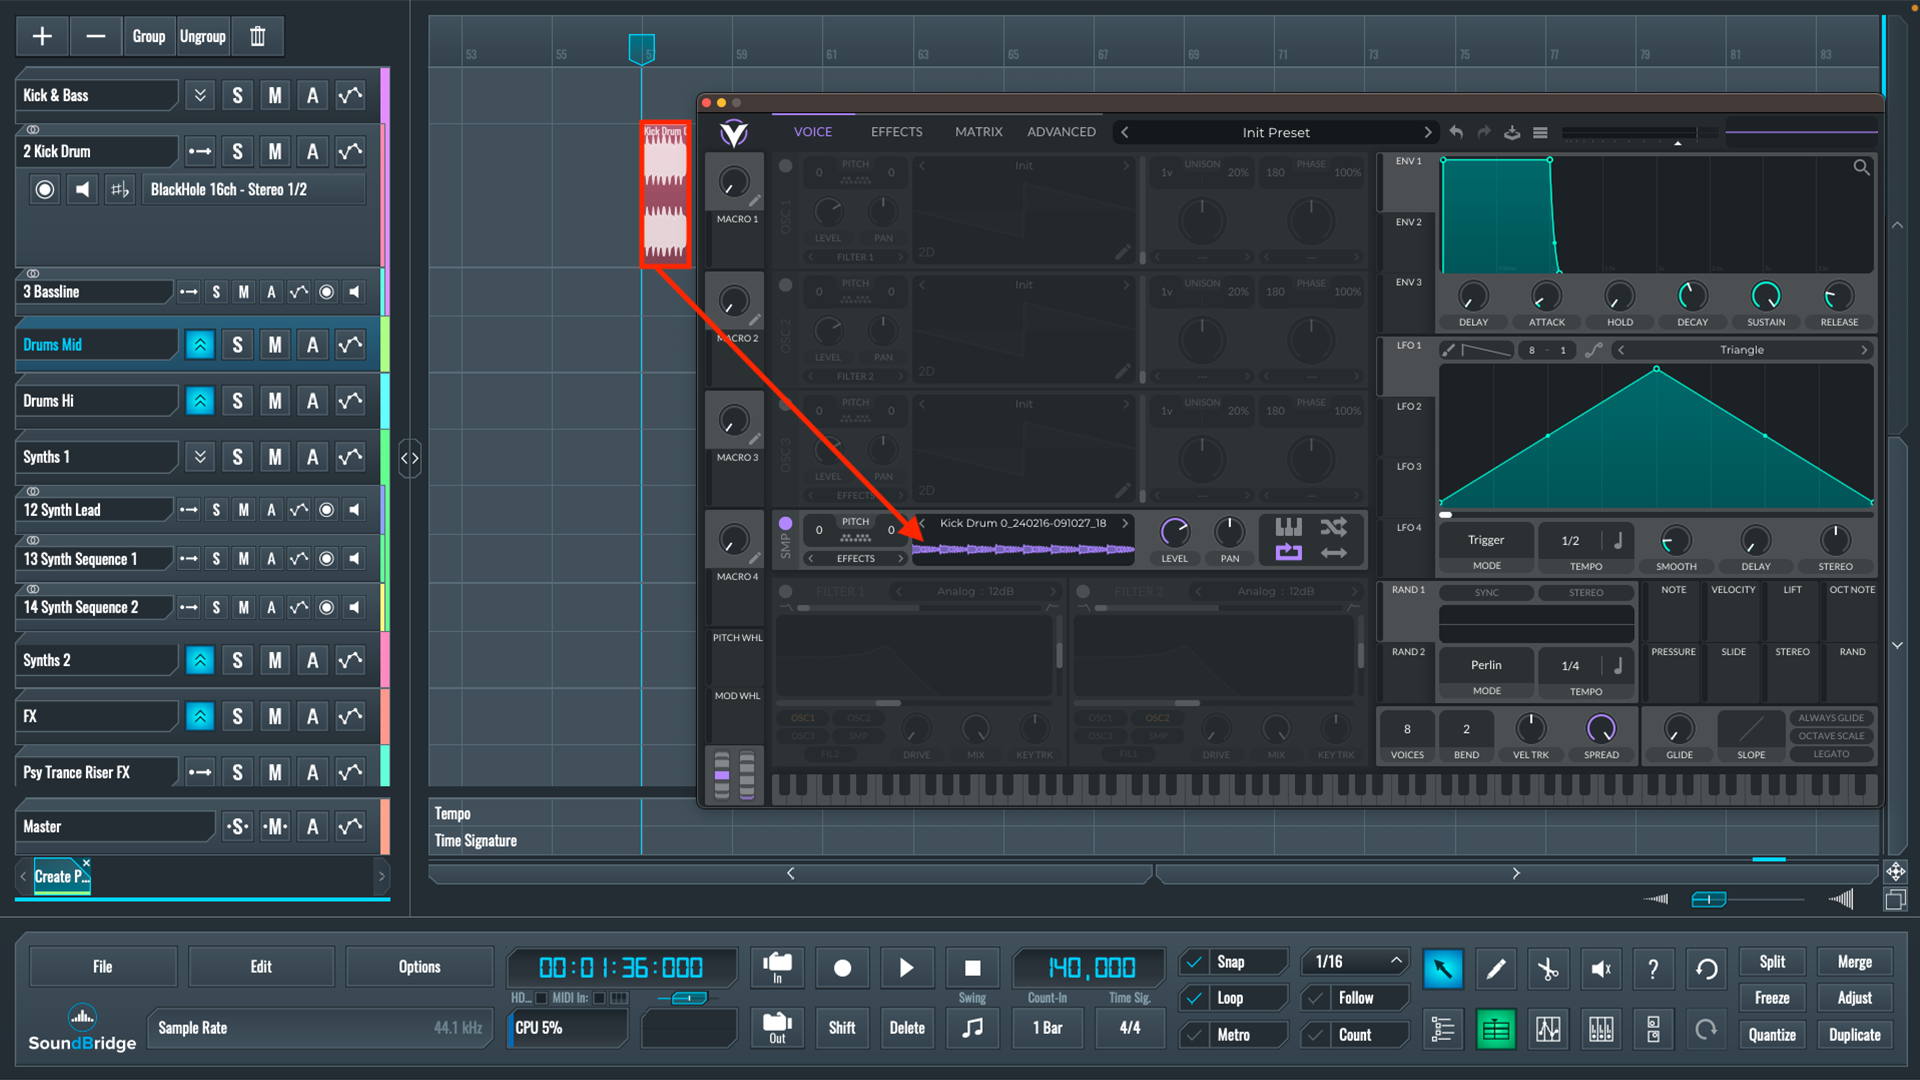
In this case, we will sample the kick drum from our track and turn it into a riser effect, all in Vital's sampler. The first step would be to create a copy of an existing kick drum pattern and then speed it up. We'll be making it twice as fast as the original. After that, we'll merge and bounce the sequence before dragging and dropping it into Vital's sampler.
~Kick Drum - Pattern (Double Time)
Setting up Our Sampler
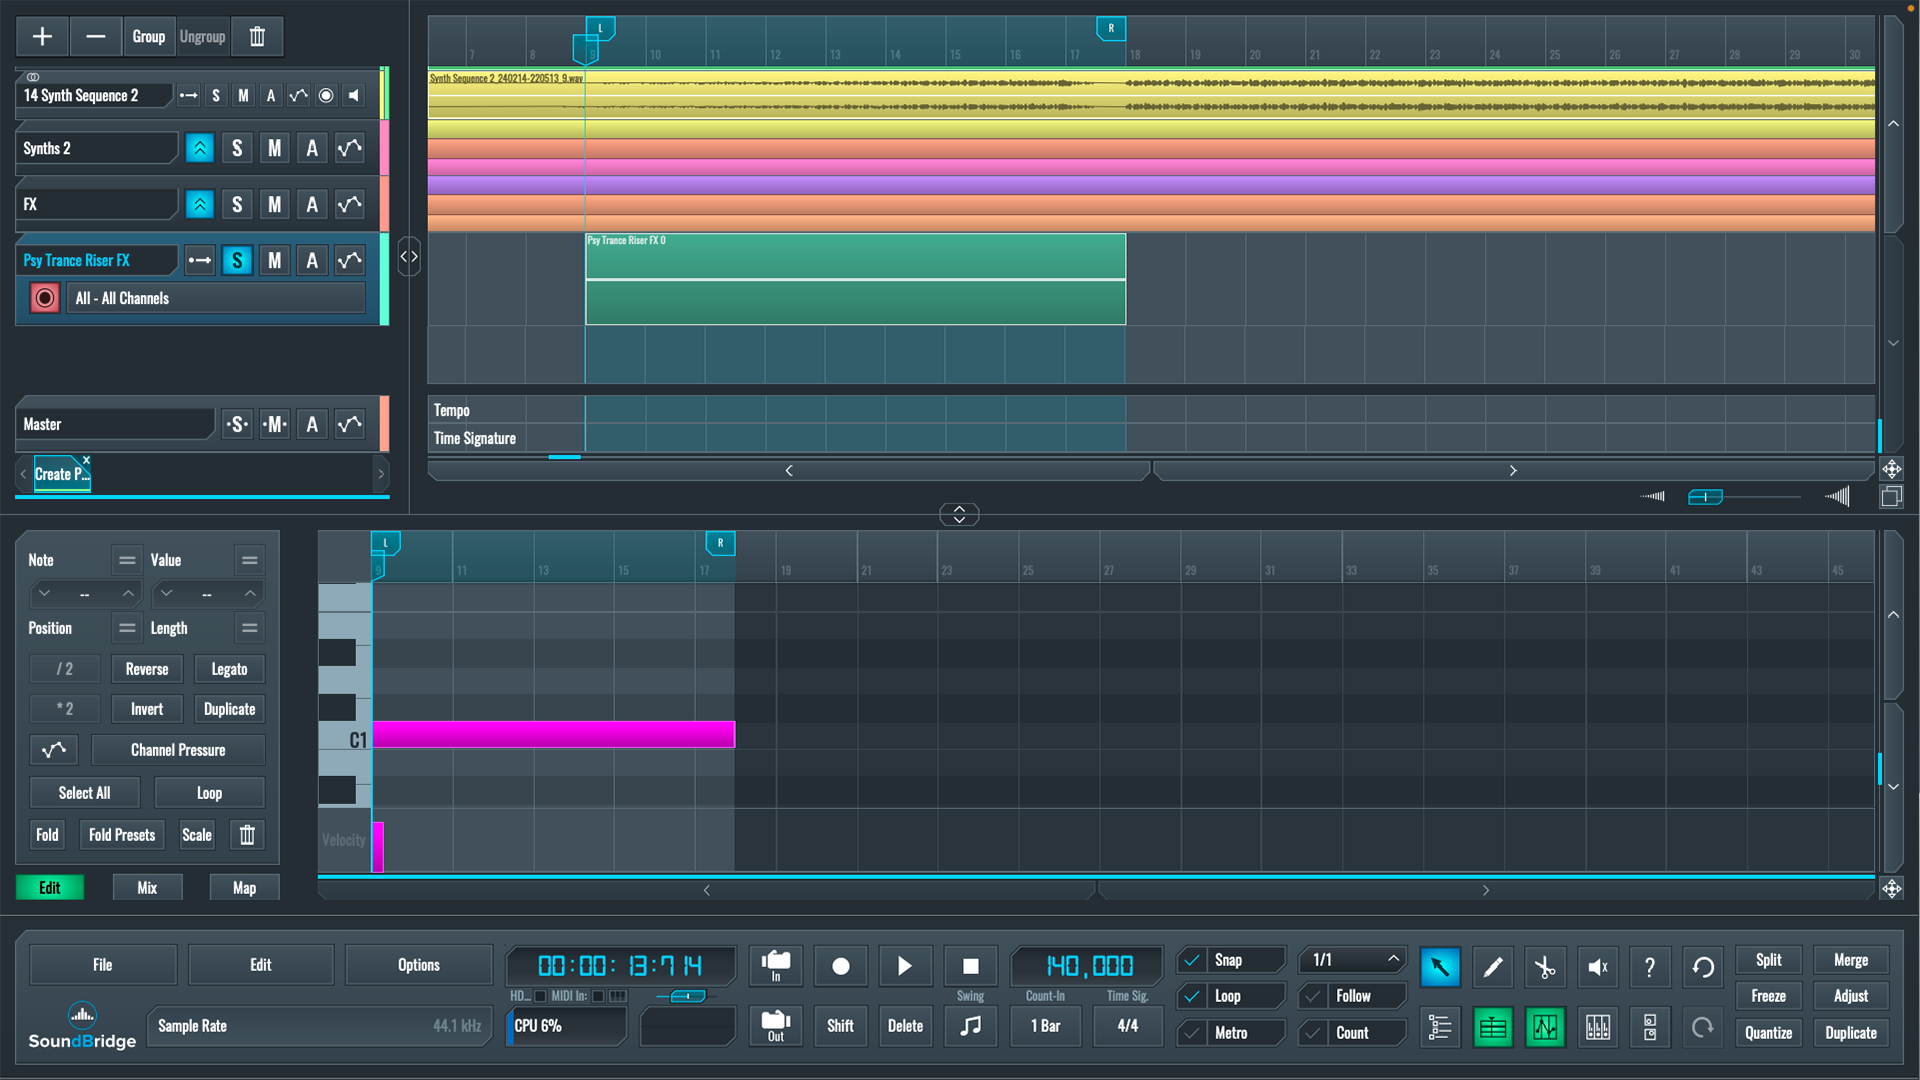
Once that's done, we can return to the track's breakdown and write a long single note in the riser's MIDI editor, which will determine how long the effect lasts. In this case, the effect will begin halfway through the breakdown and continue until the drop.
After completing that, we can start setting up Vital. We will not use any other oscillators in Vital; we will only use the sampler. To ensure that our pattern loops consistently each time it is triggered, we will first take care of the volume envelope with the sustain parameter all the way up. Additionally, we will set the attack and release to zero. Next, we will activate LFO 1, create a fade-in curve, and adjust the tempo to 16/1, closely matching the length of the riser we want to lead to the drop.
Now, we need to move on to the modulation section, where we will modulate the sampler's pitch using LFO 1. To do so, click on the LFO 1's tab and drag and drop it into the sampler's pitch. Moving the little green cogwheel in the sampler's pitch section adjusts how many semitones our pitch rises; in this case, we chose the maximum of 96.
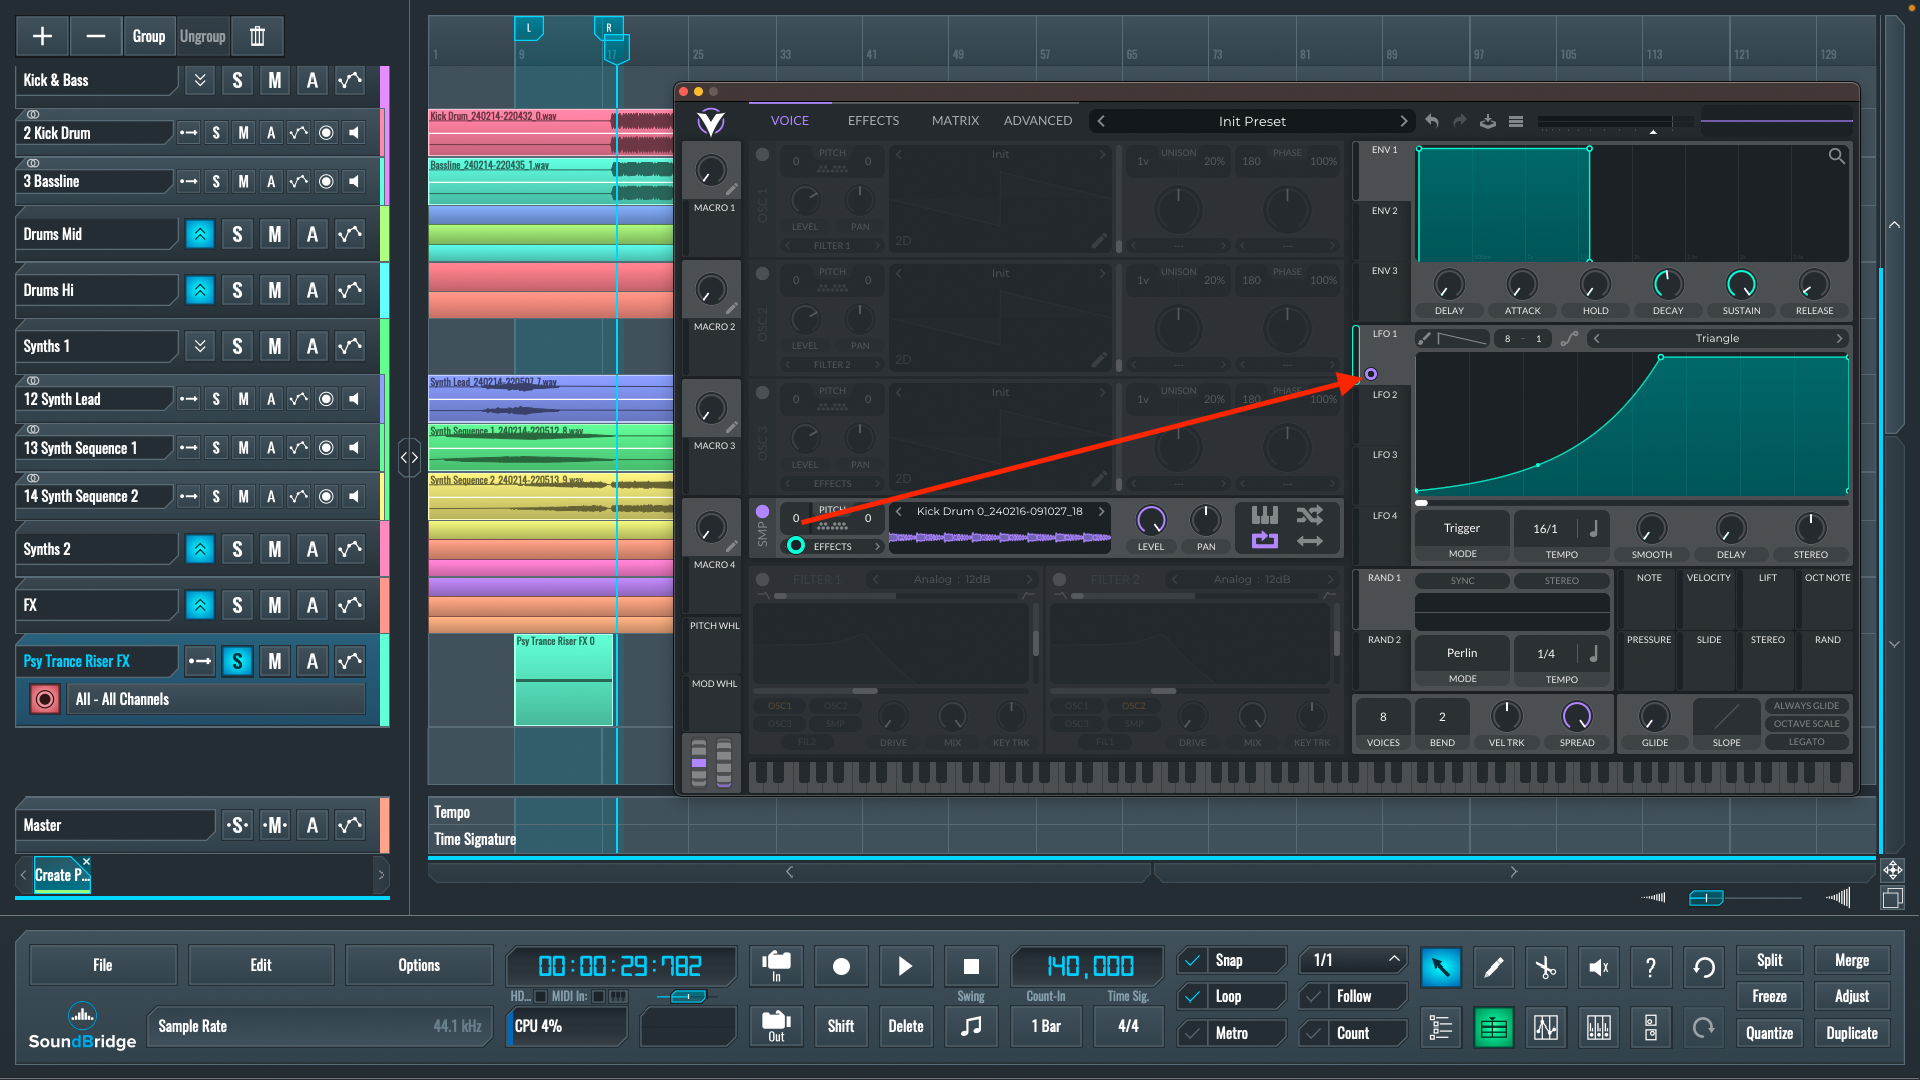
~Riser Effect - Pitch Modulation
Add Appropriate FX Processing
As you can see, our riser effect is taking on the desired shape, but it still sounds raw. With this in mind, we'll need some effects to process it. Let's get into Vital's effect section and start with the EQ. You've probably noticed that the high frequencies become too harsh as the pitch increases on our riser effect. To fix this, we'll copy the envelope shape of LFO 1 and paste it onto LFO 2, which will be used to modulate the attenuation of the EQ high-frequency band.
The modulation routing is the same as in the previous step: drag and drop the LFO 2 to the gain of the high shelf EQ. After the EQ, we'll use the flanger to add movement to our riser effect. In this case, the flanger settings include relatively high feedback because we want to make the flanger effect more noticeable, and we will use the LFO 2 to modulate the flanger's mix parameter so that it gradually increases in volume throughout the riser effect. Finally, let's use a reverb with LFO 2 modulating the high cut and mix parameters.
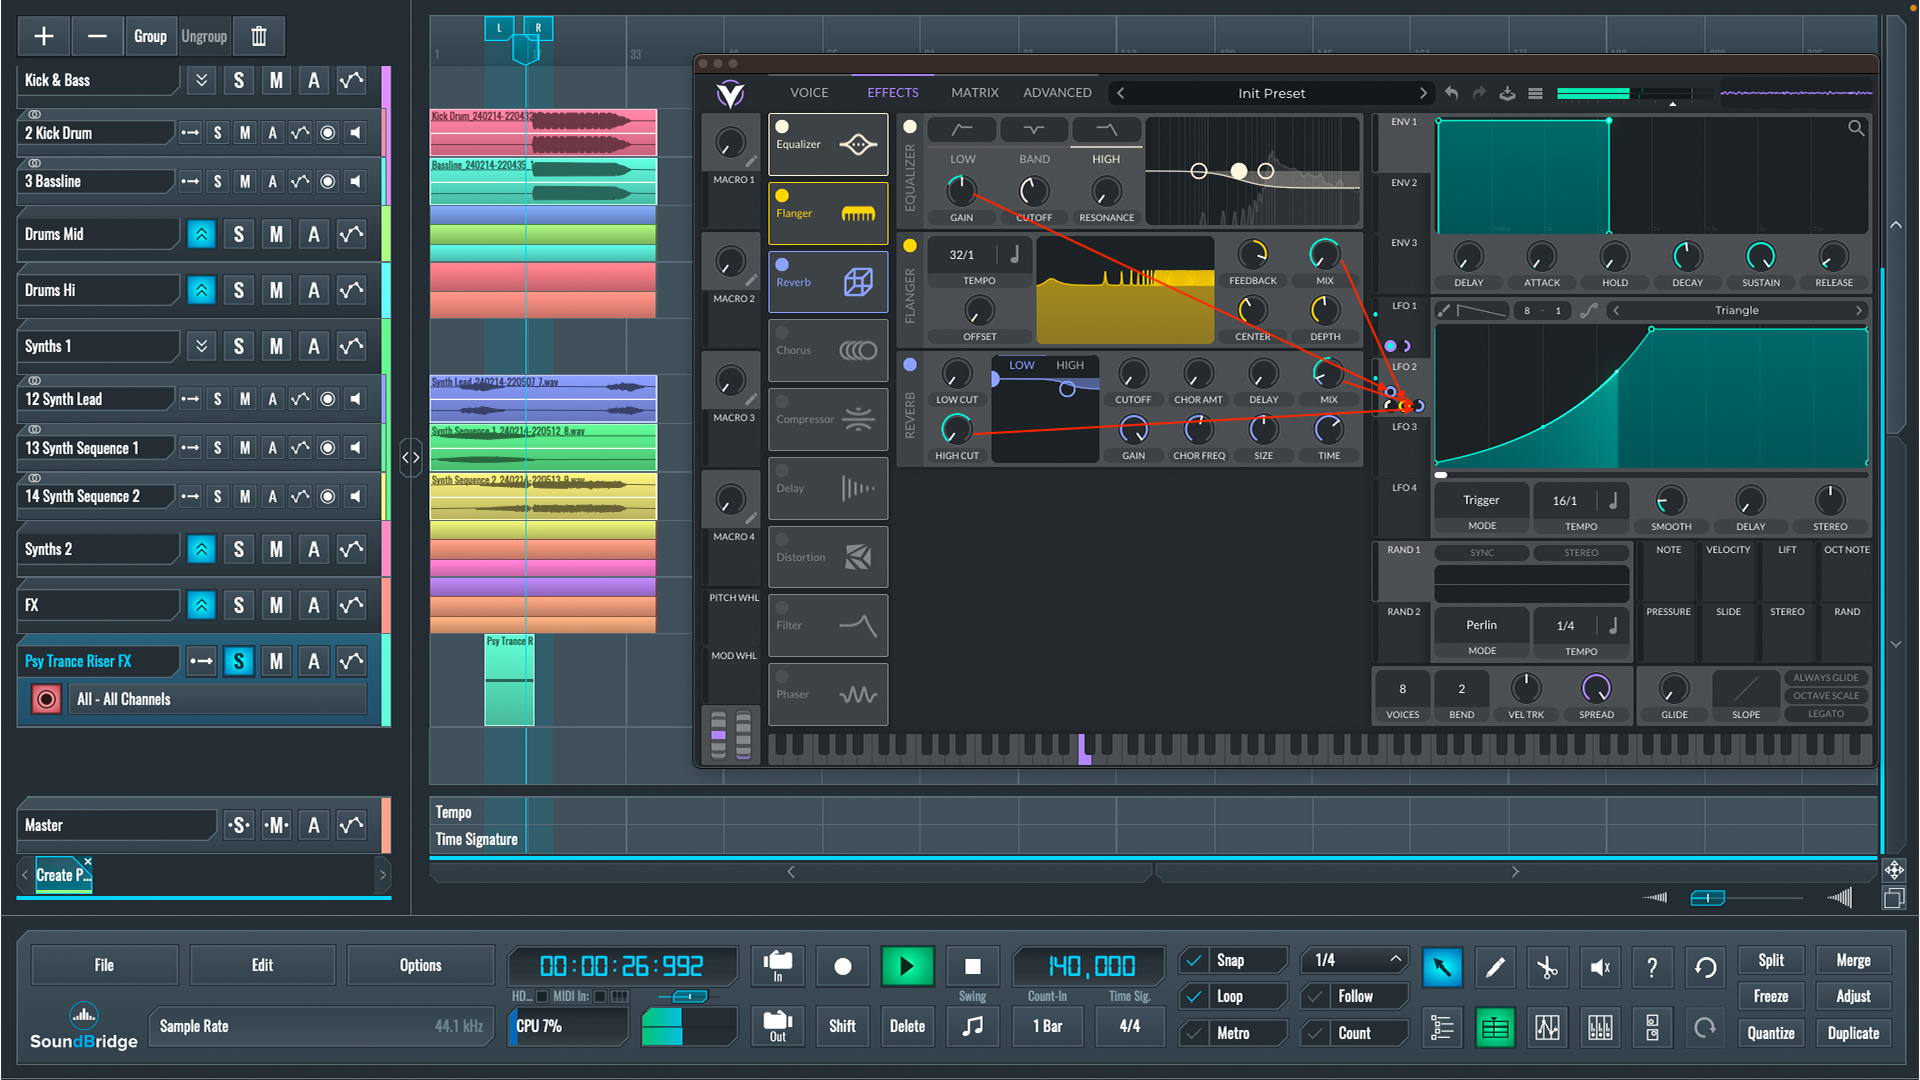
~Riser Effect- Effect Modulation
Now, we can say that we have learned how to create a psytrance riser effect; after adjusting the channel's volume, let us finally hear how it sounds with other elements in the mix.
~Full Mix - With Psytrance Riser Effect
If you liked this article on sound design, here are some more on the same subject:
MASTER MUSIC PRODUCTION
Expert-led courses designed to take you from fundamentals to finished tracks.

HOUSEFrom bouncy bass and solid kicks, this course teaches you the most modern House music production techniques needed to succeed and stand out.

TRAPQuit sounding like generic Trap and produce something World with hints of the Far East. Create ethnic soundscapes to put your Trap ahead of the curve.

AMBIENTProduce relaxing, sophisticated psy-influenced ambient. Psychedelic and relaxing to listen to, create meditative soundscapes to put your listeners in Zen.