


Create Reverb Throws for Professional-Sounding Transitions
Last Edited: Jul 2, 2026
Reverb is one of the most common effects in music production, yet many often apply it in the least controlled way. A rookie approach is to place a reverb on a channel or send and leave it active throughout the entire track. However, too much constant reverb quickly reduces clarity, pushes elements too far back in the mix, and makes the overall sound feel washed out. In more refined productions, reverb is not just a static effect, but a dynamic tool. Rather than applying reverb continuously, you can send the signal to a reverb bus only at specific points, typically at the ends of phrases, during transitions, or on isolated hits. The result is a cleaner mix that still retains depth and movement. In this tutorial, we will demonstrate how to create these kinds of reverb throws inside SoundBridge: DAW.
This approach allows the dry signal to remain upfront and defined, while the reverb appears briefly to create space and contrast. Because of this, the effect becomes much more noticeable and intentional. A single reverb tail can emphasize the end of a vocal phrase, create tension before a drop, or add atmosphere without masking the core elements of the track.
Another advantage of this technique is control. By automating the send level instead of relying on a fixed reverb setting, you can decide exactly when and how much space you want to apply. This control avoids the common issue of overprocessing and keeps the mix balanced, especially in dense arrangements where multiple elements compete for the same frequency range.
Listening to the Full Mix Before Creating Reverb Throws
To begin, we played the loop in SoundBridge: DAW without any additional reverb or send effects. The goal is not to use more reverb, but to use it with intention. We will then create controlled reverb throws with automation, followed by shaping the reverb itself to fit the mix. Each step focuses on practical application, showing how small, targeted changes can significantly improve clarity and depth.
Listening in this first stage reveals where we actually need space. Certain elements, such as vocals, stabs, or melodic hits, may feel too dry or abruptly cut off, especially at the end of phrases. These moments naturally stand out as candidates for reverb throws.
At the same time, this step helps identify how much reverb the mix can handle. In many cases, the arrangement already contains enough information, and adding constant reverb would only reduce clarity. By hearing the loop without processing, it becomes easier to recognize where subtle, controlled space will be more effective than a continuous effect.
We made no changes here. The goal is to define the moments that will benefit from reverb, ensuring that every throw created later has a clear purpose within the mix.
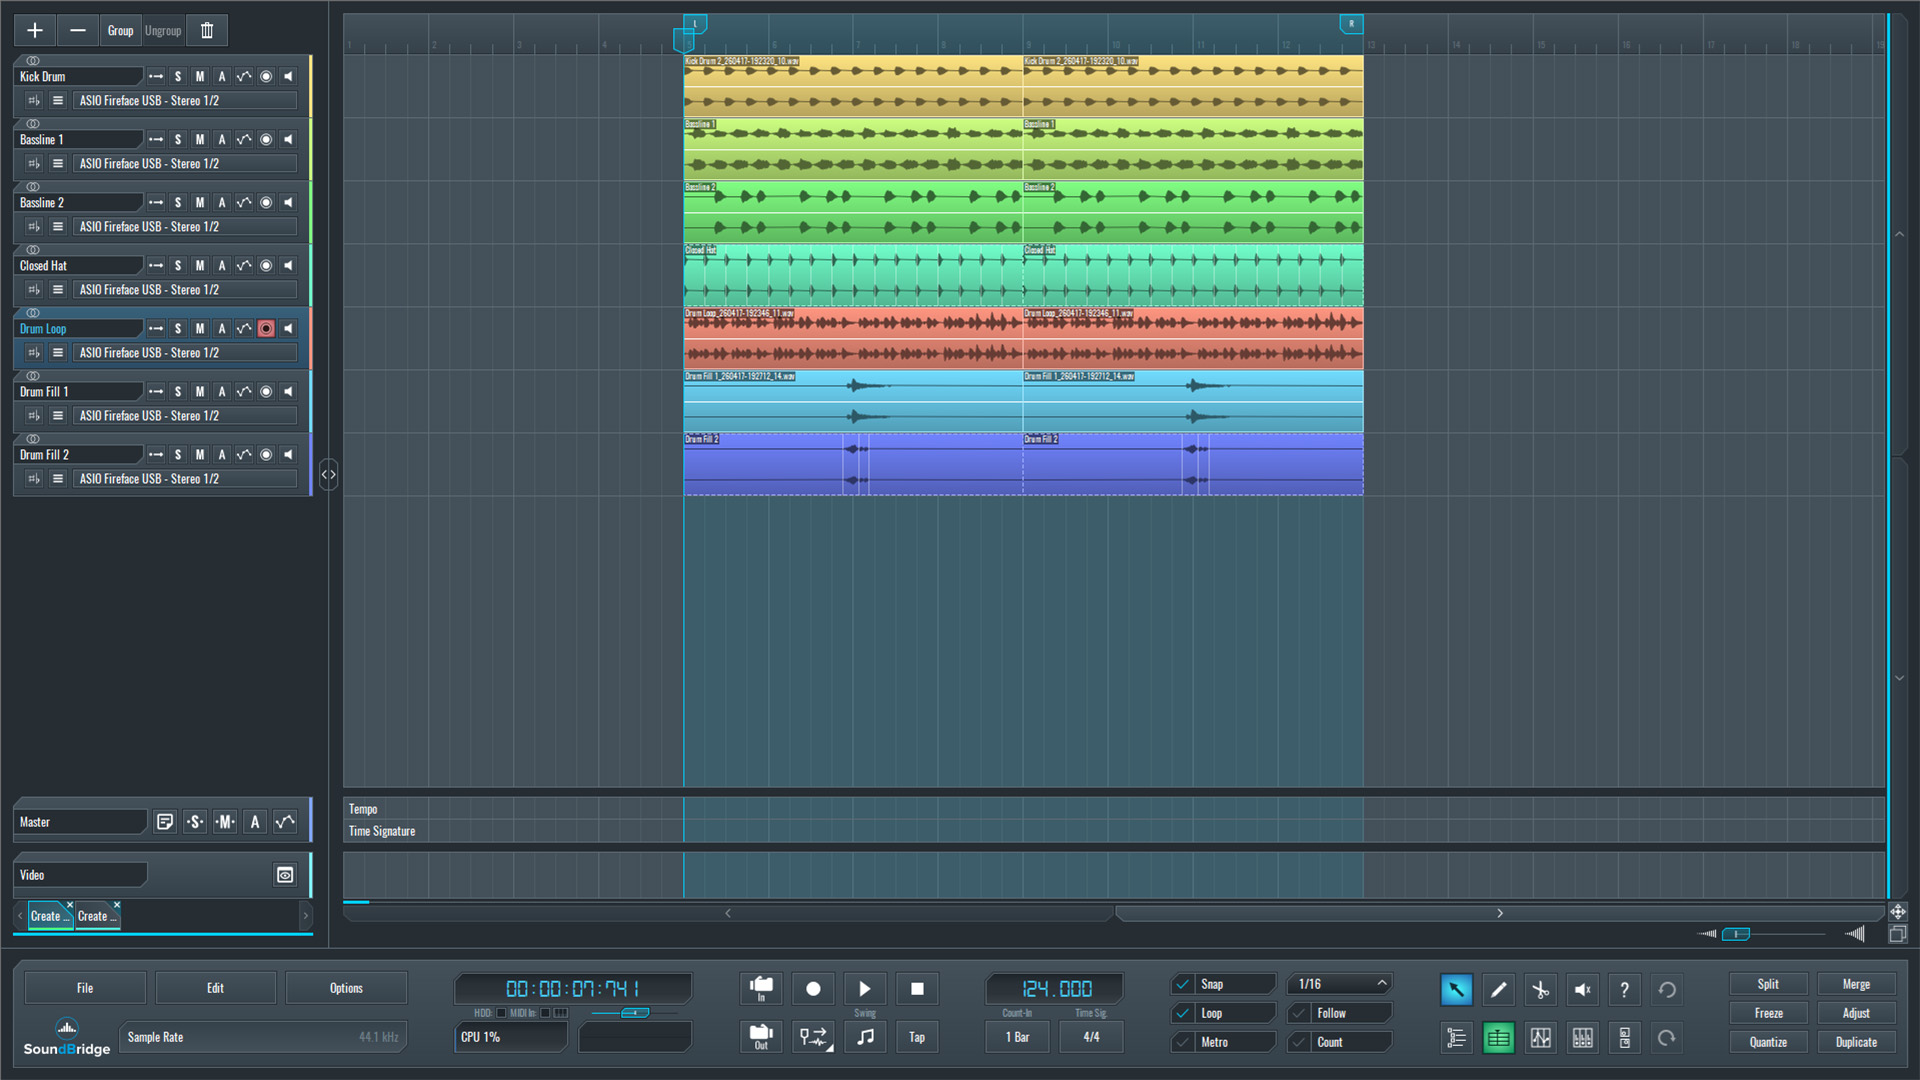
~Full Mix - Without Reverb Throw Trick
Listening to the Synth Stab in Isolation
At this stage, we played the synth stab sequence in solo to hear its natural behavior without any processing. In its current state, the sound feels quite dry and abrupt. Each hit ends quickly, leaving noticeable gaps between notes. While this can work rhythmically, it lacks movement and conveys no sense of space or continuation.
These empty spaces are exactly where reverb throws become useful. Instead of filling them with additional notes or layers, the idea is to extend the existing sound by introducing controlled reverb tails that occupy those gaps.
By listening in isolation, it becomes clear where the sound drops off and where we need to create a reverb throw to make the sequence feel more fluid and engaging, without changing the original pattern.
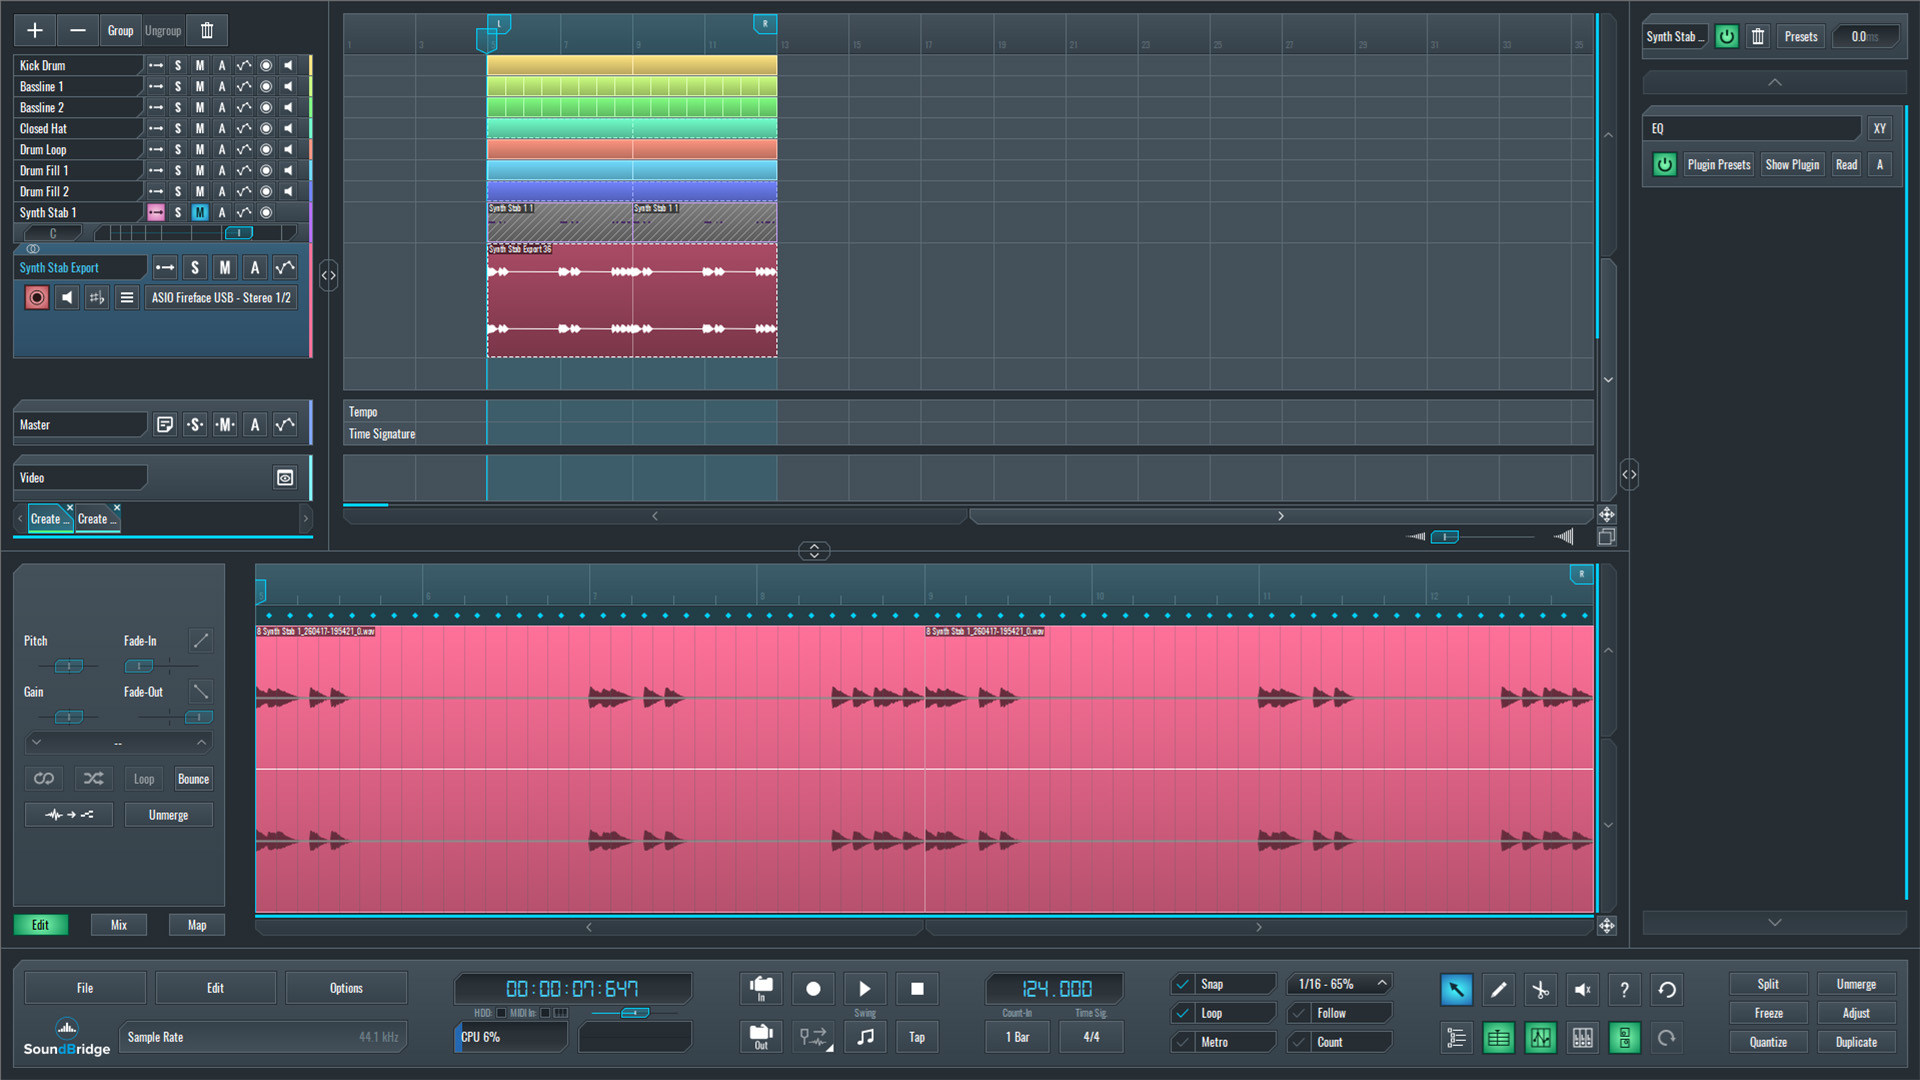
~Full Mix - Synth Stab (Unprocessed)
~Synth Stab - Solo (Unprocessed)
Layering the Synth Stab With a Snare
In this step, we layered the synth stab with an additional snare sound from Ritmix: Drum Machine by SoundBridge. The snare was placed on the same hit points as the stab, reinforcing each transient and adding more impact to the sequence.
On its own, the stab feels dry and leaves noticeable gaps. After introducing the snare layer, the groove becomes more defined, and the rhythmic structure gains weight. This combination creates a strong foundation before any effects are applied.
From here, we processed both elements together using subtle effects to extend their presence and fill the gaps between hits. Instead of adding new notes, the existing sounds were shaped to occupy more space, making the sequence feel more continuous.
As a result, the overall drive and groove become more consistent, with each hit carrying more energy and connecting more naturally to the next.
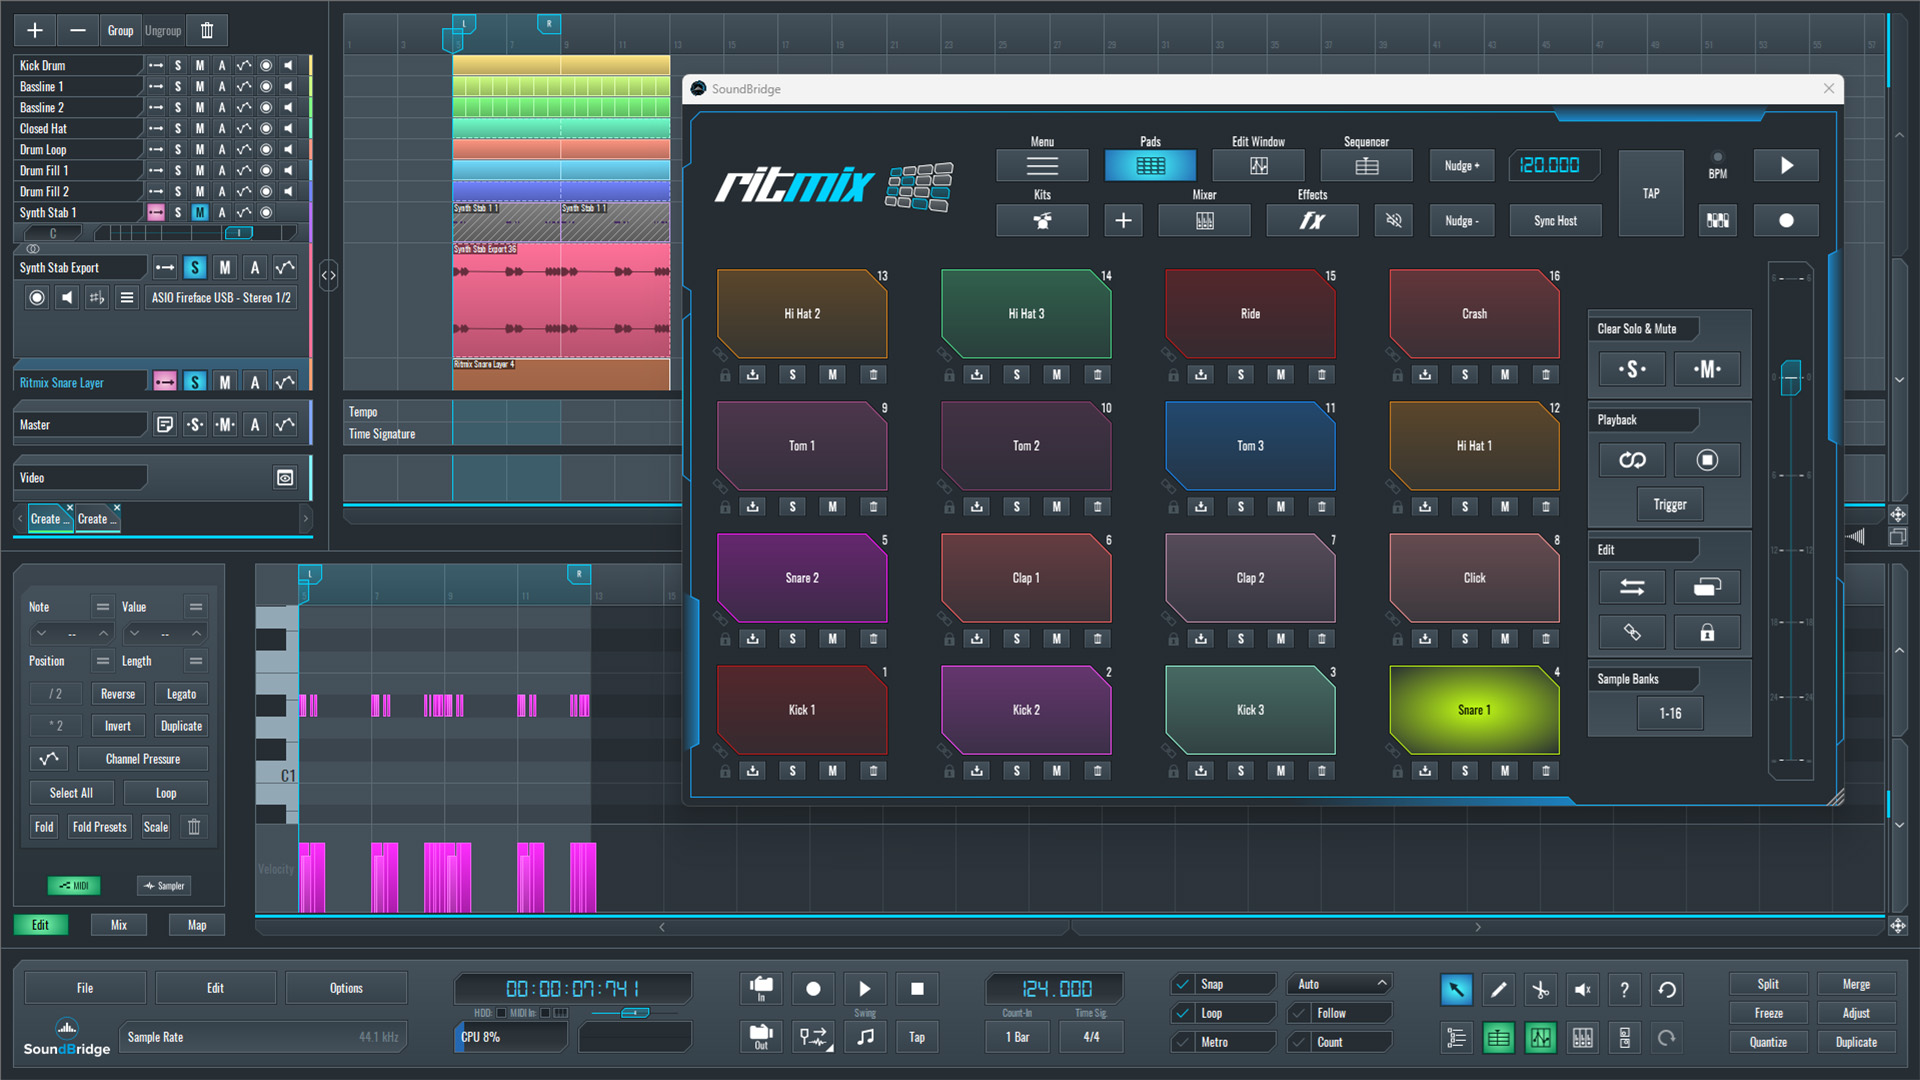
~Synth Stab & Snare Layer - Solo (Unprocessed)
Group Processing and Creating the Reverb Throws
At this point, we routed both the synth stab and snare layer into a single group channel. This routing allows the two sounds to behave as a single cohesive unit, making the processing more consistent and controlled.
We then applied a reverb and a bitcrusher to this group. We used the built-in reverb in SoundBridge, set to create a longer tail that extends beyond the original hits. Alongside it, we used the PCM2612 Retro Decimator Unit to introduce texture and character to the tail.
The key part of this step is automation. Instead of leaving these effects active at all times, their parameters were automated to activate only in specific moments. On the bitcrusher, PreScaler and Dry/Wet were automated, while on the reverb, the Dry/Wet signal was also controlled over time.
This approach allows the dry hits to remain clean and defined, while the processed signal appears only after the transient, creating a long reverb tail that fills the gaps between hits. The added bitcrushing further enhances the texture, making the tail more noticeable and unique without overwhelming the mix.
As a result, the sequence transitions from short, disconnected hits into a more continuous and dynamic groove, where each element naturally flows into the next.
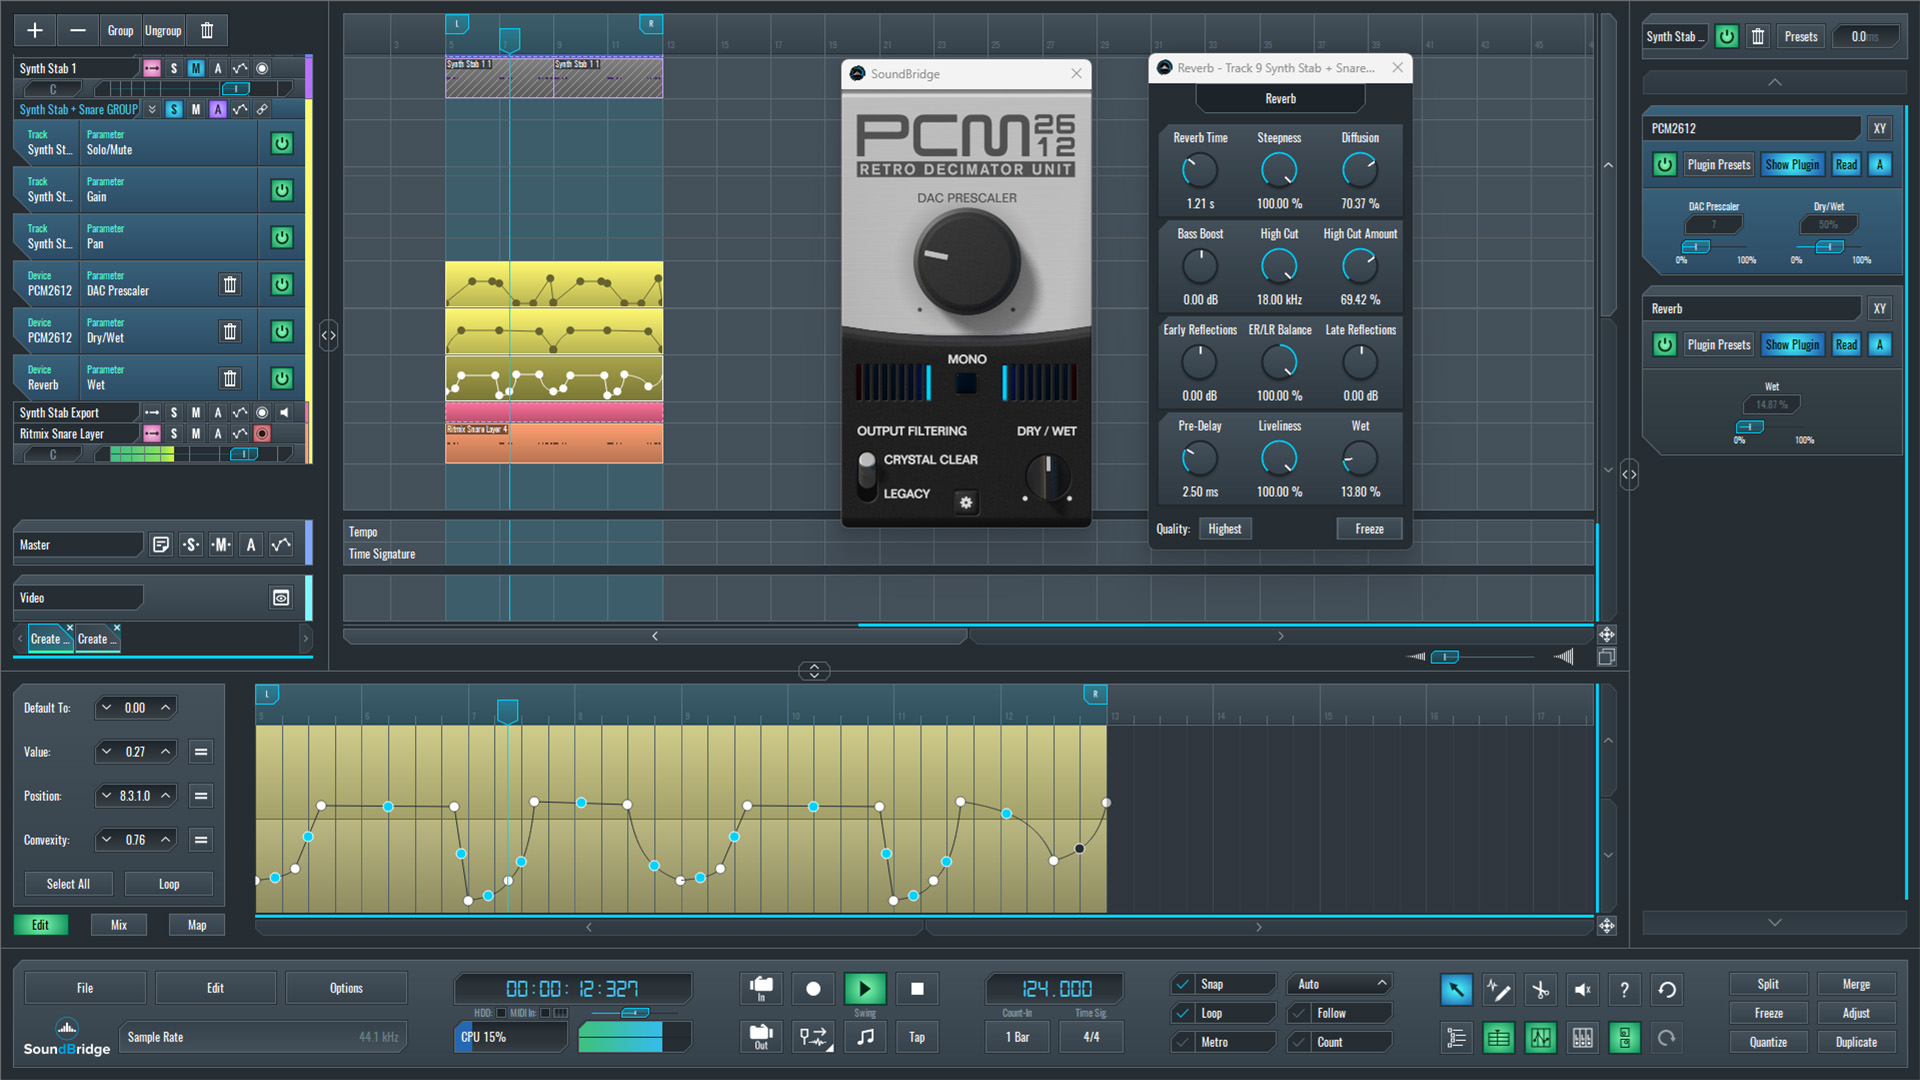
~Synth Stab & Snare Layer - Solo (Processed)
Filling the Gaps With White Noise
To further enhance the sense of continuity, an additional white noise layer was introduced. We positioned this layer to lead listeners into the synth stab and snare hits, effectively serving as a brief transition. Instead of adding new rhythmic content, this layer announces each hit. The white noise guides the ears and smooths the space between the hits.
The noise was shaped with a short envelope, allowing it to rise slightly before each transient and fade quickly after. This layer creates a subtle build-up effect that fills the gaps without overpowering the main elements.
When combined with group processing and reverb throws we created, this layer reinforces the sequence's overall movement. The previously empty spaces become more controlled and intentional, resulting in a groove that feels continuous, connected, and more engaging.
~Synth Stab, Snare Layer & White Noise - Solo (Processed)
Final Thoughts
Throughout this process, the focus was not on adding more elements, but on reshaping and extending what was already there. We started with a dry synth stab, and gradually developed the groove through layering, grouping, and controlled processing to create movement and continuity.
By creating reverb throws through automation, we were able to make the sound breathe without losing clarity. Instead of a constant wash of reverb, the space appears only when needed, filling the gaps between hits and enhancing the overall flow. The bitcrusher added extra texture to these tails, making them more noticeable and characterful, while remaining controlled.
Layering the snare with the stab reinforced the transients and gave the sequence more impact, while the white noise layer helped guide transitions and further smooth out empty spaces. Each step contributed to a more connected and consistent groove, without overcrowding the mix.
At this point, we played back the full mix with all processing applied. Compared to the original dry loop, the result is noticeably more dynamic, fluid, and engaging, with each element flowing naturally into the next.
~Full Mix - Synth Stab (Processed)
If you liked this article, here are some more on the same subject:
MASTER MUSIC PRODUCTION
Expert-led courses designed to take you from fundamentals to finished tracks.

HOUSEFrom bouncy bass and solid kicks, this course teaches you the most modern House music production techniques needed to succeed and stand out.

TRAPQuit sounding like generic Trap and produce something World with hints of the Far East. Create ethnic soundscapes to put your Trap ahead of the curve.

AMBIENTProduce relaxing, sophisticated psy-influenced ambient. Psychedelic and relaxing to listen to, create meditative soundscapes to put your listeners in Zen.