Create an Unique Riser Effect
Last Edited: Dec 4, 2023
Riser effects are, without a doubt, one of the aspects of modern electronic music genres that contribute to the desired impression of tension and release. It is vital in many types of electronic music when producers need to create dramatic and dynamic builds right before the drop. We all are familiar with the euphoric sensation of a well-executed build or drops that slam down into the drop with full energy. Most of us use pre-made riser effects from various sample libraries that can be found online. Instead, in the following tutorial, we will illustrate how to process and create a unique riser effect.
As usual, we have prepared a short sequence in our SoundBridge: DAW containing most of the elements of the whole mix. Let's take a listen to it.

First, We will import a riser effect that we created with a soft synth onto the new audio channel. Here's how it sounds when it's unprocessed.

Our riser effect sounds pretty dry and ordinary. To change that, we must first deal with its stereo image. Make two more copies of the original sample and place them on separate channels beneath the original. We will decrease the pitch of the first copy by 12 semitones by entering the audio editor. Secondly, we will do the opposite with the second copy (increase the pitch by 12 semitones). We have named the copies differently from the original for better orientation, as shown in the image below. Let's hear how our riser effect sounds now.

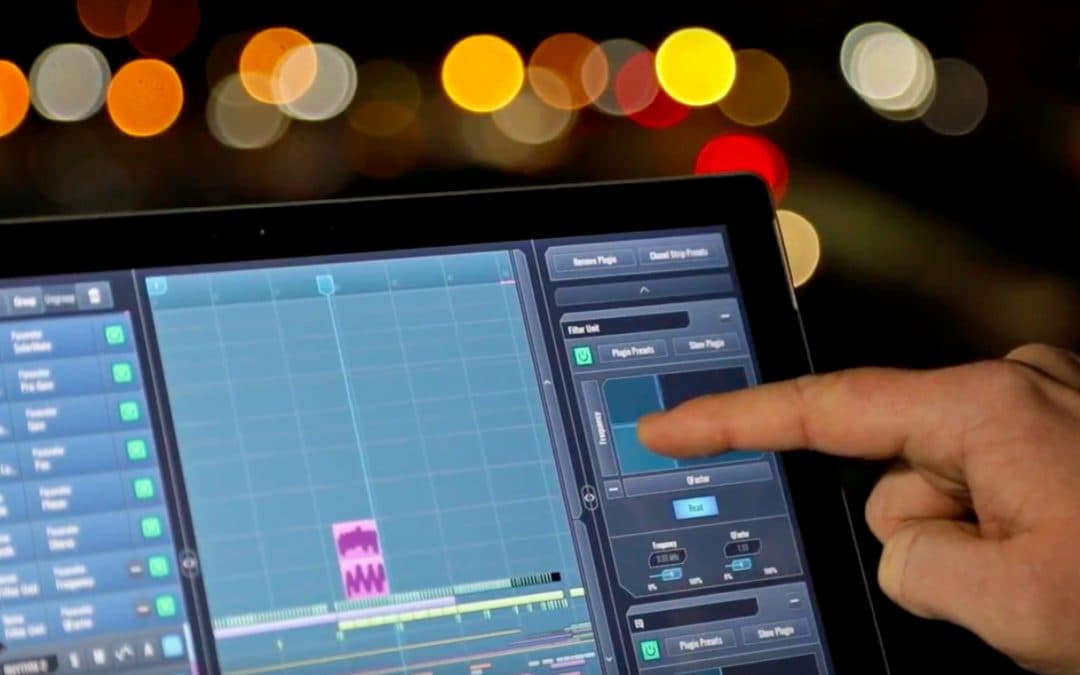
We will now group our riser effects channels for easier control and further process them by adding effects to the group channel rack. The first effect we'll apply is tremolo. The tremolo will add movement to the sound and change its dynamics. We chose the SoundToys Tremolator for this. By entering the Tremolator interface, we will gradually automate depth and rate parameters to introduce the gated effect. Let's hear how that sounds.

After adding the tremolo, coloring our sound further with some reverb delay effects might be a good idea. Finally, let's find out how our processed riser effect sounds in the context of the whole mix. This is how you create a unique riser effect.
MASTER MUSIC PRODUCTION
Expert-led courses designed to take you from fundamentals to finished tracks.

HOUSEFrom bouncy bass and solid kicks, this course teaches you the most modern House music production techniques needed to succeed and stand out.

TRAPQuit sounding like generic Trap and produce something World with hints of the Far East. Create ethnic soundscapes to put your Trap ahead of the curve.

AMBIENTProduce relaxing, sophisticated psy-influenced ambient. Psychedelic and relaxing to listen to, create meditative soundscapes to put your listeners in Zen.