

Drum Programming Tips for Producers of All Levels
Last Edited: Jul 13, 2026
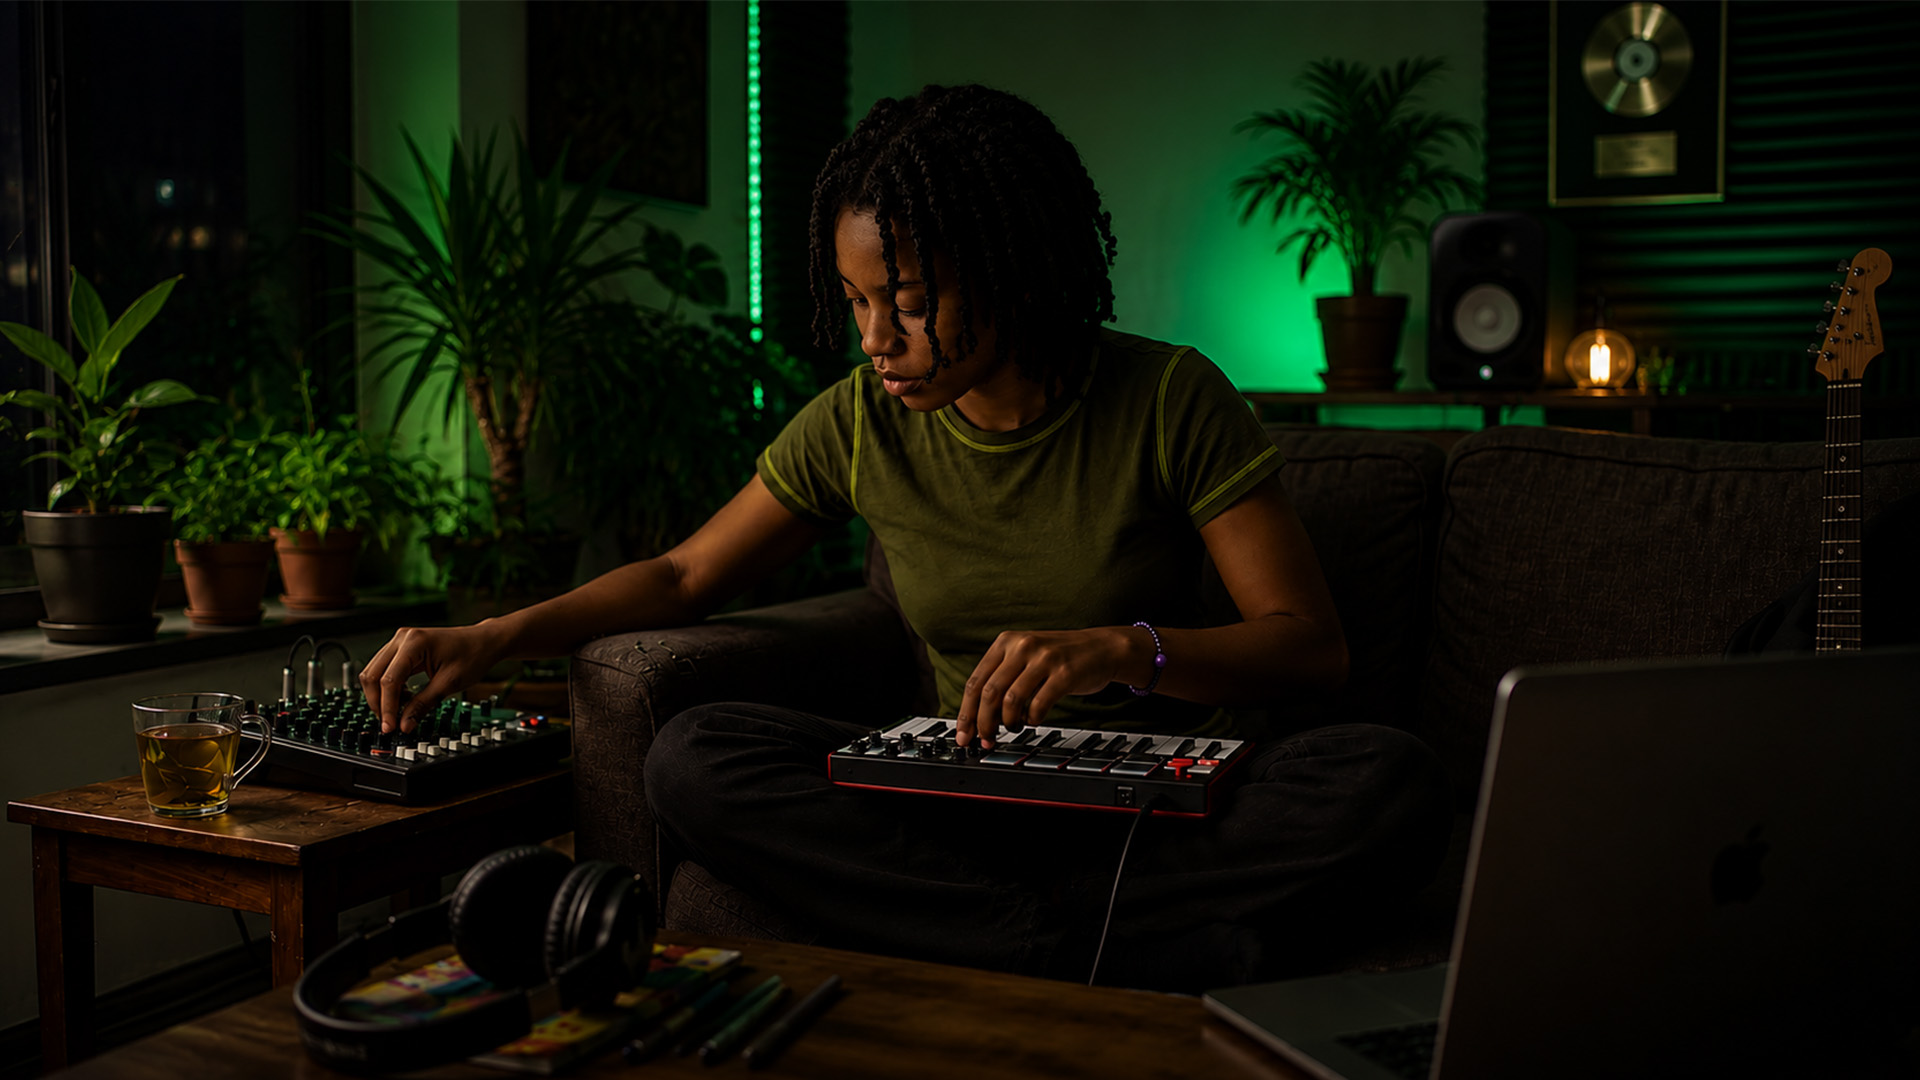
Drum programming tips are practical production methods that shape how beats feel, breathe, and hit. Sound selection drives 90% of drum quality, which means your sample choices matter far more than any effect you add later. Velocity variation, layering, and timing adjustments like swing and ghost notes are the core techniques that separate flat, robotic patterns from grooves that pull listeners in. Whether you are building your first beat or refining advanced drum programming techniques, these methods apply across every genre and skill level.
1. Prioritize sound selection above everything else
Sound selection is 90% of drum quality, so start with the best samples you can find. A mediocre kick processed heavily will always sound like a mediocre kick. A great sample needs very little work to sit well in a mix.
Choose samples that already have the character you want. A punchy kick with a tight transient works for House. A longer, boomy kick suits Trap. Match the sample to the genre before you touch a single plugin.
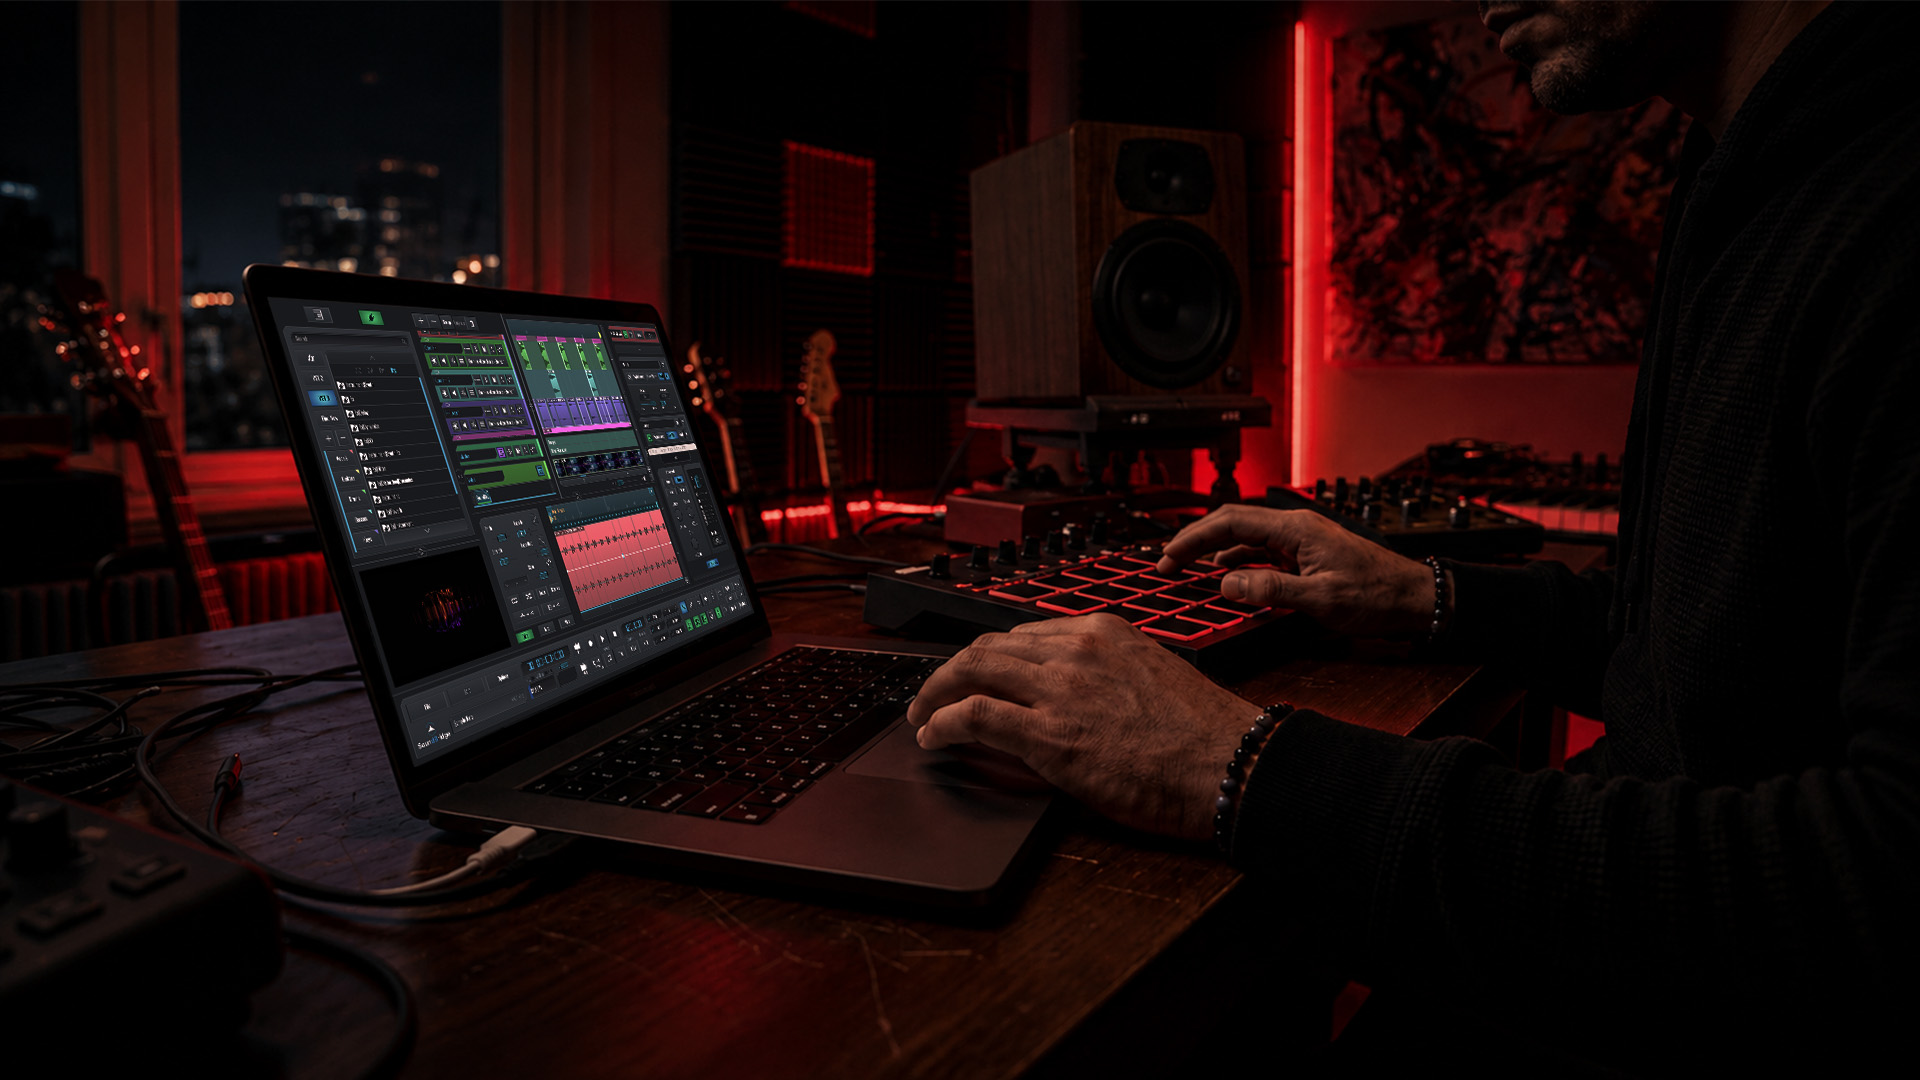
Think of it the way a guitarist approaches instrument choice. Just as acoustic guitar selection shapes the tone before any pedal or amp enters the picture, your drum sample defines the foundation of your entire beat.
2. Layer drum sounds with frequency separation
Layering builds weight and clarity, but only when you carve each layer into its own frequency band. Effective layering demands aggressive EQ separation to give each layer a distinct spectral role. Without that separation, layers fight each other and the mix turns muddy.
A layered kick typically uses three elements: a sub for low-end weight, a body for punch in the midrange, and a click for transient attack up top. High-pass the sub above 200 Hz on the body layer. Low-pass the click below 5 kHz so it does not clash with the body.
Limit yourself to three layers maximum. Stacking five or six similar sounds creates phase problems and adds no real value. Less is more when each layer has a clear job.
Pro Tip: Sidechain the click layer to duck the sub layer by 2–3 dB for 5–10 ms. This technique, known as transient ducking, keeps the attack sharp without letting the sub overwhelm the low end.
3. Align transients to prevent phase cancellation
Phase cancellation from misaligned layers causes thin, weak drum sounds that no amount of compression will fix. When two waveforms hit at slightly different times, their peaks and troughs cancel each other out. The result is a kick that sounds hollow instead of powerful.
Zoom into the sample editor and align the transient peaks of each layer at the sample level. Even a few milliseconds of misalignment can damage the overall punch. Most DAWs let you nudge samples by single milliseconds, so use that precision.
After aligning, flip the phase on one layer and listen. If the sound gets quieter, the layers are in phase and you are good. If it gets louder, flip it back and investigate the alignment again.
4. Vary velocity to make patterns feel alive
Velocity variation prevents programmed drums from sounding static. Even a small range, say between velocity 87 and 102, gives a snare line the kind of natural push and pull a real drummer creates. Uniform velocity at 100 across every hit is the fastest way to make a pattern sound robotic.
Accent beats 1 and 3 with stronger velocities. Soften the off-beats slightly. This mirrors how a drummer naturally leans into the downbeats while keeping the upbeats lighter and more relaxed.
Velocity is also your tool for building energy within a phrase. Gradually increase the velocity over eight bars to build momentum before a drop or a chorus.
Pro Tip: Draw velocity automation by hand rather than using a randomize function. Random values can feel chaotic. Hand-drawn curves feel intentional and musical.
5. Use ghost notes to add momentum and texture
Ghost notes are quiet snare or hi-hat hits placed between main beats. Ghost notes programmed at 30–40% velocity on 16th notes before backbeats mimic the natural bounce of a drummer’s stick as it returns to the head. They add forward motion without cluttering the groove.
Place ghost notes on the 16th notes just before beats 2 and 4. Keep them barely audible in the mix. Their job is to be felt, not heard. If you can clearly identify them as separate hits, they are too loud.
Ghost notes work especially well in R&B, Neo-Soul, and Funk-influenced beats. They give the pattern a sense of life that listeners feel even if they cannot name what they are hearing. For a deeper look at building expressive rhythmic patterns, the guide on driving tom rhythms in Afro House shows how subtle hits create big movement.
6. Apply partial quantization to preserve human feel
Full quantization locks every hit to the grid. The result is technically perfect and emotionally flat. Setting the quantize strength to 50–70% preserves the natural timing variations that make a pattern feel like it was played by a person.
At 50% strength, a hit that was 10 ms late moves only 5 ms closer to the grid. The slight imperfection stays. That imperfection is the groove. Producers who quantize to 100% then wonder why their beats feel stiff are solving the wrong problem.
Apply partial quantization selectively. Kick and snare can sit closer to the grid for stability. Hi-hats and percussion benefit most from looser timing. This mirrors how a real drummer plays: locked on the kick and snare, more fluid everywhere else.
7. Delay the snare for a laid-back groove
Delaying the snare by 5–15 ms in Hip-Hop and Neo-Soul creates a relaxed, head-nodding feel behind the metronome. The snare lands just after the beat, which creates a sense of ease and swagger. This is one of the most effective drum sequencing techniques for genres built on groove rather than precision.
Start with a 10 ms delay and listen to how the pattern changes. The kick stays on the grid. The snare lags just slightly. The space between them creates tension that resolves on the next beat. That tension is what makes people nod their heads.
This technique works best when the hi-hats stay tight on the grid. The contrast between a locked hi-hat pattern and a delayed snare creates the push-pull feel that defines classic Hip-Hop production. If you are new to timing-based techniques, the beginner beat making guide covers foundational timing concepts in detail.
8. Add swing to create forward momentum
16th-note-based swing in UKG affects only the 16th-note subdivisions without shifting the main kick and clap positions. This creates movement and bounce while keeping the pattern's structural backbone intact. Swing is not just a UKG technique. It applies across House, Jungle, and any genre where groove matters.
Apply swing to your hi-hat or percussion layer first. Leave the kick and snare on the straight grid. The contrast between the swinging subdivisions and the locked main hits creates the rhythmic tension that defines a great groove.
Swing and timing nuances create groove and forward momentum that listeners feel physically. Start at a moderate swing value around 55–60% and adjust by ear. Too much swing sounds comedic. Too little sounds straight. The sweet spot is where the pattern starts to breathe.
Pro Tip: Try applying swing to a shaker or tambourine layer rather than the hi-hat. The effect is subtler and sits more naturally in dense arrangements.
9. Use syncopation and polyrhythms for advanced texture
Syncopation places hits on unexpected beats or subdivisions, creating rhythmic tension that pulls the listener forward. Offbeat hi-hat placements and triplet-based snare rolls are classic tools of syncopation. They work in every genre from Afrobeats to Drum and Bass.
Polyrhythms layer two different time signatures simultaneously. A common example is programming hi-hats in a 3/4 pattern over a 4/4 beat. The hi-hats cycle every three beats while the kick and snare stay in four. The patterns align every 12 beats, creating a sense of resolution that feels satisfying without being predictable.
Use polyrhythms sparingly. One polyrhythmic element per pattern is usually enough. Adding more creates confusion rather than complexity.
10. Shape drum sounds with saturation and space effects
Saturation adds harmonic content and warmth to drum sounds before they reach the clipping point. A light saturation pass on a kick gives it presence in the midrange, helping it cut through a dense mix without extra volume. Use saturation on individual drum channels before any compression.
Light delay on hi-hats adds a sense of space and movement. A short 1/16th-note delay at low feedback creates a shimmer that makes the pattern feel wider. Reverb on snares adds depth, but keep the decay short. Long reverb tails on snares quickly clutter the mix.
For dynamic processing of grouped drums, upward and downward compression techniques give you precise control over the kit's overall punch and feel. Treat the drum bus as a single instrument rather than compressing each layer individually.
Pro Tip: Automate a high-pass filter on the drum bus during build-ups. Sweeping the cutoff from 200 Hz up to 1 kHz and back down creates tension and release without adding a single extra sound.
Key takeaways
The most effective drum programming combines high-quality sample selection, precise layering, and humanization techniques like velocity variation and partial quantization to create grooves that feel alive.
| Point | Details |
|---|---|
| Sound selection first | Choose high-quality samples before applying any processing or effects. |
| Layer with EQ separation | Carve each drum layer into its own frequency band to avoid muddy mixes. |
| Humanize with velocity | Vary hit velocities between 87 and 102 to prevent robotic, static patterns. |
| Use partial quantization | Set the quantize strength to 50–70% to preserve the natural feel of timing. |
| Swing and ghost notes | Add ghost notes at 30–40% velocity and apply swing to subdivisions for groove. |
What I have learned about drum programming after years in the studio
Most producers chase complexity too early. They stack polyrhythms and automate six parameters before achieving a solid kick-and-snare relationship. The truth is that the fundamentals carry 80% of the weight. A great-sounding kick, a characterful snare, and a hi-hat pattern with natural velocity variation will outperform a technically complex pattern built on weak samples every single time.
The subtlety principle is the hardest lesson to internalize. Ghost notes should be felt, not heard. Swing should make the pattern breathe, not stagger. Snare delay should create ease, not sloppiness. Every technique in drum programming works best when the listener cannot identify it as a technique. When someone says your beat “just feels right,” that is the goal. They are responding to dozens of small decisions that add up to something organic.
My honest advice: spend the first hour of any session choosing and auditioning samples. Treat that time as non-negotiable. Then build your pattern with velocity variation from the start, not as an afterthought. Add swing and ghost notes only after the core groove is locked. Effects and automation come last. That sequence produces better results than any shortcut I have tried.
Experimentation matters, but it works best within constraints. Set a rule for a session: only three drum sounds, or only 16th-note patterns. Constraints force creative decisions that open-ended sessions never produce. The producers who grow fastest are the ones who master one technique at a time, not the ones who try everything at once.
— Wake
Soundbridge gives you the tools to put these techniques into practice
Every drum programming technique covered here requires a DAW that responds to your creative decisions without getting in the way. Soundbridge is built for exactly that.

Soundbridge gives you velocity editing, timing adjustments, and layering tools in an interface designed for producers at every level. Its built-in automation features let you shape filter sweeps, volume curves, and effect parameters in real time. Whether you are applying audio editing automation to your drum bus or fine-tuning transient alignment on layered kicks, Soundbridge handles it with precision. If you are ready to put these beat-making techniques to work, explore what a modern DAW can do for your production workflow.
FAQ
What is the most important drum programming tip for beginners?
Start with sound selection. Sound selection drives 90% of drum quality, so choosing the right samples matters more than any processing or programming technique you apply afterward.
How do I make programmed drums sound less robotic?
Vary the velocity of each hit and set your quantize strength to 50–70% rather than 100%. Partial quantization preserves natural timing variations that give patterns a human feel.
What velocity should ghost notes be programmed at?
Ghost notes work best at 30–40% velocity on 16th notes before backbeats. Keep them barely audible so they add momentum without drawing attention to themselves.
How much should I delay a snare for a Hip-Hop groove?
A 5–15 ms snare delay creates the relaxed, behind-the-beat feel that defines Hip-Hop and Neo-Soul. Start at 10 ms and adjust by ear until the groove feels natural.
What is the best software for drum programming?
The best software is a full-featured DAW that supports velocity editing, timing adjustments, and layering within a single workflow. Soundbridge offers all of these tools with support for 192kHz sample rates and an interface suited to producers at every level.
Recommended
MASTER MUSIC PRODUCTION
Expert-led courses designed to take you from fundamentals to finished tracks.

HOUSEFrom bouncy bass and solid kicks, this course teaches you the most modern House music production techniques needed to succeed and stand out.

TRAPQuit sounding like generic Trap and produce something World with hints of the Far East. Create ethnic soundscapes to put your Trap ahead of the curve.

AMBIENTProduce relaxing, sophisticated psy-influenced ambient. Psychedelic and relaxing to listen to, create meditative soundscapes to put your listeners in Zen.