Essential Audio Editing Techniques Every Producer Should Master
Last Edited: May 13, 2026
Choosing the right audio editing technique can mean the difference between a rough demo and a polished, release-ready track. Whether you’re crafting a cinematic score or producing a chart-topping record, the edits you make at every stage shape the final listener experience in ways that are often more powerful than the original recording itself. This article breaks down the most impactful editing methods, from foundational cuts and fades to advanced Mid/Side processing, so you can make smarter decisions in your workflow and push your productions further.
Key Takeaways
| Point | Details |
|---|---|
| Master the basics | Foundational techniques like trimming, fades, and normalization provide professional-level control over every project. |
| Leverage time and pitch edits | Time stretching and pitch shifting let you sync elements and create unique effects without compromising quality. |
| Use dynamics editing wisely. | Compression and limiting are not just for mixing but can shape audio clips even before creative edits. |
| Enhance width with M-S processing. | Mid/Side methods unlock advanced stereo imaging and spatial manipulation for music and film. |
| Integrate concepts in workflow. | Modern DAWs allow seamless arrangement of clips and effects, increasing both efficiency and creativity. |
Cutting, Trimming, Fades, and Volume Control: Foundational Edits
Every great production starts with clean, intentional edits. Before you add any creative texture or processing, you need to get the raw material right. Audio editing techniques commonly include cutting and trimming, fades and crossfades, gain and volume adjustment, and normalization as foundational operations. These are the building blocks that every producer, regardless of genre or experience level, needs to have locked down.
Cutting and trimming are your first line of defense. Cutting removes unwanted sections entirely, while trimming tightens clip boundaries to remove silence or noise at the edges. Get these right, and you immediately gain clarity across the mix.
Fades and crossfades are where the art begins. A well-placed fade-in or fade-out controls how a sound enters or exits the listener’s ear. Crossfades, which overlap two clips with opposing fades, are essential for hiding edit artifacts like clicks and pops. These small glitches happen whenever a waveform is cut at a zero-crossing point that isn’t perfectly matched. A short crossfade of just 5 to 20 milliseconds can make those artifacts completely disappear.
Here are some essential practices to build into your daily editing routine:
- Always cut on zero-crossings whenever possible to minimize clicks
- Use short crossfades (5ms to 20ms) between adjacent clips to smooth transitions
- Apply normalization after trimming to avoid boosting unwanted noise at the tails
- Adjust clip gain before the mix fader to keep your mix routing clean
- Compare edits in solo mode first, then always check them in context with the full mix
“The quality of your edits isn’t measured in isolation. It’s revealed the moment you play everything together.”
Gain and volume adjustments let you balance individual clips before they even hit your fader. This is particularly useful when consolidating recordings from different sessions or microphones that have inconsistent levels. Normalization, which raises or lowers the entire clip to reach a target peak or loudness level, completes the pre-mix preparation. Check the latest tips and real-world production strategies on the music production news section of the SoundBridge blog.
Pro Tip: Always audition your edits both in solo and in the full mix. An edit that sounds seamless in solo mode can introduce unwanted texture or phase issues when heard against other tracks.
Time Stretching and Pitch Shifting: Sync and Creative Retiming
Once you’ve mastered fundamental edits, timing and pitch editing offer the next level, both for sync and stylistic expression. Time- and pitch-based techniques, such as time stretching and pitch shifting, are used to sync audio or achieve creative retiming effects. Knowing when to use each one, and how, separates producers who get results from those who chase their tails.
Time stretching changes the duration of a clip without affecting its pitch. This is critical for syncing dialogue to picture, matching a drum loop to a new BPM, or fitting a recorded performance to a grid. Pitch shifting changes the pitch without altering the playback speed. This is your tool for creative transpositions, fixing off-key vocals, or designing sound effects that need to sit in a specific harmonic space.
Here’s a practical workflow for applying these techniques effectively:
- Identify your target: Decide whether you need to adjust time, pitch, or both before touching any controls.
- Choose the right algorithm: Most DAWs offer multiple time-stretching algorithms. Monophonic algorithms work best for single-instrument or vocal content. Polyphonic or complex algorithms handle full mixes or layered audio better.
- Start conservatively: Make the smallest adjustment that solves the problem. Extreme stretching or shifting degrades audio quality.
- Preview at full resolution: Always listen to the processed audio at its intended playback rate before committing to the edit.
- Freeze or bounce: Once you’re satisfied, freeze or bounce the clip to lock in the processed result and free up processing resources.
Statistic callout: According to sound design professionals, up to 80% of audio retiming edits in post-production workflows involve adjustments of less than 10% in either time or pitch. This means your primary goal is precision at smaller scales, not radical transformation.
The creative applications of these tools go well beyond technical fixes. Pitch shifting a drum hit down by a few semitones gives it more weight and impact. Time-stretching an ambient texture by a factor of 2 can create lush, evolving pads. Dive deeper into this world with the unique sound effect guide from SoundBridge, or explore how sound design transforms weddings to see creative applications in live event contexts.
Pro Tip: When stretching audio by more than 20%, switch to the highest-quality algorithm your DAW offers, even if it takes longer to process. The difference in fidelity is immediately noticeable, especially on material with a lot of transients, like drums and percussion.
Dynamics Processing: Compression, Limiting, and Expanders in Editing
With timing and pitch handled, the next step is refining dynamics for maximum control and edit readiness. Most producers think of compression and limiting as mix tools only. But dynamics editing approaches can be used as editing aids, such as using compression or limiting to control a clip’s dynamic range before or during edits. This distinction changes how you approach the early stages of a project.
Here’s how these tools function in an editing context:
| Tool | Editing role | Mix role | Typical editing setting |
|---|---|---|---|
| Compressor | Tame peak transients, level recordings | Glue, punch, character | Ratio 2:1 to 4:1, fast attack |
| Limiter | Hard ceiling to prevent clipping | Loudness maximizing | Ceiling at -1dBFS, fast release |
| Expander | Reduce low-level noise between phrases | Dynamic range enhancement | Threshold just above the noise floor |
| Gate | Remove bleed between phrases | Clean up drums | Fast attack, medium release |
When you use compression during the editing phase, you’re making audio easier to work with, not coloring it for the final mix. Think of it as pre-conditioning the material before you make critical cuts or align clips. This is especially important in mastering frequency ranges and EQ decisions that come later.
Key editing applications for dynamics editing:
- Use a gentle limiter on dialogue tracks to prevent sudden peaks before you set edit points
- Apply mild compression to a recorded performance to make timing inconsistencies less jarring before grid-aligning
- Use an expander on vocal takes to naturally reduce room noise between words, making clean cuts easier
- Gate drum recordings to eliminate bleed before piecing together a composite performance
The key mindset shift is this: dynamics processing in editing is about control, not character. Save the heavy creative compression for the mix stage.
Mid/Side Processing: Manipulating Width and Space
To finish the suite of advanced techniques, let’s focus on stereo imaging and spatial enhancement with Mid/Side processing. Mid/Side processing is an established editing methodology for manipulating stereo width and space by treating the Mid and Side components of a stereo signal independently. It’s one of the most powerful and underused tools in a producer’s editing arsenal.
Here’s how it works: the Mid channel carries the information that is identical in both the left and right signals, typically the center content like vocals, kick drums, and bass. The Side channel carries the difference between left and right, representing the stereo width, reverb tails, and ambient content. By processing these independently, you get surgical control over your spatial image.
| Feature | Standard stereo editing | Mid/Side editing |
|---|---|---|
| Center control | Affects all content equally | Independent control of center content |
| Width adjustment | Basic pan/width controls | Precise stereo field shaping |
| Noise reduction | Applies globally | Target side noise without touching the center |
| Film applications | Limited spatial control | Separate dialogue (mid) from ambiance (side) |
| Music applications | General mix width | Vocal clarity vs. pad width control |
“Mid/Side processing is not a shortcut. It’s a precision instrument. Used thoughtfully, it reshapes your stereo field without ever touching a pan knob.”
Some producers are initially skeptical of Mid/Side because it requires a routing setup that feels counterintuitive. Most modern DAWs handle this natively via M-S-capable plugins or built-in stereo tools. Once you route it correctly, the control you gain is remarkable. For vocals specifically, M-S processing lets you enhance the width of backing harmonies without pushing the lead vocal off-center. Explore unique vocal editing techniques to see how M-S fits into broader vocal production strategies.
In film work, M-S is invaluable. You can reduce reverb in the side channel to bring dialogue clarity without affecting room tone in the mid. Or, you can widen ambient effects tracks to create a more immersive soundfield while keeping the dialogue locked in the center.
Workflow Concepts: Arranging Clips and Effects in DAWs
By bringing all techniques together and understanding the workflow, you can maximize efficiency and creativity. A DAW-centric view of audio editing commonly frames editing around clip placement and the application or control of audio effects within the overall project workflow. This framing matters because it positions editing not as an isolated task but as a continuous, integrated process.
Think of your DAW session as a living document. Every clip placement, effect chain, and automation move is a decision that affects everything downstream. Here’s how to build an efficient, scalable editing workflow:
- Color-code your tracks and clips by category (drums, synths, vocals, dialogue) so navigation stays fast even in complex sessions
- Use track templates that include your standard effect chains pre-loaded, reducing setup time at the start of each project.
- Build a clip gain layer before touching mix faders, so your fader moves represent relative relationships, not absolute levels.
- Apply non-destructive edits wherever possible, using clip-based volume envelopes and effect bypass rather than permanent processing.ng
- Group related tracks into folders or buses to manage editing decisions across multiple tracks simultaneously
- Automate early: volume automation is an editing tool, not just a mix one. Use it to sculpt dynamics at the arrangement level.
One often overlooked productivity habit is to consolidate and rename clips after major editing sessions. This keeps your session tidy and prevents confusion when you revisit a project days later. The music production blog at SoundBridge offers deep workflow guides to help you build habits that stick.
What Pros Really Value in Audio Editing: Lessons From Practical Experience
Here’s something the tutorials don’t always tell you: chasing every new editing technique can actually stall your progress. The producers getting the best results in both music and film are not the ones with the longest plugin lists. They’re the ones who have a small number of techniques they execute with complete confidence and intention.
The hard-won lesson from years in the studio is this: basics consistently outperform exotic methods in professional contexts. A perfectly executed crossfade will always beat a poorly applied spectral repair tool. Clean gain staging will outperform any compressor placed on a poorly leveled track. The fundamentals, when truly internalized, create better results faster.
What separates good editing from great editing is context awareness. Every project has different needs. A spoken word podcast requires meticulous cutting and noise control. A film score needs precise timing locks and careful spatial management. A trap record might require extreme pitch-shifting for stylistic effect. There is no universal “best” technique, only the technique that serves the project. Even understanding arpeggiators and musical theory tools can inform how you approach rhythmic editing decisions.
The industry veterans we’ve learned the most from all share one mindset: they start with the simplest possible edit and only add complexity when it solves a real problem. They strategically combine conventional edits with creative tweaks, not impulsively. That restraint is what keeps their productions sounding clean, professional, and intentional.
Next Steps: Tools and Training for Advanced Audio Editing
You now have a clear map of the core audio editing techniques that drive professional results across music and film production. The next move is to put them into practice with the right tools and guided resources behind you.
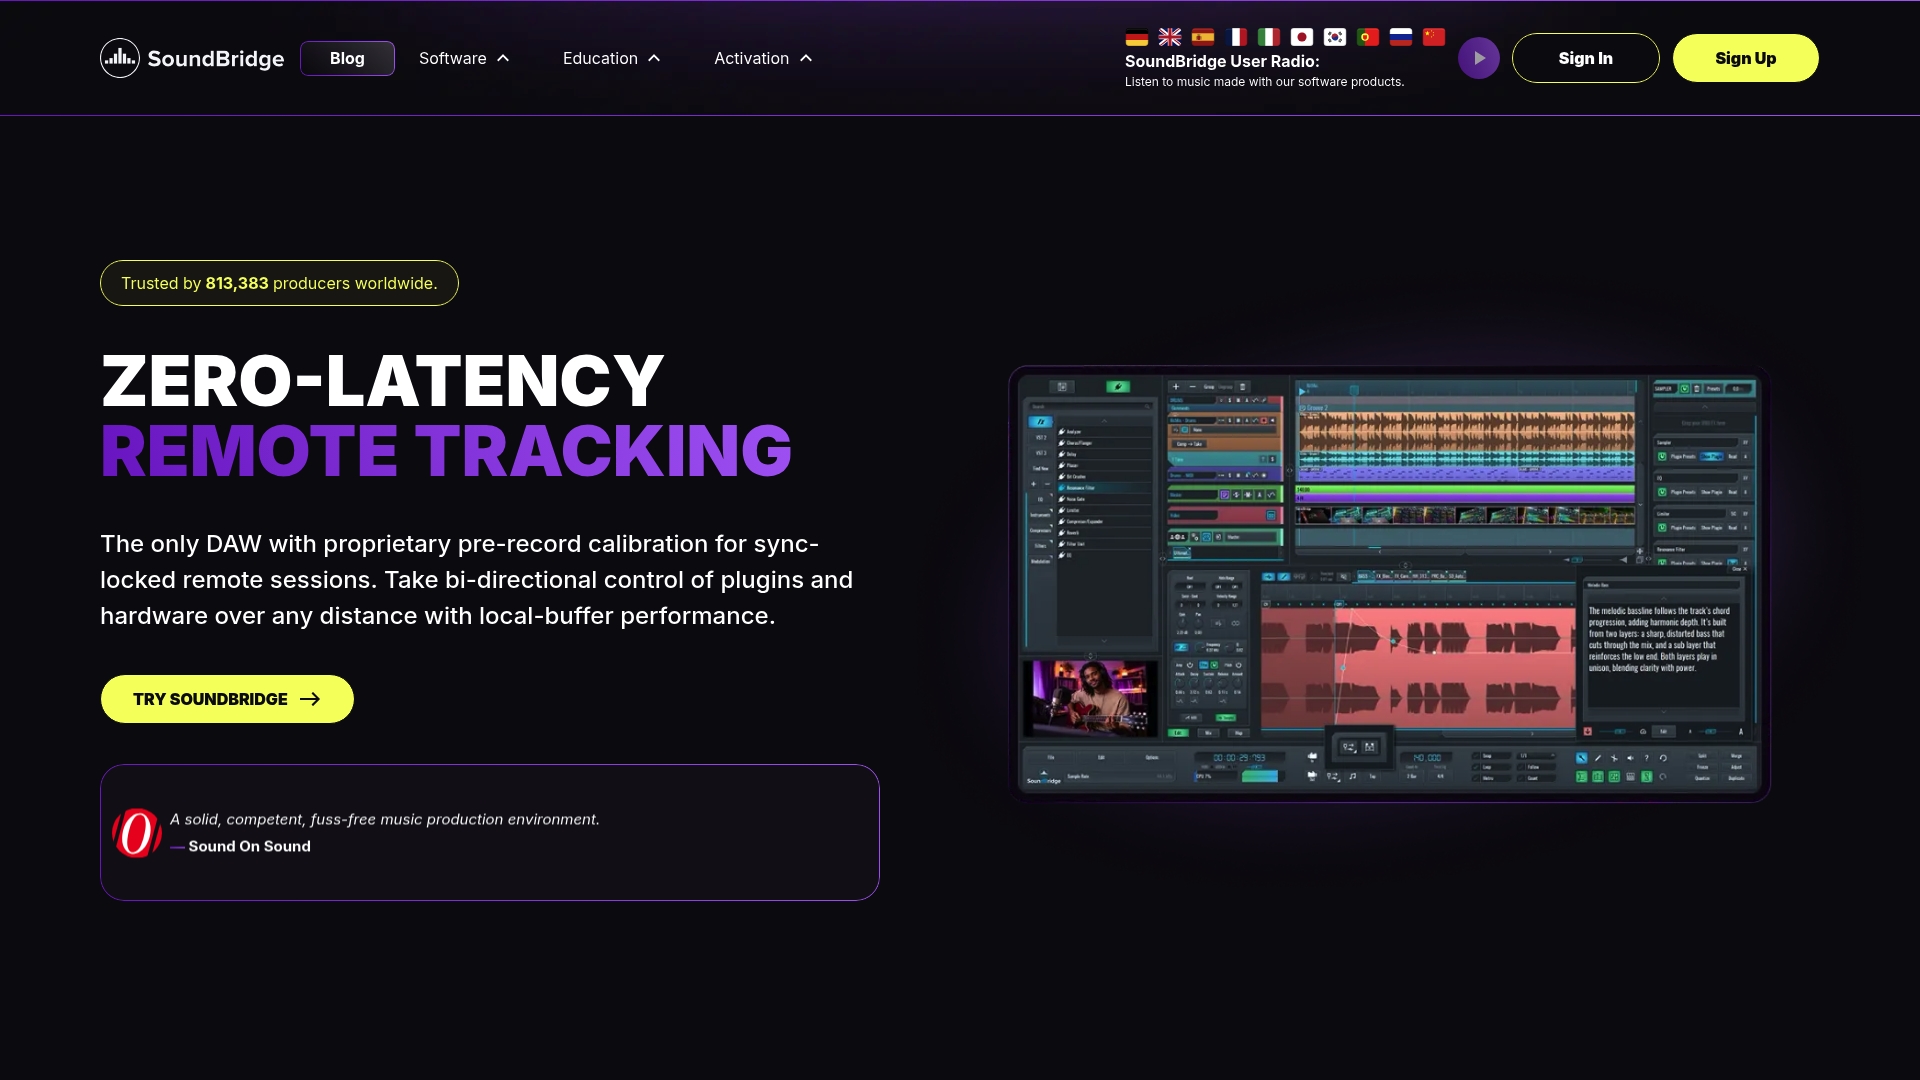
SoundBridge is built for producers and engineers who want to go deeper. Whether you’re refining your parallel processing skills with essential parallel processing tips or pushing your creativity with the sound effect tutorial, you’ll find practical, project-ready guidance designed for real studio workflows. SoundBridge supports 192kHz audio, real-time remote collaboration, native video integration, and high-quality time-stretching tools, making every technique covered in this article more accessible and more powerful. Start free and grow your editing skills with a platform built to move as fast as your ambitions do.
Frequently Asked Questions
Which audio editing technique is best for removing unwanted noise?
Fades, crossfades, and careful trimming can minimize noise. Still, for serious noise problems, dynamics processing tools like expanders and gates, along with dedicated noise reduction plugins in your DAW, will get you much better results.
How do I synchronize vocals to music tracks?
Use time stretching to match the vocal duration to the target tempo without affecting pitch, then align the clip visually and audibly in your DAW against the music.
What is normalization, and when should I use it?
Normalization adjusts the overall clip volume to reach a preset peak or loudness target. Apply it after trimming and before other processing to get consistent starting levels across all your clips.
Is Mid/Side processing useful for film projects?
Absolutely. Mid/Side processing gives you independent control over center content, like dialogue, and side content, like ambiance, making it a precise tool for spatial mix design in post-production.
Do DAWs offer automation for audio editing techniques?
Yes, all major DAWs include automation for clip placement and effects, including volume, fades, and plugin parameters, which significantly streamlines complex editing workflows.
Recommended
MASTER MUSIC PRODUCTION
Expert-led courses designed to take you from fundamentals to finished tracks.

HOUSEFrom bouncy bass and solid kicks, this course teaches you the most modern House music production techniques needed to succeed and stand out.

TRAPQuit sounding like generic Trap and produce something World with hints of the Far East. Create ethnic soundscapes to put your Trap ahead of the curve.

AMBIENTProduce relaxing, sophisticated psy-influenced ambient. Psychedelic and relaxing to listen to, create meditative soundscapes to put your listeners in Zen.