Improve Your Mixes: 10 Techniques That Actually Work
Last Edited: Jun 26, 2026
Improve Your Mixes: 10 Techniques That Actually Work

Mixing is defined as the process of balancing, shaping, and blending individual audio tracks into a single cohesive sound. To truly improve your mixes, you need to master three foundational skills: frequency management, gain staging, and dynamic control. These are not optional refinements. They are the difference between a muddy, cluttered track and one that hits with clarity and power. Tools like EQ, compression, and volume automation each play a specific role, and understanding how they interact is what separates amateur results from professional ones.
1. How frequency management shapes a clear mix
Frequency management is the single most impactful skill for producing a clear, professional mix. Without it, sounds pile up in the same frequency ranges and fight each other for space.

The biggest culprit is the mud zone: the 250–500 Hz range. When energy in this band exceeds 11%, leads get buried and the whole mix sounds boxy. In electronic music, the ideal sub-bass level sits around 27% and bass around 54%, with the mud zone kept near 6% to preserve clarity. That balance gives your low end weight without smearing the midrange.
Frequency spectrum painting is the practice of allocating sounds to distinct frequency zones so nothing clusters. Think of it like assigning seats at a table. Every instrument gets its own chair. When two sounds share the same seat, neither one sounds right.
- High-pass filter every non-bass instrument. Guitars, synth pads, and even vocals carry unnecessary low-end energy that muddies the mix.
- Cut before you boost. Removing problem frequencies creates headroom faster than adding EQ to compensate.
- Check your mix in mono. Stereo width can mask frequency conflicts that become obvious when collapsed.
- Use spectral analysis tools to identify problem frequencies rather than guessing with broad EQ moves.
Pro Tip: Run a spectrum analyzer like iZotope Ozone Imager or Voxengo SPAN on your master bus while mixing. Watch for any frequency band that spikes consistently. That spike is where your mix is losing clarity.
2. Proper gain staging and headroom management
Gain staging is the practice of setting each track’s level correctly before any plugin processes it. Setting clip gain between -18dBFS and -12dBFS before your plugin chain prevents clipping and keeps your signal in the sweet spot for most processors. Plugins like compressors and saturators behave predictably in this range. Push them too hot and you get distortion you did not intend.
Digital headroom is the space between your loudest peak and 0dBFS. Protecting that space gives your mix room to breathe and prevents the master bus from clipping during processing. For pre-master delivery, target a loudness range of -12 to -18 LUFS. For self-mastered club tracks, aim for -6 to -8 LUFS. Going above -6 LUFS compresses the life out of the track.
Here is a clean gain staging workflow to follow:
- Set all faders to unity gain before touching any plugin.
- Adjust clip gain on each track so the signal hits -18dBFS to -12dBFS on average.
- Insert plugins only after clip gain is set correctly.
- Check your master bus meter. If it clips before any mastering chain, go back and reduce clip gains.
- Leave at least 3–6 dB of headroom on the master bus before export.
Pro Tip: Start your mix with all plugins bypassed. Use only faders and panning to build a static balance first. This forces you to solve level problems with level tools, not processing.
3. Dynamic control: compression and automation for impact
Dynamic control is what gives a mix emotional movement and prevents listener fatigue. Professional mixes maintain a crest factor between 6 and 12 dB, which is the ratio of peak level to average level. Too little dynamic range and the mix sounds flat and exhausting. Too much and quiet details disappear on small speakers like earbuds or laptop speakers.
Compression shapes dynamics by reducing the loudest peaks and bringing up the average level. For vocals, medium attack settings of 10–30ms and fast release settings of 50–100ms preserve the natural transient while controlling sustain. That combination keeps vocals present without making them sound squashed. You can read more about upward and downward compression to understand how different compression types affect the same signal differently.
Volume automation is the underused partner to compression. Riding a vocal by hand, even just 1–2 dB up or down between phrases, creates a sense of natural performance that no compressor fully replicates.
- Use sidechain compression to duck the bass when the kick hits. This carves space in the low end and makes the kick punch through without boosting its level.
- Automate reverb send levels between sections. Pull them back in verses, push them up in breakdowns for contrast.
- Automate filter cutoffs on synth pads to create builds and releases that feel intentional, not static.
- Bypass your compressor and level-match the bypassed signal to verify the compression is actually improving the sound, not just making it louder.
Pro Tip: When you bypass a plugin to check if it’s helping, match the bypassed level to the processed level first. Level-matched A/B testing removes the bias toward louder signals and shows you what the plugin is actually doing.
4. Arrangement and spatial techniques for mix clarity
Arrangement decisions shape a mix before a single plugin is inserted. About 70% of a professional-sounding mix comes from correct fader and pan positioning. Plugins cannot fix a mix where every element competes for the same space at the same volume.
Panning places sounds across the stereo field, and it is one of the fastest ways to reduce masking. When a guitar and a synth pad share the same frequency range, panning one left and the other right separates them spatially without EQ. Keep bass frequencies mono below 150 Hz. Sub-bass and kick drum energy below that threshold loses power and phase coherence when spread wide.
- Map your arrangement before mixing. List every element and assign it a rough frequency zone and stereo position.
- Create energy contrast between sections. Drops should feel emptier than choruses. Builds should feel denser.
- Use reverb and delay to place instruments in a 3D space. Short, tight reverbs push sounds forward. Long, diffuse reverbs push them back.
- Load a reference track at the same loudness as your mix. Toggle between them to check balance, width, and energy. Reference tracks reveal gaps in your arrangement that you stop hearing after hours in a session.
Arrangement contrast is what keeps listeners engaged from start to finish. A mix that stays at the same energy level throughout trains the listener to tune it out. Breakdowns, builds, and dynamic drops are not just creative choices. They are mixing tools.
5. Critical listening and structured practice
Critical listening is a skill you build deliberately, not one that arrives automatically with experience. Mixing at least 20 songs and reviewing them months later accelerates ear development faster than any course or plugin. Hearing your own old mixes critically, noticing what went wrong, is proof your ears have grown. That is progress, not failure.
Phase-based learning prevents stagnation. Producers who try to master multiband compression, bus chains, and mid-side EQ simultaneously before nailing basic balance rarely improve. Master static balance first. Then add compression. Then add spatial processing. Each phase builds on the last. The audio mixing step by step guide from Soundbridge follows this exact progression.
- Finish every mix, even the ones that feel broken. Finishing builds the habit of making decisions under pressure.
- Seek feedback from other producers. Fresh ears catch problems your trained-out ears miss.
- Reference your mix on multiple playback systems: studio monitors, headphones, earbuds, and a phone speaker. A mix that translates across all of them is a mix that works.
- Take breaks during long sessions. Ear fatigue is real and it makes everything sound worse than it is.
The producers who improve fastest are not the ones with the most plugins. They are the ones who finish tracks, listen back critically, and apply what they learned to the next session.
Key takeaways
Mastering frequency management, gain staging, and dynamic control gives you the foundation to produce clear, professional mixes on any system.
| Point | Details |
|---|---|
| Control the mud zone | Keep 250–500 Hz energy near 6% to prevent boxy, buried leads. |
| Set gain before plugins | Target -18dBFS to -12dBFS clip gain so processors behave predictably. |
| Protect dynamic range | Aim for a crest factor of 6–12 dB to keep mixes energetic and non-fatiguing. |
| Arrangement drives balance | Fader and pan placement account for roughly 70% of a professional sound. |
| Finish mixes and review them | Critiquing old work is the fastest way to develop your ears over time. |
What I’ve learned from years of mixing sessions
The most common mistake I see producers make is reaching for plugins before solving the fundamental balance problem. A compressor on a poorly leveled vocal does not fix the vocal. It just makes the problem louder and harder to identify. Every time I went back to basics, the mix improved faster than any new piece of gear or software ever delivered.
The mud zone lesson took me longer to internalize than it should have. I spent months boosting presence frequencies on guitars and vocals, wondering why my mixes sounded congested. The fix was not adding anything. It was cutting 250–500 Hz on every non-bass element and suddenly the whole mix opened up. That single habit changed my results more than any plugin purchase.
Retrospection is the most underrated practice in mixing. Going back to a mix from six months ago and hearing exactly what went wrong is not discouraging. It is the clearest evidence that your ears are developing. If you cannot hear the flaws in your old work, you have not grown. If you can hear them clearly, you are ready for the next level.
Patience matters more than speed. Rushing a mix to finished because you are excited about the track is the fastest way to produce something you will regret. Slow down, reference constantly, and trust the process.
— Wake
Soundbridge gives you the tools to mix with confidence
Soundbridge is a professional digital audio workstation built for producers and engineers who want to apply these techniques without fighting their software. It includes clip gain control, a full automation suite, built-in EQ and compression tools, and support for 192kHz audio processing.
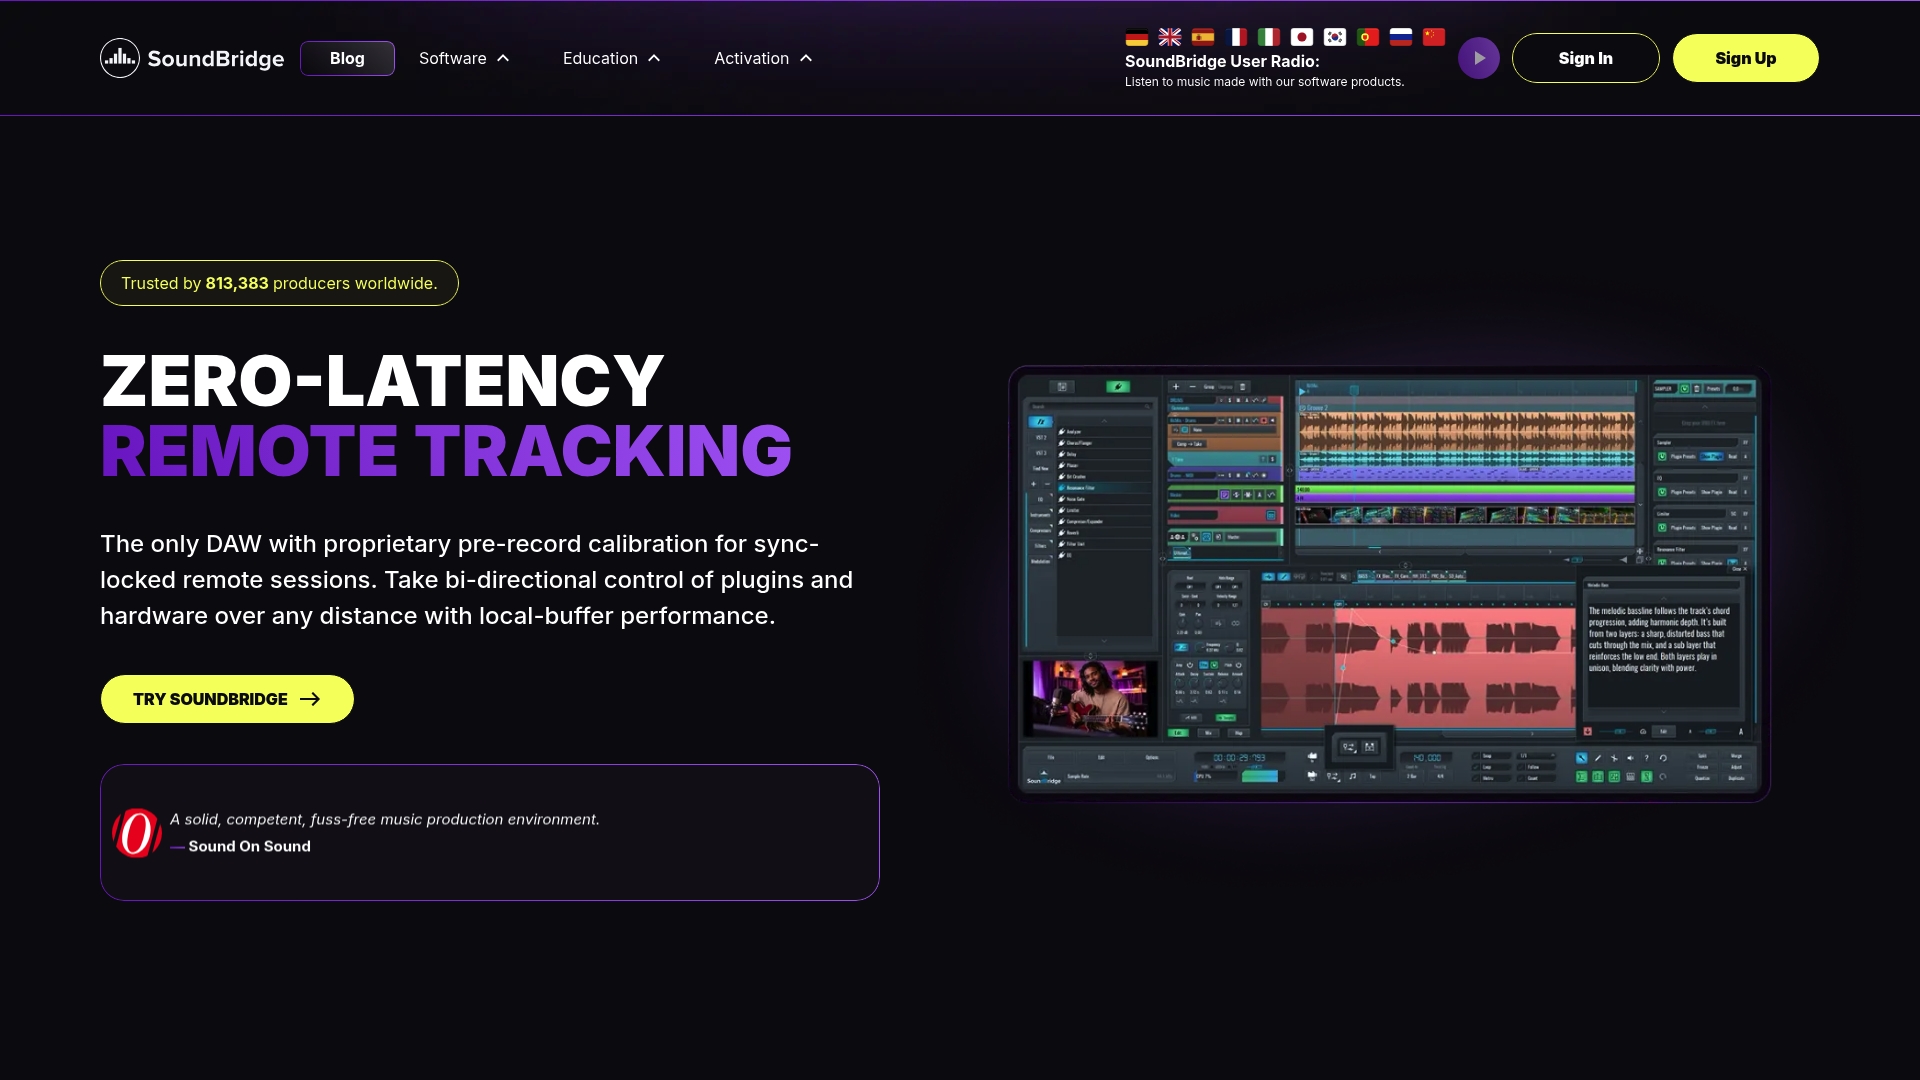
Whether you are working on gain staging fundamentals or building complex automation rides, Soundbridge gives you a clear, intuitive environment to apply every technique covered here. The platform runs on both Mac and Windows with free and paid tiers, so you can start applying better mixing practices immediately without a large upfront investment.
FAQ
What does it mean to improve your mixes?
Improving your mixes means achieving greater clarity, balance, and dynamic impact across all playback systems. The core skills are frequency management, gain staging, and dynamic control.
What LUFS should my mix be before mastering?
Pre-master loudness should sit between -12 and -18 LUFS for most genres. Self-mastered club tracks target -6 to -8 LUFS, with anything above -6 LUFS considered over-compressed.
Why does my mix sound muddy?
Muddy mixes almost always result from excess energy in the 250–500 Hz range. High-pass filtering non-bass instruments and cutting this band on layered sounds clears the mix quickly.
How important is gain staging for mix quality?
Gain staging is critical. Setting clip gain to -18dBFS to -12dBFS before plugins prevents clipping, keeps processors in their optimal range, and protects headroom on the master bus.
How do I get better at mixing faster?
Mix at least 20 complete songs and review them months later to develop your ears. Follow phase-based learning: master static balance before adding complex processing like multiband compression or bus chains.
Recommended
MASTER MUSIC PRODUCTION
Expert-led courses designed to take you from fundamentals to finished tracks.

HOUSEFrom bouncy bass and solid kicks, this course teaches you the most modern House music production techniques needed to succeed and stand out.

TRAPQuit sounding like generic Trap and produce something World with hints of the Far East. Create ethnic soundscapes to put your Trap ahead of the curve.

AMBIENTProduce relaxing, sophisticated psy-influenced ambient. Psychedelic and relaxing to listen to, create meditative soundscapes to put your listeners in Zen.