Process Drums With a Spectral Reverb Effect
Last Edited: Nov 17, 2023
Reverb is probably one of the most versatile audio effects used to process sound. You can always come up with new and exciting ways to use it. In recent years, reverb, like all other audio processing effects, has advanced in sound sculpting. In this tutorial, I'll show you how to process drums with the spectral reverb effect.
As usual, we prepared a short sequence in SoundBridge. It includes most of the significant elements of a full mix. Let us take listen to it.

As you may have noticed in the audio example above, the snare drum is unprocessed and sounds relatively dry and out of place in the overall mix. We'll fix this by applying an instance of the Spacelab Ignition reverb effect, which we'll discuss further below.

How to Use a Spectral Reverb
Spacelab is a new school 3D audio panning, reverb, and spatial tool. It gives audio the proper acoustic perspective, which is critical for films, games, VR/AR, and any other applications requiring immersive audio. In addition, Spacelab allows users to freely place and move tracks in the DAW as if they were objects in a virtual space. It is complete with realistic reverb and simulation of the listener's position. Here, we'll focus on its reverb engine, review the essentials, and see what makes this effect unique.
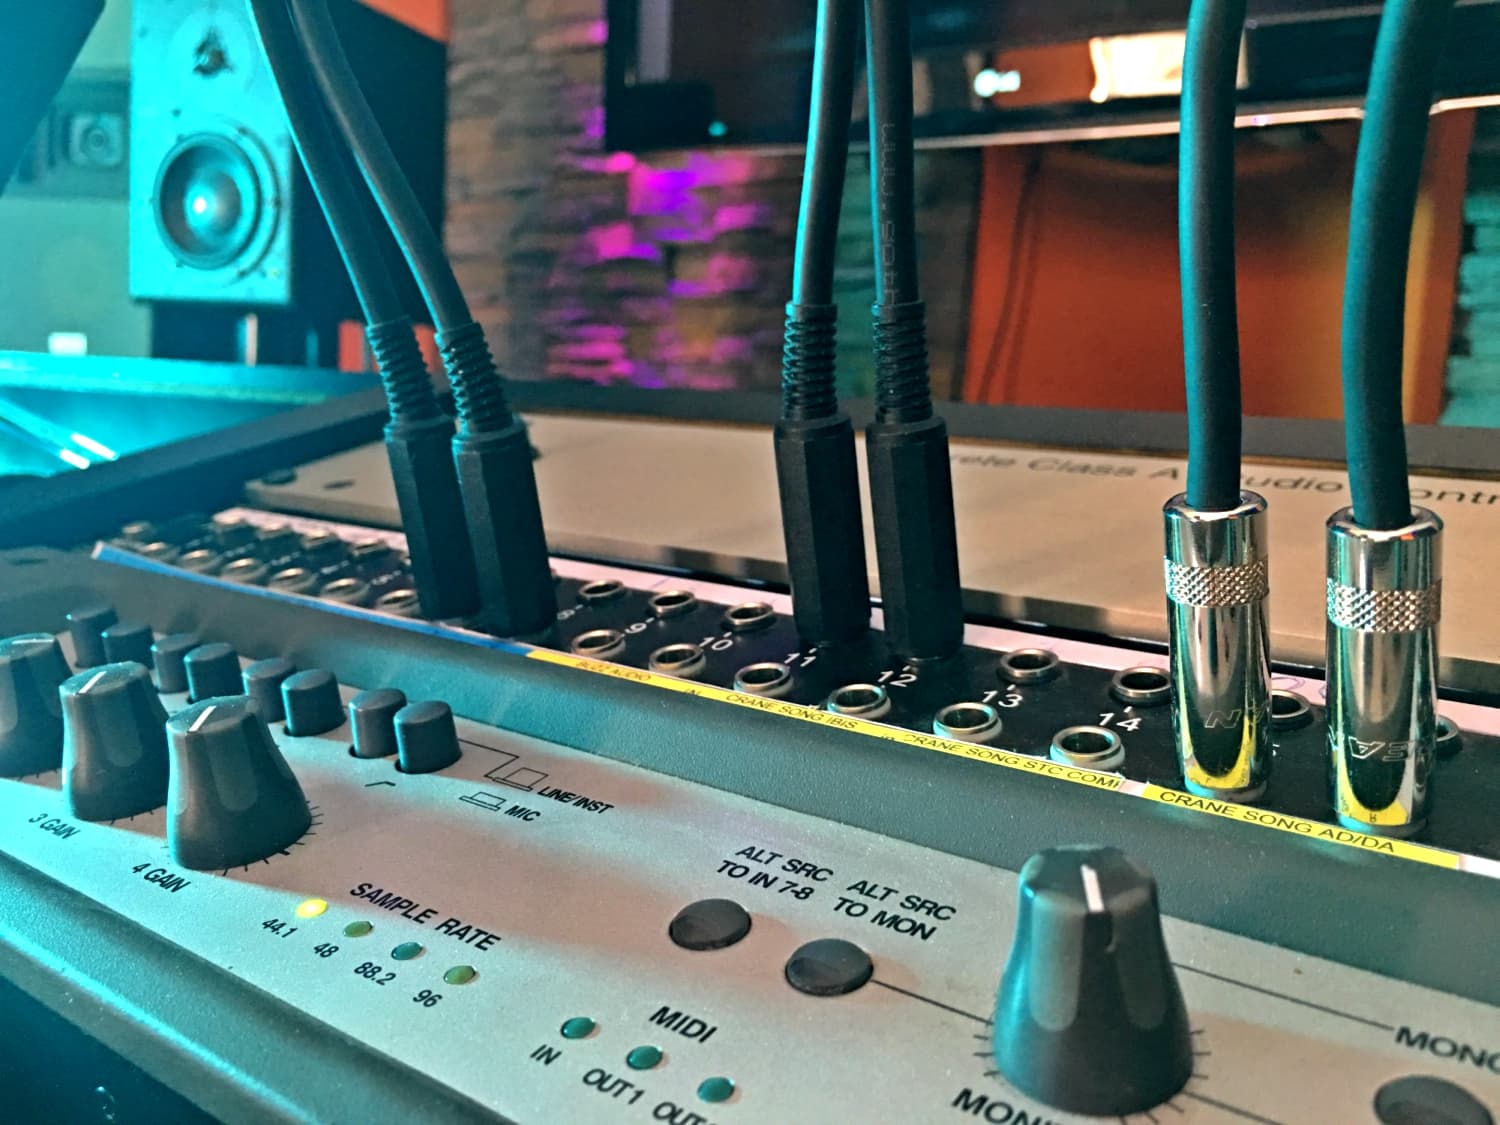
After opening the Spacelab Ignition interface, we can see 2 main sections. The top comprises five sections and offers controls for room character, modulate tail, EQ, and mixing.
The room section is used to adjust the virtual room's width, height, and length. The four knobs in this section change the density of the reverb tail. Next, we have the big knob in the tails section, which adjusts the decay for all nine frequency bands together, and what makes this effect different is that you can adjust each of these bands individually. By doing this, we can get some excellent results! Further, there's an EQ section where it's possible to shape the reverb tail with nine sliders. Finally, the last section contains the pre-delay, wet gain, and dry/wet mix controls.
After setting the parameters, let us hear how our snare drum sounds before and after processing with the Spacelab Ignition.

For the end, let us hear how our processed snare drum sounds in the context of the whole mix.
If you liked this article on reverb processing, here are some more on the same subject:
음악 프로덕션 마스터
기초부터 완성 트랙까지 이끄는 전문가 코스.

HOUSE바운시 베이스와 탄탄한 킥부터, 이 코스는 성공하고 돋보이기 위한 가장 현대적인 House 프로덕션 테크닉을 가르칩니다.

TRAP뻔한 Trap처럼 들리지 마세요—극동의 힌트를 담은 월드한 사운드를 만드세요. 에스닉 사운드스케이프로 Trap을 한발 앞서게 합니다.

AMBIENT편안하고 세련된 psy-영향 앰비언트를 제작하세요. 듣기에도 몽환적이고 편안한, 리스너를 Zen에 두는 명상적 사운드스케이프를 만드세요.