How to Make Future Bass Chords From Scratch
Last Edited: Dec 6, 2023
What Is Future Bass?
Future bass is a music genre that focuses on hard bass lines with detuned synthesizers. The sound waves are often modulated using automation or low-frequency oscillation, which controls the cutoff of an audio filter (typically a low pass or high pass filter), making the waveform sound louder or quieter. In addition, it is expected to utilize a sort of "twinkly" sounding rise (gradual rise in pitch), including arpeggio chords and vocoders. In fact, the Future bass genre is closely related to the post-dubstep movement in the United Kingdom. It is comparable to chiptune and glitch-hop and has become increasingly popular recently. In the following tutorial, I will show you how to make a future bass synth chord sound in Massive by Native Instruments. The future bass chord will be based on the automation of LFO and Performer sections inside Massive. Additionally, this will show you how easy it is to make different rhythmic changes within one chord sequence. So, let's start!
Creating a Future Bass Chord
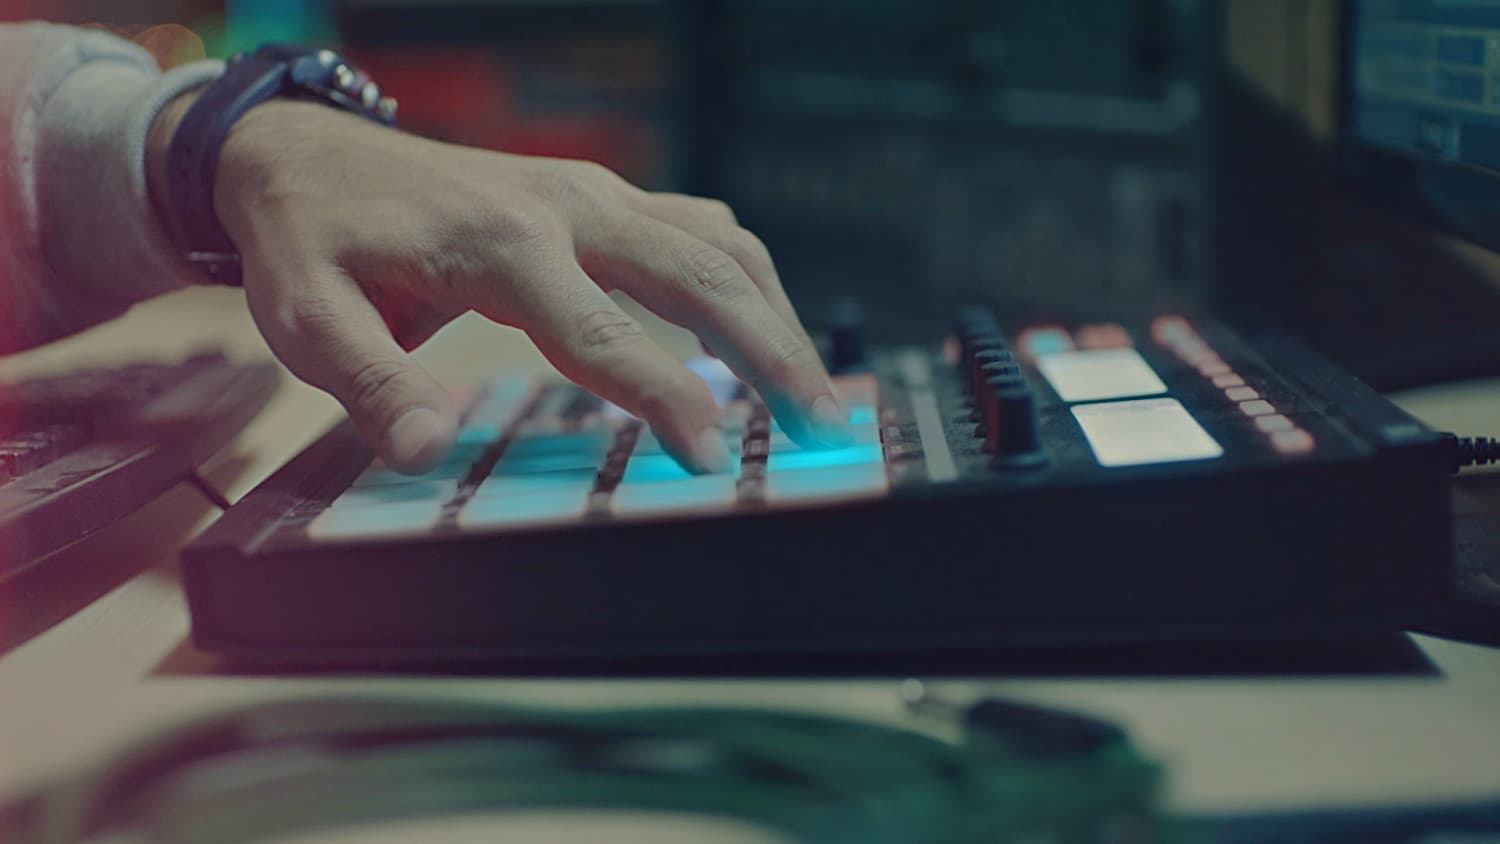
As usual, we will create a new MIDI channel within SoundBridge. Consequently, I will place a new instance of Massive onto it. It's not so important to go through the process of making the sound from oscillators in this tutorial, so I will move forward to modulate the filter section. But before I do that, let's hear how our chord sounds accompanied by some rhythm.
~ Rhythm & unprocessed synth chord sound

Always Modulate
After setting the filter section, I will modulate it with three performers. Starting with the first one, I will choose a slower beat sync (say 2/4) from the performer 1 section. After that, I will modulate it by dragging and dropping the cursor icon on the filter section. The curve I have selected is a ramp that gradually increases the filter cutoff parameter. Finally, it sounds like this:
~ Synth chord sound with performer one modulating cutoff frequency
However, it will be a bit boring if we leave our sequence like this. Therefore, let's move to the modulation of Performer 2 and Performer 3. As you can see from the picture below, all three performers are being sent to the filter cutoff parameter to modulate it. Compared to performer 1, performers 2 and three will have different beat sync settings to make it more interesting.

Next, I'll move on to an important part: a Macro section within Massive. Therefore, I will send the amp parameter found in all three performer sections to individual Macro controls. This is because I must switch between performers in our chord progression. As you can see in the picture, I will repeat the same process by dragging and dropping the Macro 1, 2, and 3 cursor icons to the amp parameters of Performer 1, 2, and 3.

I will automate those 3 Macros alternately, using automation lanes in Massive's Midi channel. In the end, let's hear the final result.

~ Full mix
MASTER MUSIC PRODUCTION
Expert-led courses designed to take you from fundamentals to finished tracks.

HOUSEFrom bouncy bass and solid kicks, this course teaches you the most modern House music production techniques needed to succeed and stand out.

TRAPQuit sounding like generic Trap and produce something World with hints of the Far East. Create ethnic soundscapes to put your Trap ahead of the curve.

AMBIENTProduce relaxing, sophisticated psy-influenced ambient. Psychedelic and relaxing to listen to, create meditative soundscapes to put your listeners in Zen.