

Mastering Basics: A Musician's Foundational Guide
Last Edited: Jul 7, 2026
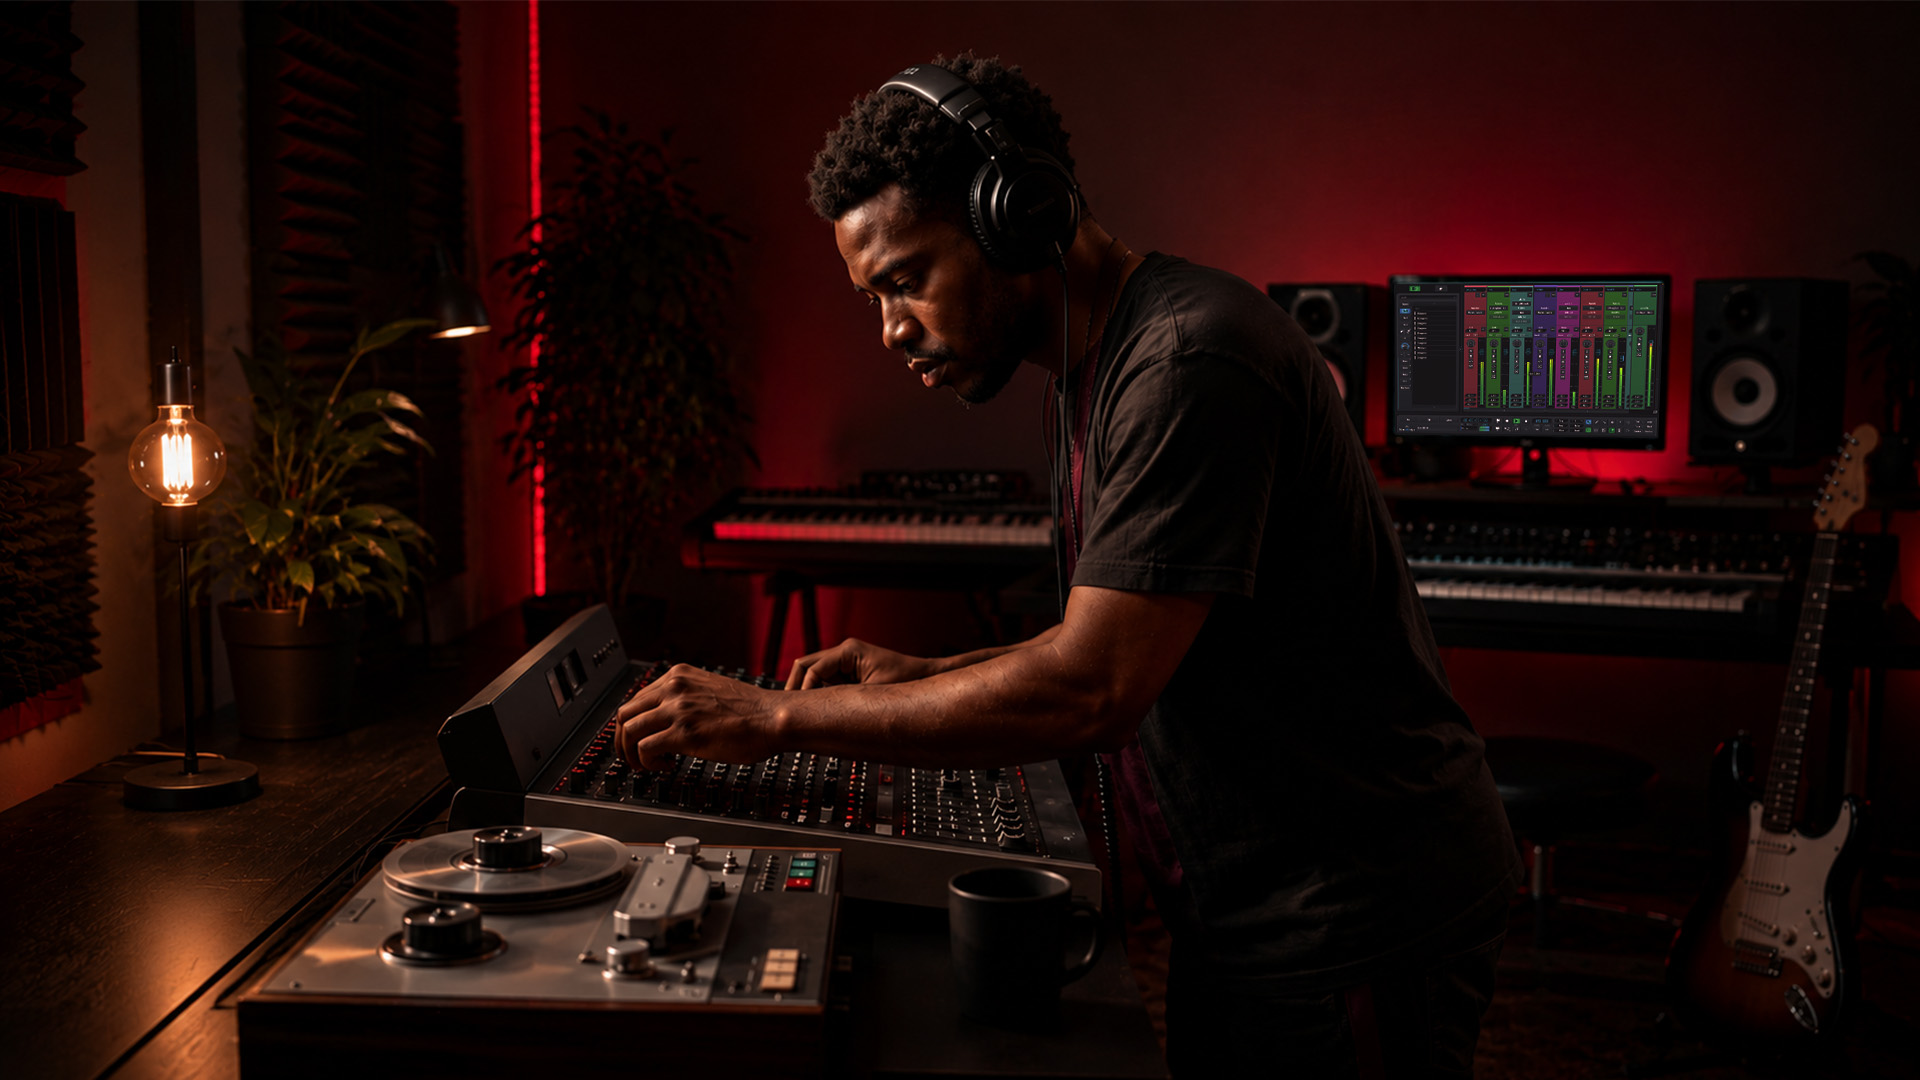
Mastering basics are the foundational skills and techniques required to optimize audio tracks for consistent, high-quality playback across all systems. The industry term is “audio mastering,” and it covers everything from gain staging and EQ to loudness targets and the final limiting stage. Beginners often mistake mastering for simply making tracks louder. The real goal is translation across playback systems, meaning your track sounds right on earbuds, club speakers, and a car stereo alike. Getting these core concepts right from the start shapes every production decision you make in the future.
What Are the Core Concepts Every Mastering Beginner Must Understand?
Gain staging is the single most important concept to lock in before you touch a mastering chain. Your mix peaks should sit between –3 dBFS and –6 dBFS before you export. That headroom gives your mastering chain room to work without forcing a limiter to overwork and crush your dynamics.
LUFS (Loudness Units Full Scale) is the standard measurement for perceived loudness. Streaming platforms target –14 LUFS, while club and DJ formats typically land between –9 and –7 LUFS. These are not suggestions. Platforms like Spotify and Apple Music apply automatic loudness normalization, so hitting the right target protects your track from being turned down or sounding flat.
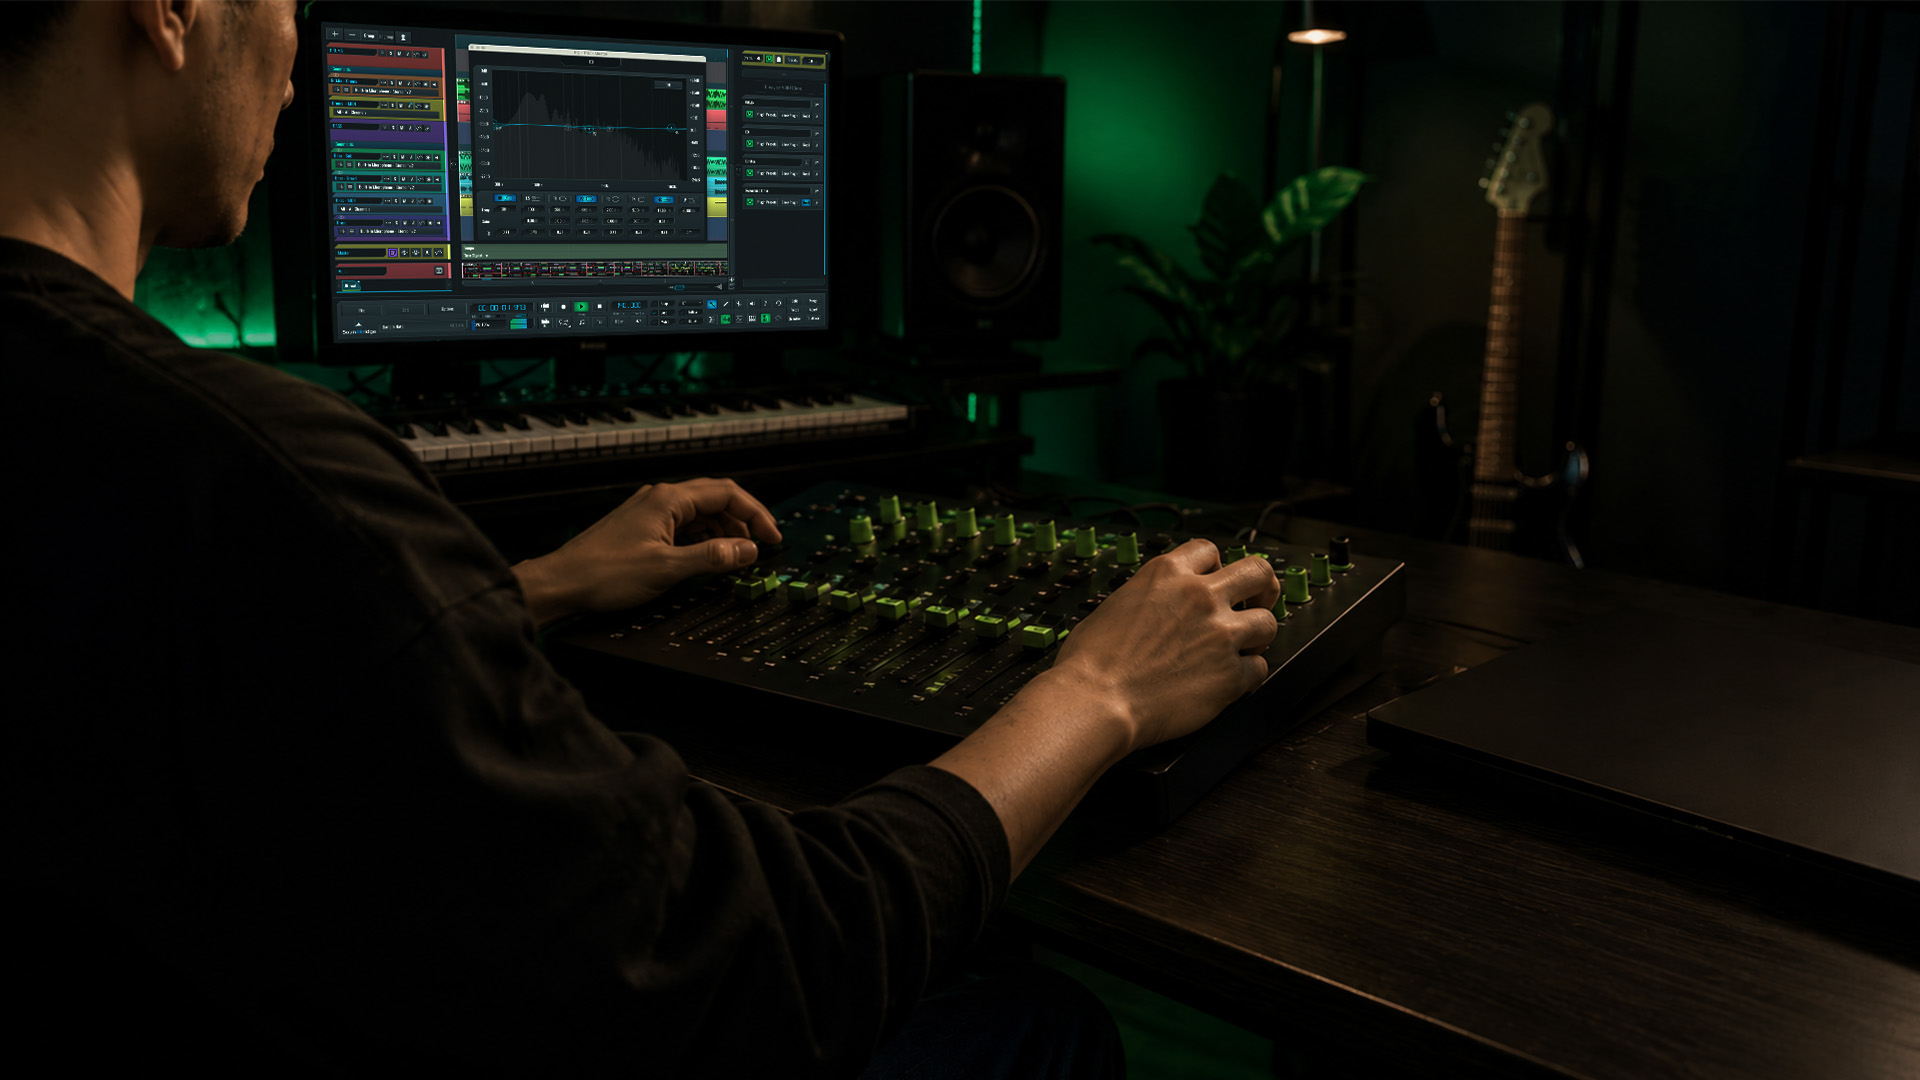
True peak ceiling is a separate concept from LUFS. A true-peak ceiling of –1 dBTP prevents inter-sample clipping, a distortion that standard meters miss entirely. Set your limiter’s ceiling to –1 dBTP on every master, no exceptions.
Signal flow describes the order in which audio passes through your processing chain. Getting the order wrong produces unpredictable results. Corrective moves come first, enhancement comes later, and limiting always closes the chain. Understanding this sequence is what separates a polished master from a muddy one.
- Gain staging: Keep mix peaks at –3 to –6 dBFS before mastering begins.
- LUFS targets: Aim for –14 LUFS for streaming, –9 to –7 LUFS for club formats.
- True peak ceiling: Set your limiter to –1 dBTP to prevent inter-sample clipping.
- Signal flow: Always process in a logical order: correct first, then enhance, then limit.
- Headroom: Never export a mix with a limiter on the master bus. Leave space for the mastering engineer.
Pro Tip: Reference your mix against a commercially released track at matched loudness before you master. If your mix sounds thin or harsh at the same LUFS level, fix the mix first.
How Do You Apply a Mastering Chain Step by Step?
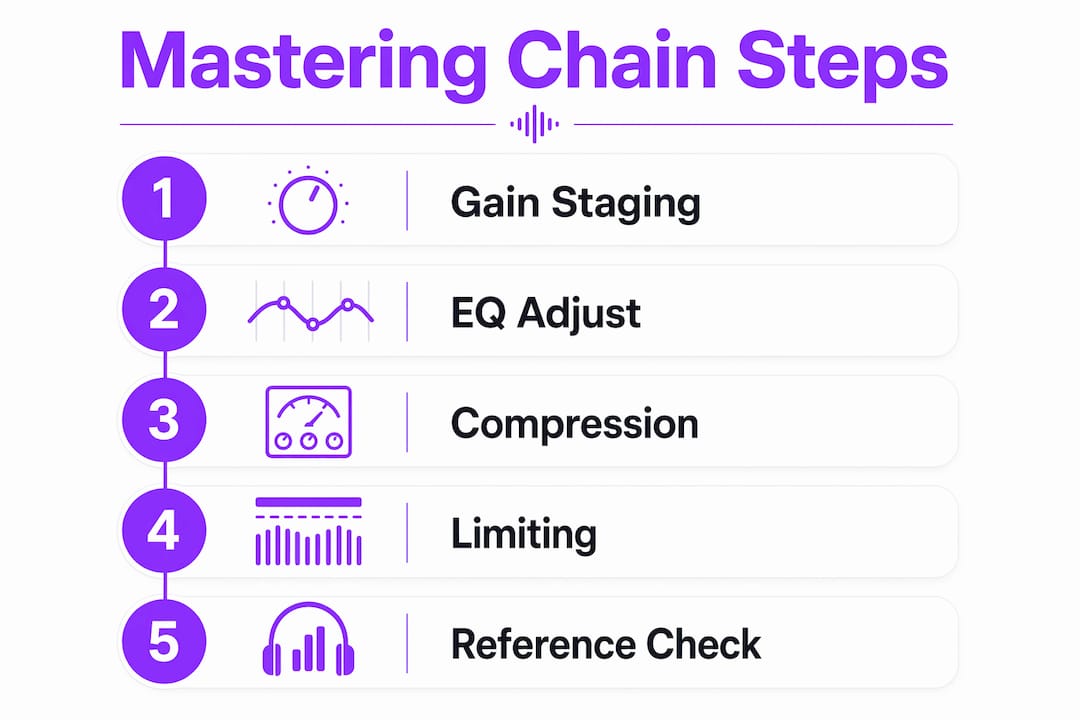
A mastering chain follows a specific order for good reason. Each stage builds on the last, and skipping steps or reordering them produces compounding problems. Think of it as three phases: Perfect, Pretty, and Loud. You fix problems first, then add character, then set the final level.
-
Corrective EQ. Start by cutting problem frequencies. A low-cut filter around 20–30 Hz removes subsonic rumble. Narrow cuts fix harsh resonances. The goal is a clean, balanced starting point, not a dramatic tonal change.
-
Compression or multiband compression. Apply gentle compression to control dynamics and add cohesion. A 2:1 ratio with slow attack and medium release works well for most genres. Multiband compression lets you tame a boomy low end without touching the midrange or highs.
-
Saturation and stereo enhancement. Light saturation adds harmonic warmth and perceived loudness without raising the actual level. Stereo enhancement widens the image, but use it carefully. Exaggerated stereo width causes phase cancellation when the track is played in mono, which still matters for club PA systems and many phone speakers.
-
Additive EQ. After dynamics processing, make gentle tonal boosts to shape the final character. A subtle shelf boost above 12 kHz adds air. A small boost around 80–100 Hz adds weight. Keep boosts under 2–3 dB.
-
Limiting. The limiter is the last processor in the chain. Set the ceiling to –1 dBTP, then bring up the input gain until you reach your target LUFS. Push only as hard as the music requires. Minimal processing preserves mix integrity and dynamic range.
Pro Tip: Bypass your entire mastering chain and compare it to the processed version at matched loudness. If the processed version sounds dramatically different, you are processing too hard.
How Does Mixing Preparation Affect Your Mastering Results?
Mix quality directly determines what mastering can achieve. Mastering cannot fix a bad mix. It can correct minor imbalances and add polish, but it cannot rescue a track with phase problems, a muddy low end, or harsh, clashing frequencies. The time you invest in your mix pays double dividends at the mastering stage.
Export settings matter more than most beginners realize. The industry standard for mastering-ready files is 32-bit float at 96 kHz. This format preserves the full dynamic range of your mix and avoids rounding errors that occur at lower bit depths. Never bounce your mix at 16-bit or 44.1 kHz if you plan to master it separately.
Mono compatibility is a check that many beginners skip entirely. Phase cancellation in mono can make a wide, impressive stereo mix sound hollow and thin on a single speaker. Fold your mix to mono before you export and listen for anything that disappears or sounds wrong. Fix those issues in the mix, not in mastering.
- Remove the master bus limiter before exporting your mix for mastering. A limiter on the master bus destroys headroom, forcing the mastering engineer to work with a compromised signal.
- Check spectral balance by comparing your mix to a reference track using a spectrum analyzer. Major imbalances at the low end or in the high frequencies are mix problems, not mastering problems.
- Avoid the loudness trap. Pushing your mix as loud as possible before mastering does not make the final master louder. It makes it worse. Loud mixes force limiters to overwork, degrading sound quality.
- Label and archive your stems. Keeping organized, labeled stem exports means you can return to the mix quickly if the master reveals a problem.
A well-prepared mix gives the mastering stage something worth working with. Think of mixing as building the foundation that mastering refines. The cleaner the foundation, the less corrective work the master requires.
What Tools Support Mastering Basics in a Remote Production Workflow?
Your DAW is the central tool for both mixing and mastering. A capable DAW handles signal routing, plugin hosting, and metering, all of which are non-negotiable for mastering work. Soundbridge supports high-fidelity audio processing at up to 192 kHz sample rates, which means your mastering chain runs at the resolution your files deserve. The platform also runs on both Mac and Windows, removing the platform barrier that trips up many remote collaborators.
Remote collaboration has changed how mastering fits into a production workflow. Soundbridge’s virtual collaboration tools allow producers and mastering engineers to work together in real time, with zero-latency remote tracking and studio-accurate synchronization. That means a mastering engineer in a different city can make adjustments while you listen on your monitors, in real time.
AI mastering tools are useful for quick demos and reference checks, but they cannot match a human engineer’s nuanced, context-aware decisions for critical projects. Use AI mastering to get a fast reference point, then refine with human judgment for anything that matters.
Metadata embedding and file archiving round out a professional workflow. Embed ISRC codes, artist name, track title, and release year into your final master files. Archive both the mastered file and the pre-master mix at full resolution. This protects your work and simplifies future remastering if streaming standards change.
| Workflow element | Recommended standard |
|---|---|
| DAW sample rate | 96 kHz or higher for mastering sessions |
| Export format | 32-bit float WAV for pre-master files |
| Loudness target | –14 LUFS for streaming; –9 to –7 LUFS for club |
| True peak ceiling | –1 dBTP on all final masters |
| Remote collaboration | Real-time session sharing with studio-accurate sync |
Key Takeaways
Mastering basics require correct gain staging, a logical signal chain, proper mix preparation, and loudness targets matched to the release format.
| Point | Details |
|---|---|
| Gain staging first | Keep mix peaks at –3 to –6 dBFS before any mastering processing begins. |
| Hit the right LUFS | Target –14 LUFS for streaming and –9 to –7 LUFS for club formats. |
| Export at full resolution | Use 32-bit float at 96 kHz to preserve dynamic range through mastering. |
| Check mono compatibility | Fold to mono before the final export to catch phase-cancellation issues early. |
| Subtlety wins | Light processing preserves dynamics; heavy-handed mastering signals a mix problem. |
Why Fundamentals Beat Shortcuts Every Time
The uncomfortable truth about audio mastering is that mastery is built on fundamentals, not on secret plugins or expensive hardware. I have watched producers chase loudness, stack processors, and wonder why their masters sound compressed and lifeless. The answer is almost always the same: they skipped the basics.
The biggest misconception I see from beginners is treating mastering as a loudness contest. Volume is the last thing you set, not the first. When you start a mastering session by asking “how do I make this louder,” you have already lost the thread. The right question is “does this translate?” Play your master on your phone speaker, your car stereo, and your studio monitors. If it sounds consistent across all three, you are doing it right.
Disciplined practice of the core concepts, gain staging, signal flow, LUFS targeting, and mono compatibility builds the instinct that no plugin can replicate. Every session where you work methodically through those steps sharpens your ear and your judgment. The producers who sound professional after two years of practice are not the ones who found a magic preset. They are the ones who did the boring, foundational work every single time.
One more thing: subtlety is a skill. Restraint in mastering is harder to develop than aggression. Anyone can slam a limiter. Knowing when to stop, when the track is done, and when more processing hurts rather than helps- that is what separates a good master from a great one.
— Wake
Build Your Production Skills With SoundBridge
Soundbridge is built for musicians and producers who want to grow from beginner to professional without switching platforms along the way.

The Soundbridge DAW handles everything from your first mix to a fully mastered, release-ready track, with support for 192 kHz processing, real-time remote collaboration, and an interface that does not get in the way of your creativity. If you are ready to go deeper on the tools and techniques behind professional audio, the complete DAW guide covers the full production environment in detail. You can also sharpen your audio editing techniques to build the clean, mastering-ready mixes that make every mastering session faster and better.
FAQ
What does mastering basics mean in audio production?
Mastering basics refers to the foundational skills of audio mastering: gain staging, signal chain order, loudness targeting, and preparing a mix for consistent playback across all systems. The core goal is translation, not just volume.
What LUFS target should I use for streaming?
The industry standard for streaming platforms is –14 LUFS. Club and DJ formats target –9 to –7 LUFS to maintain competitive loudness in high-volume environments.
How much headroom should I leave in my mix before mastering?
Mix peaks should sit between –3 dBFS and –6 dBFS. This headroom prevents your mastering limiter from overworking and keeps your dynamics intact through the full mastering chain.
What file format should I export for mastering?
Export your mix as a 32-bit float WAV file at 96 kHz. This format preserves the full dynamic range of your mix and avoids the rounding errors that occur at lower bit depths.
Can AI mastering tools replace a human mastering engineer?
AI mastering tools work well for quick demos and reference checks, but they cannot replicate the nuanced, context-aware decisions a human engineer makes for critical releases. Use AI for speed, and human mastering for quality.
Recommended
MASTER MUSIC PRODUCTION
Expert-led courses designed to take you from fundamentals to finished tracks.

HOUSEFrom bouncy bass and solid kicks, this course teaches you the most modern House music production techniques needed to succeed and stand out.

TRAPQuit sounding like generic Trap and produce something World with hints of the Far East. Create ethnic soundscapes to put your Trap ahead of the curve.

AMBIENTProduce relaxing, sophisticated psy-influenced ambient. Psychedelic and relaxing to listen to, create meditative soundscapes to put your listeners in Zen.