

MIDI Editing Tips for Music Producers in 2026
Last Edited: Jul 6, 2026

MIDI editing is the process of refining note timing, velocity, length, and automation data within a digital audio workstation to craft expressive and polished musical performances. These MIDI editing tips cover every layer of that process, from quantization and dynamics to routing and A/B testing. Whether you are programming a bouncy bass line, sculpting solid kicks, or building lush ethnic soundscapes, the same core techniques apply. Master them, and your productions will sound intentional rather than accidental.
1. What Are the Best MIDI Editing Tips for Tighter Timing?
Quantization is the single most powerful timing tool in your MIDI workflow. It snaps notes to a rhythmic grid, correcting sloppy playing without requiring a perfect take. The key is knowing how hard to apply it.
A 70–85% quantize strength balances tight timing with natural groove. 100% quantization locks every note to the grid, which can sound mechanical on most instruments. Partial strength keeps the human feel while cleaning up obvious timing errors.
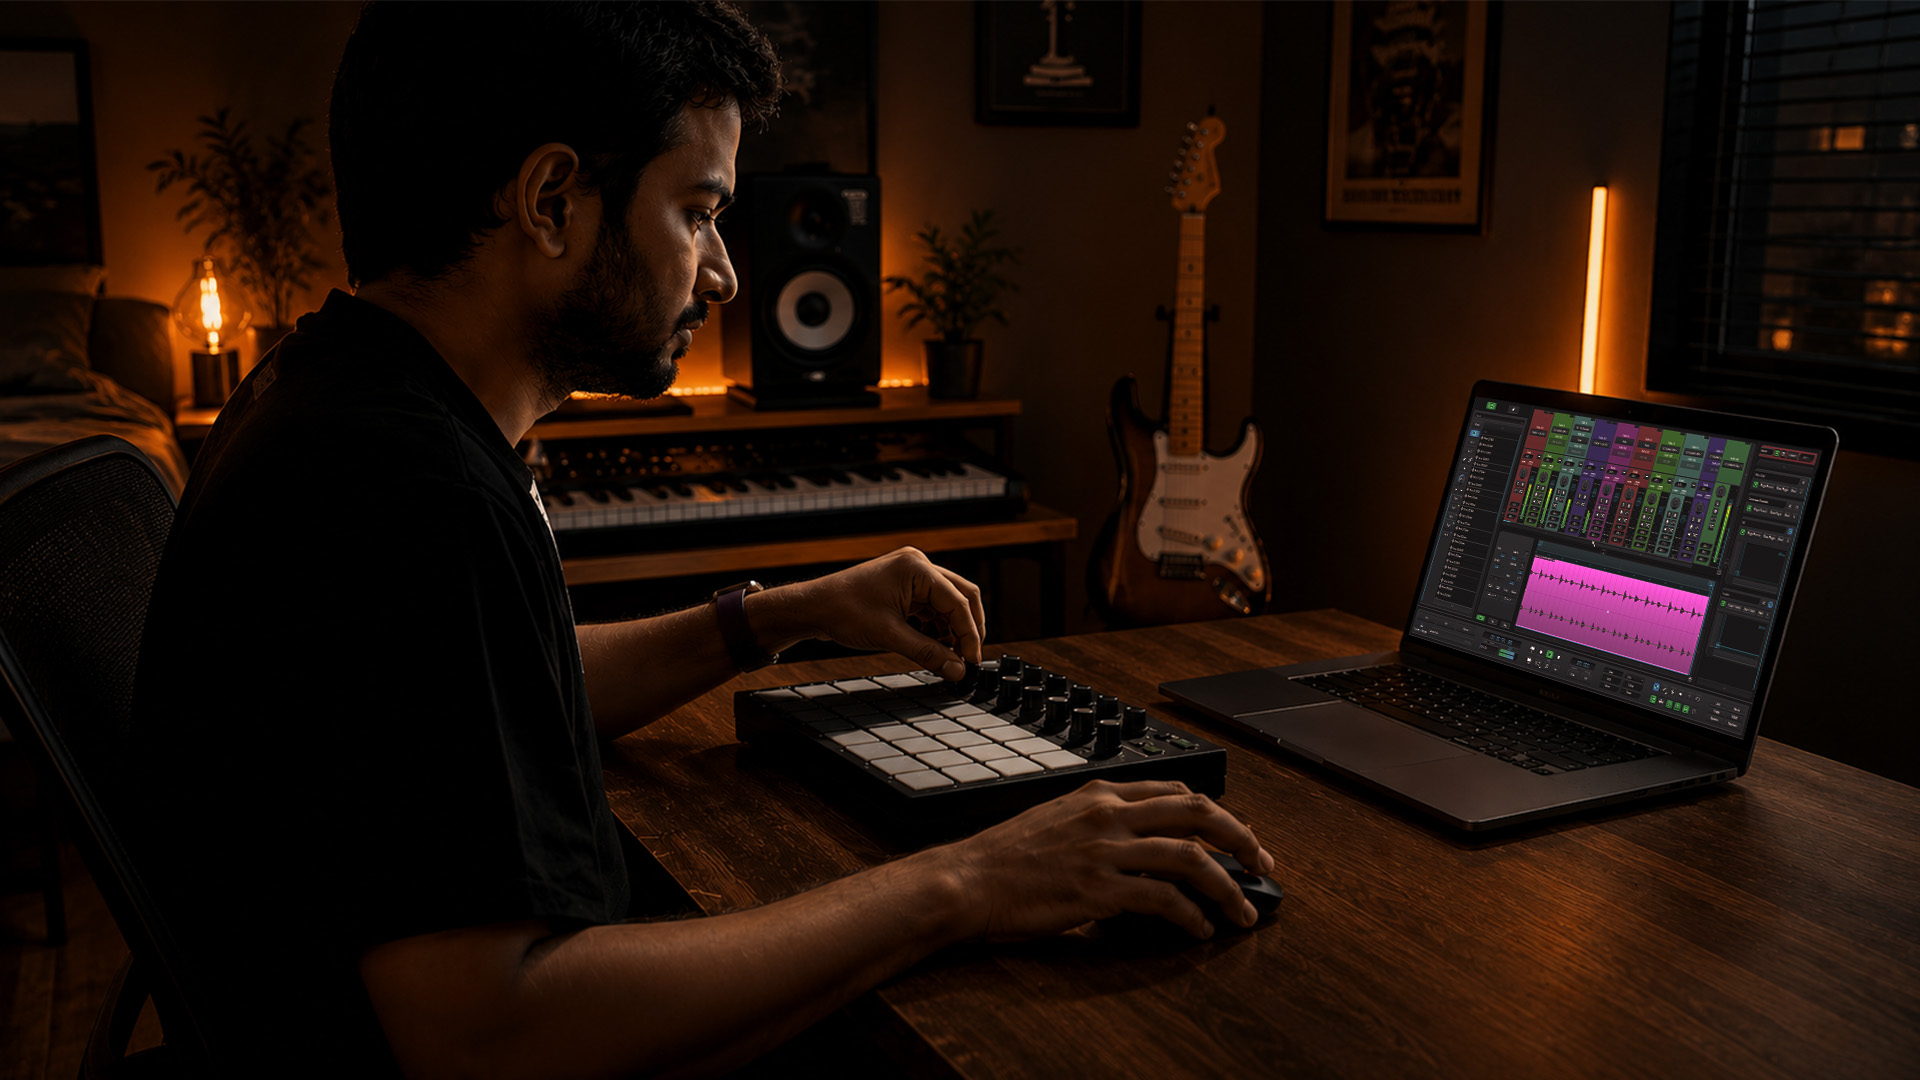
Swing and groove quantize go further. Swing offsets every other note slightly, adding rhythmic bounce that straight grids cannot replicate. Groove quantize borrows the timing feel from a reference audio or MIDI clip and applies it to your performance. This is how producers match the pocket of a live drummer without recording one.
Auto-quantize records notes directly to the grid as you play. It is fast, but it removes expressiveness in real time. Use it for drum programming and step-sequenced parts, not for melodic or chordal performances where timing variation adds character.
- Set quantize strength to 70–85% for melodic instruments
- Use 100% quantize only for drum hits and programmed sequences
- Apply swing at 54–58% for a subtle groove lift
- Use groove quantize to match the feel of a reference loop
- Disable auto-quantize when recording expressive piano or guitar parts
Pro Tip: Save your quantize settings as presets for each instrument type. A strings preset at 75% strength with light swing will sound very different from a drums preset at 100%, and switching between them mid-session saves real time.
2. How Velocity and Note Length Shape Your Sound
Velocity controls how hard a note is played. In most virtual instruments, higher velocity means louder and brighter. Lower velocity means softer and darker. This single parameter carries most of the expressive weight in a MIDI performance.
Velocity ramps gradually increase or decrease note velocity across a phrase, creating natural crescendos and decrescendos. You draw them by dragging across multiple velocity bars in the velocity lane of your DAW’s piano roll. This technique is essential for string swells, brass builds, and any passage that needs to breathe dynamically.
Note length shapes articulation. Longer notes overlap slightly to create legato playing. Shorter notes with gaps between them create staccato. Most DAWs include a force legato function that extends every note to the next, which is perfect for synth leads and pad layers.
- Open the velocity lane beneath the piano roll
- Select all notes in a phrase
- Drag the velocity bars into a ramp shape for crescendos
- Use the pen tool to adjust individual outlier velocities manually
- Apply force legato for smooth melodic lines
- Shorten note lengths by 10–20% for a crisper staccato feel
Pro Tip: Humanize velocity by adding small random offsets of ±5–10 velocity points to repeated notes. Identical velocities on every beat sound programmed. Slight variation sounds alive.
3. Which Automation Features Add Real Expression to MIDI
Automation takes your MIDI beyond note data. It controls how instruments respond over time, adding the kind of nuance that separates a flat performance from a moving one.
MIDI control changes like modulation (CC1), volume (CC7), pan (CC10), and sustain (CC64) each shape a different dimension of the sound. CC1 modulation adds vibrato or filter movement on many synths. CC64 sustain holds notes on piano patches. Drawing these curves in your DAW’s automation lanes gives you precise control over every moment of the performance.
Pitch bend curves simulate string bends, vocal slides, and instrument vibrato. A slow upward bend at the start of a note mimics a guitarist sliding into a pitch. A fast downward bend at the end mimics a dive bomb. These details make virtual instruments feel physical and real.
- Draw CC1 modulation curves to add vibrato after the initial note attack
- Use CC7 volume automation for phrase-level dynamics, not just fader rides
- Apply CC10 pan automation to create movement in sustained pads
- Draw pitch bend curves at phrase starts and ends for expressive leads
- Use CC64 sustain automation on piano parts to control pedaling precisely
Automation also replaces multiple takes. Instead of recording a performance six times to get the dynamics right, record one clean take and draw the expression in afterward. This is especially effective for MIDI and automation editing workflows where time is limited.
4. What Workflow Shortcuts Actually Speed up MIDI Editing
Keyboard shortcuts for editing tools cover 90% of standard MIDI editing tasks. That figure reflects how much time producers waste clicking toolbar icons instead of editing. Mapping Select, Pencil, and Velocity tools to single keys removes that friction entirely.
Beyond shortcuts, channel management prevents the most common MIDI headaches. MIDI channel 10 is conventionally reserved for percussion. Assigning a melodic instrument to channel 10 on hardware that follows General MIDI conventions will trigger drum sounds instead of your intended patch. Document your channel assignments at the start of every project.
Daisy-chaining more than three MIDI devices via MIDI Thru increases latency and data loss. Signal attenuation and jitter accumulate with each additional device in the chain. Use a MIDI patchbay or USB hub to distribute signals instead.
A two-minute pre-session check of MIDI channel settings and clock synchronization prevents hours of troubleshooting later. Routing diagrams and documented channel assignments are the difference between a smooth session and a frustrating one.
- Map Select, Pencil, and Velocity tools to Q, W, and E keys
- Create a MIDI channel assignment document for every project
- Reserve channel 10 for drums only
- Limit MIDI Thru chains to three devices maximum
- Check clock sync and routing before every recording session
- Draw a simple routing diagram for complex hardware setups
5. How A/B Testing Keeps Your Edits Musical
A/B testing raw versus edited MIDI is the most underused technique in music production. Toggling between versions lets you objectively hear whether your edits improve performance or change it.
The test is simple. Duplicate your MIDI clip before editing. Edit the copy. Then loop both versions and switch between them while the track plays in context. If the edited version feels tighter and more musical, keep it. If it sounds stiff or lifeless compared to the original, pull back.
Context listening is critical here. An edit that sounds great in solo may kill the groove when the full arrangement plays. Always evaluate MIDI edits with the drums, bass, and at least one harmonic element running simultaneously. The pocket of a performance only reveals itself in context.
Iterative small adjustments beat extreme corrections every time. Nudging a note 10 milliseconds earlier is less destructive than snapping it to the nearest 16th note. Build the habit of making the smallest edit that solves the problem.
Pro Tip: Color-code your original and edited MIDI clips differently in the arrangement view. This makes it fast to swap between them during playback without stopping to read clip names.
Key Takeaways
Effective MIDI editing requires balancing technical precision with musical feel, and the producers who master both consistently deliver better results.
| Point | Details |
|---|---|
| Use partial quantize strength | Set quantize to 70–85% to tighten timing while keeping natural groove. |
| Velocity ramps build dynamics | Drag velocity bars into ramp shapes to create natural crescendos and decrescendos. |
| CC automation adds expression. | Draw CC1, CC7, and pitch bend curves to add nuance that note data alone cannot deliver. |
| Shortcuts cover 90% of tasks. | Map Select, Pencil, and Velocity tools to keyboard keys to remove toolbar friction. |
| A/B test every major edit | Duplicate clips before editing, and toggle between versions in the full arrangement context. |
What I’ve Learned From Years of MIDI Editing in Real Sessions
The biggest mistake I see producers make is treating MIDI editing as a cleanup task rather than a creative one. They record a take, quantize it hard, flatten the velocities, and call it done. The result is technically correct and musically dead.
The best edits I have made were the ones where I spent 80% of my time on velocity and automation and only 10% on timing. A slightly loose note with a perfectly shaped velocity curve sounds more alive than a grid-locked note with a flat velocity. Timing is the last thing most listeners notice. Dynamics are the first.
Channel management has saved me more sessions than any plugin. I once spent three hours debugging a live performance rig because a keyboard was transmitting on channel 10 and triggering a drum module instead of the string patch. A routing diagram drawn before soundcheck would have caught it in 30 seconds. Now I document every channel assignment before I touch a single key.
The habit that most changed my workflow was applying essential audio-editing techniques alongside MIDI work. Treating MIDI and audio as parallel disciplines rather than separate ones makes the whole production tighter. Your MIDI edits inform your audio edits and vice versa.
— Wake
SoundBridge: Your DAW Foundation for MIDI Mastery
Putting these techniques into practice requires a DAW built for the kind of detailed, expressive work described here. SoundBridge is a professional digital audio workstation available on Mac and Windows, with both free and paid tiers, designed for producers who want precise control without a steep learning curve.

SoundBridge supports high-fidelity audio processing at 192kHz sample rates, zero-latency remote tracking, and bidirectional plugin control, providing the environment to apply every technique in this article at a professional level. The platform’s intuitive piano roll and automation tools make velocity shaping, CC editing, and quantization fast and visual. If you are building your production setup or looking to go deeper on DAW fundamentals, SoundBridge is a strong place to start.
FAQ
What is MIDI editing in music production?
MIDI editing is the process of adjusting note timing, velocity, length, and automation data within a DAW after recording. It refines raw performances into polished, expressive musical parts.
What quantize strength should I use for MIDI?
A 70–85% quantize strength tightens timing while preserving natural groove. Use 100% only for drum hits and strictly programmed sequences.
Why does MIDI channel 10 matter?
Channel 10 is reserved for percussion in General MIDI convention. Assigning melodic instruments to it on compatible hardware triggers drum sounds instead of the intended patch.
How do I add expression to MIDI without re-recording?
Draw CC1 modulation, CC7 volume, and pitch bend curves in your DAW’s automation lanes. These CC automation curves add vibrato, dynamics, and pitch movement to any recorded performance without a new take.
What is the fastest way to improve my MIDI editing speed?
Map editing tools like Select, Pencil, and Velocity to single keyboard keys. Keyboard shortcuts cover 90% of standard MIDI editing tasks and remove the constant friction of toolbar navigation.
Recommended
MASTER MUSIC PRODUCTION
Expert-led courses designed to take you from fundamentals to finished tracks.

HOUSEFrom bouncy bass and solid kicks, this course teaches you the most modern House music production techniques needed to succeed and stand out.

TRAPQuit sounding like generic Trap and produce something World with hints of the Far East. Create ethnic soundscapes to put your Trap ahead of the curve.

AMBIENTProduce relaxing, sophisticated psy-influenced ambient. Psychedelic and relaxing to listen to, create meditative soundscapes to put your listeners in Zen.