

Home Studio Noise Floor and Headroom: Aim Peaks −12 to −6 dBFS
Last Edited: Sep 20, 2026
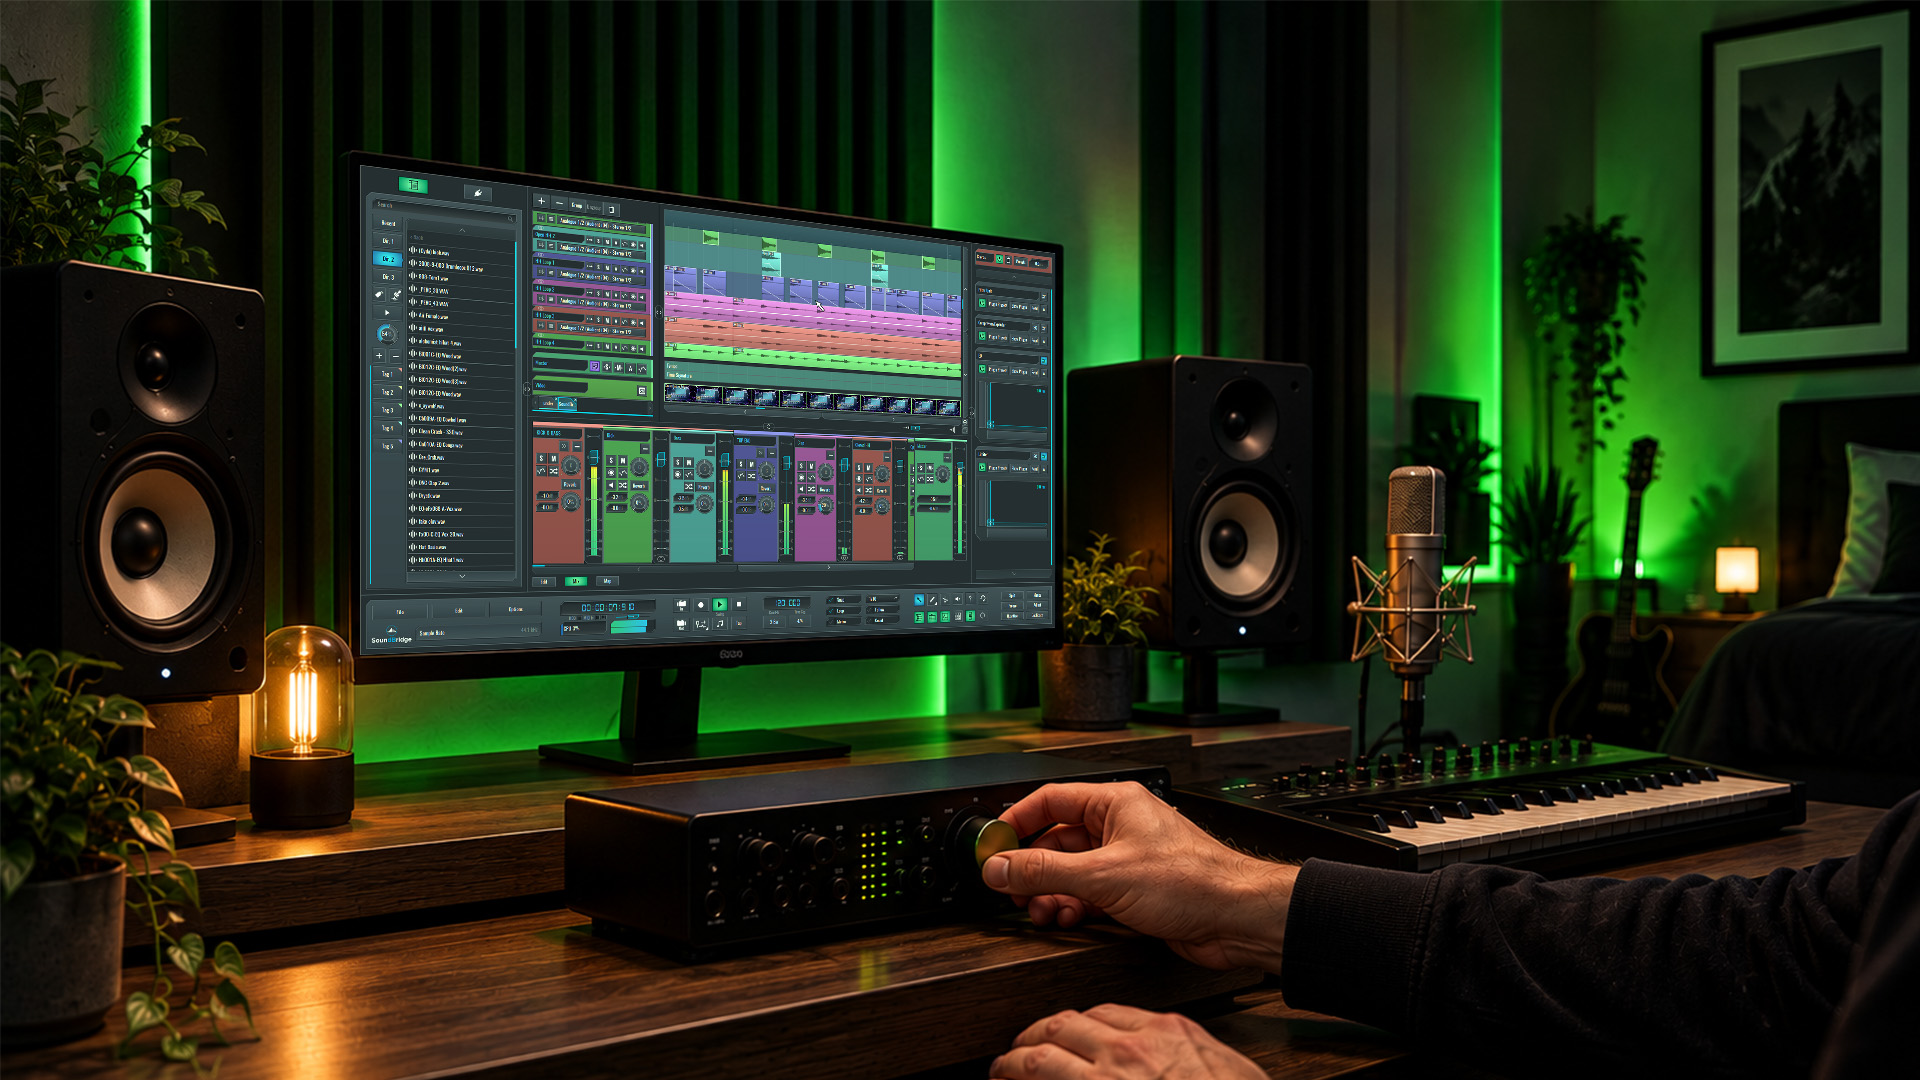
Noise floor is the residual hiss and hum sitting underneath your signal; headroom is the safety margin between your loudest peaks and digital clipping. For most tracking sessions, aim for peaks around −12 to −6 dBFS and leave roughly 6 dB of headroom on your mix bus. Get those two numbers right, and your mixes stay clean, punchy, and mastering-ready.
TL;DR:
- Maintaining a noise floor below -60 dB is crucial for clear recordings, with self-noise from gear and room noise being the main contributors.
- Target peaks for tracking should stay between -12 and -6 dBFS to balance headroom and sound quality for different instruments.
- Leaving -6 to -3 dBFS of headroom on the mix bus enables mastering engineers to shape loudness without immediate clipping.
- Proper gain staging across all stages and avoiding internal clipping ensure consistent headroom and optimal dynamic range.
- Using accurate, real-time metering tools like RMS and true-peak meters helps prevent overestimating levels and protects sound quality.
What Noise Floor and Headroom Actually Mean
Every recording chain has a baseline of unwanted signal present even when no sound source is active. That floor comes from preamp self-noise, microphone circuitry, room tone, HVAC rumble, and electrical interference riding on your cables. The noise floor is technically the aggregate of all that background energy, and it sets a hard lower boundary on how quiet your useful signal can ever get.
Headroom works the opposite direction. It is the gap between your nominal operating level and the point where the system distorts or clips. In analog gear, that ceiling sits around +24 dBu on professional equipment, with a nominal reference of +4 dBu giving you real breathing room. Digital systems measure everything relative to 0 dBFS, the absolute ceiling where clipping begins. There is no “above zero” in a digital meter. Headroom in this context is simply how far below that ceiling your signal sits.
Here is where engineers trip up: analog VU meters and digital peak meters don’t speak the same language. A 0 VU reading on an analog console typically corresponds to a digital level well below 0 dBFS. That’s not a coincidence. Studios adopted that convention specifically to preserve enough digital headroom above nominal analog levels. If you’re recording and your meter reads “hot” at 0 VU but you’re staring at a DAW meter expecting 0 dBFS, you’re reading two different scales built for two different eras of gear. Understanding how audio interfaces handle these level relationships will save you from misreading your own converter.
How Noise Floor, SNR, and Dynamic Range Work Together
Signal-to-noise ratio (SNR) is the difference in decibel levels between your usable signal and the underlying noise floor. Dynamic range is the total span your system can capture, from the quietest audible detail up to the clipping point. A high noise floor eats into both numbers from below, shrinking the usable space you have to work with before you ever touch a fader.
This isn’t just theoretical. A clarity-prediction study using added pink noise found that clarity scores dropped progressively as researchers introduced noise in 6 dB steps, with masking increasing in tandem. Noise doesn’t sit politely in the background. It actively competes with transients and low-level detail, and reverberation tails can behave the same way, adding residual energy that masks the very clarity you’re trying to preserve.
There’s also a converter-level cost. Each additional 6 dB of noise floor corresponds to roughly one bit of lost effective resolution in an analog-to-digital converter. Push your noise floor up by accident, and you’re not just adding hiss. You’re quietly throwing away resolution your converter paid for.
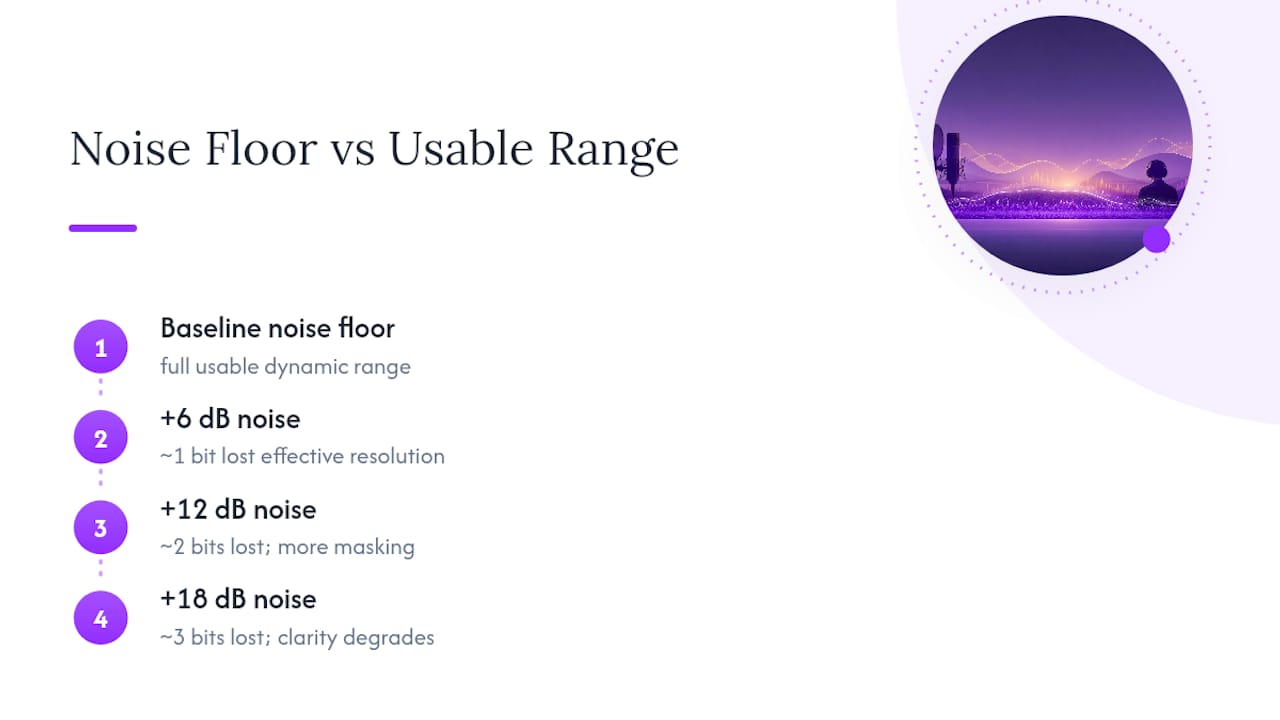
For quiet passages, ballads, acoustic guitar, and dialogue, a practical minimum SNR is recommended to keep noise inaudible. Below that, background noise starts to compete audibly with the material itself, especially once compression or EQ boosts start pulling up everything in the mix, noise included.
What Peak and Loudness Targets Should You Actually Use?
Different stages of a project call for different targets, and conflating them is a common source of headroom mistakes. Tracking, mixing, and mastering each have their own numbers to hit.
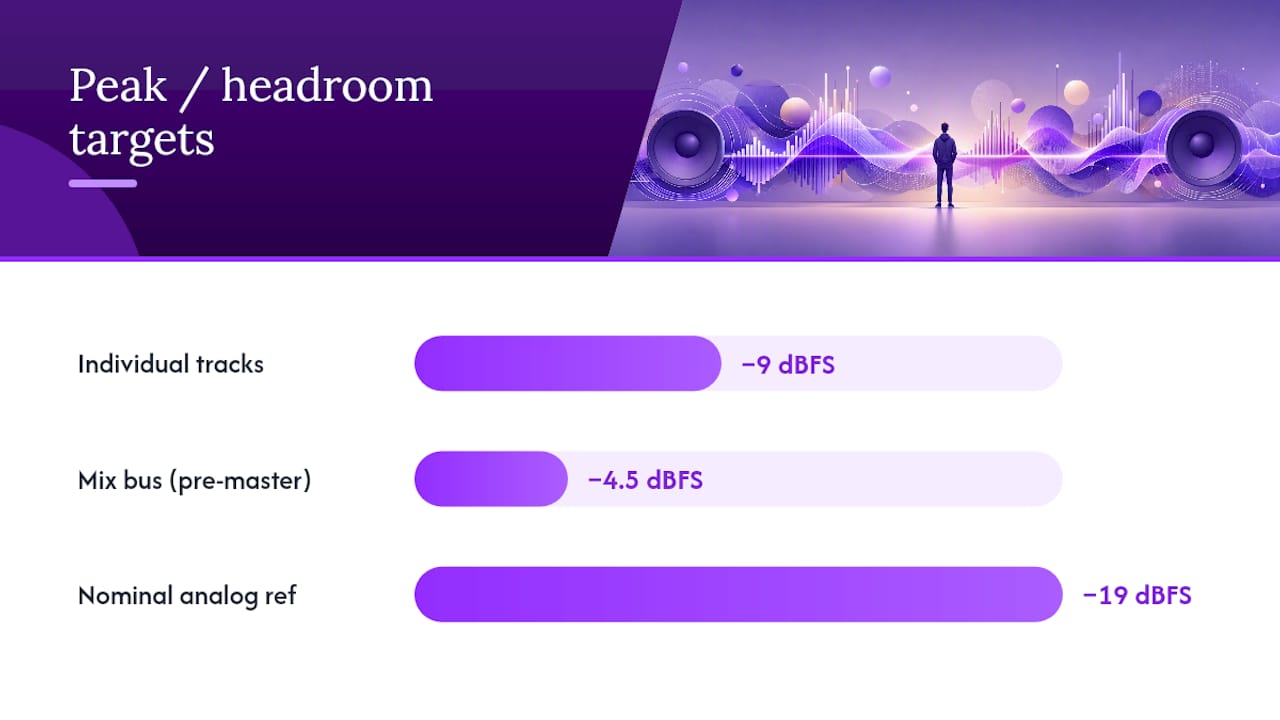
At the tracking stage, aim for peaks between −12 and −6 dBFS. That range keeps you safely under clipping while staying high enough above the noise floor to preserve a solid SNR. Vocals and quieter acoustic instruments often sit toward the lower end of that range because their dynamic performance leaves less room for surprise peaks; drums and other transient-heavy sources can push closer to −6 dBFS since their attacks are brief.
| Stage | Target | Why |
|---|---|---|
| Individual tracks | −12 to −6 dBFS peaks | Balances SNR against clipping risk |
| Mix bus (pre-master) | −6 to −3 dBFS headroom | Leaves room for mastering processing |
| Nominal analog reference | 0 VU ≈ −18 to −20 dBFS | Preserves digital headroom above console nominal |
| Minimum practical SNR | ≥60 dB | Keeps quiet passages clear of audible noise |
By the time you bounce your mix bus for mastering, back off. Leaving −6 to −3 dBFS of headroom gives a mastering engineer room to apply limiting, saturation, or additional gain without immediately hitting a wall. Sending a mix that’s already slammed to −0.1 dBFS ties the mastering engineer’s hands before they’ve even opened the session.
As for meters: RMS and LUFS measure perceived loudness over time, while peak and true-peak meters catch the instantaneous maximums that actually clip your converter. Use both. LUFS tells you how loud something feels; true-peak tells you whether it’s about to distort.
How Do You Measure Noise Floor and Headroom in Your Own Room?
You don’t need a laboratory to get real numbers out of your setup. You need a quiet room, a calibrated ear, and a repeatable method.
- Measure the room first. Close the door, turn off fans, and record 30 seconds of silence through your mic chain at your normal gain setting. That’s your acoustic noise floor baseline.
- Test the electronics alone. Mute or unplug the mic and run an interface loopback, or cap the input, to isolate self-noise generated by the preamp and converter itself, separate from room noise.
- Calibrate with a reference tone. Feed a known tone (typically 1 kHz at a fixed level) through the chain and note where it lands on your meter. This anchors every future reading to something repeatable.
- Calculate track SNR. Subtract your measured noise floor from your typical peak level. That gap is your real, working signal-to-noise ratio for that specific chain, not a spec-sheet number.
Use an RMS or true-peak meter, and state its resolution bandwidth and detector type when documenting results. Numbers reported without that context, per engineering guidance on noise floor reporting, are essentially incomparable from session to session.
Pro Tip: Keep a simple spreadsheet of your interface’s measured self-noise for each gain setting you commonly use. When a session sounds noisier than expected, you’ll immediately know whether the problem is your room, your gear, or your gain staging.
What Causes a High Noise Floor, and How Do You Fix It?
Most noise floor problems trace back to one of three sources: hardware, room acoustics, or gain staging mistakes made before you even hit record.
- Bad or ungrounded cables introduce hum and interference that stacks directly onto your noise floor.
- Interface preamp EIN (equivalent input noise) varies significantly between budget and professional gear, and cheap preamps at high gain settings are a common culprit.
- Room noise from HVAC systems, computer fans, or street traffic adds a constant low-level bed that mic placement alone often can’t escape.
- Under-gained tracking forces you to boost weak signals later, which raises the audible noise floor right along with the material you actually wanted louder.
- Improper subgain staging across buses and groups can cause noise contributions to sum, and independent noise sources add in RMS power, so several quiet sources together can raise your aggregate floor by roughly 10 to 12 dB compared with any single source alone.
Software fixes like noise gates, spectral denoisers, and high-pass filtering can help after the fact, but they carry a real risk of artifacts. Aggressive denoising smears transients and can leave a swishy, processed residue that’s often more distracting than the original hiss. Fix the source first; treat the symptom only when re-tracking isn’t an option.
A Gain-Staging Workflow That Protects Your Headroom
Good gain staging isn’t a one-time setting. It’s a discipline you carry through every stage of a project.
- Set your input gain deliberately. Position the mic, apply a pad if the source is hot, and aim for peaks between −12 and −6 dBFS before you ever touch a plugin.
- Keep subgroups conservative. When you route multiple tracks into a bus, watch the summed level. Four tracks peaking individually at −6 dBFS can easily push a subgroup into clipping when combined.
- Protect the mix bus. Leave real headroom rather than pushing every fader to the ceiling, and consider 32-bit float internal processing where your DAW supports it, since it makes accidental internal clipping far less likely to cause permanent damage to the signal.
Compression and limiting decisions made early in this chain matter more than most producers assume. Parallel processing and compression choices made at the track or bus level directly affect how much genuine headroom survives by the time you reach your master bus.
What Should You Expect From Mastering?
Most mastering engineers expect a mix delivered with −3 to −6 dBFS of headroom intact, not one already limited to the edge of 0 dBFS. That margin is what lets them shape loudness and tone without first fighting your decisions.
Noise removal tools can rescue a mix with a slightly elevated floor, but they can’t manufacture clarity that never existed. If your SNR is below 60 dB on a critical performance, especially vocals or solo acoustic passages, re-recording usually beats hours of spectral repair. A thorough mastering pass amplifies whatever you hand it, noise floor included.
What Do Engineers Get Wrong About Headroom?
The biggest trade-off nobody talks about enough: chasing a pristine noise floor can strip the character out of a performance. Some of the most memorable vocal takes in recorded music carry a whisper of tape hiss or preamp warmth that a spectral denoiser would happily scrub away, along with the texture that made the take feel alive.
In a home studio, the fastest real fix usually isn’t new gear. It’s turning off the fan, moving the mic six inches from the noisy interface, and re-gaining a track that was recorded too quiet. Chase the acoustic and gain-staging basics before you chase specs on a preamp you can’t yet afford.
— Wake
Let SoundBridge Handle the Metering So You Can Focus on the Take
Getting noise floor and headroom right depends on trusting your meters, and that starts with a DAW built for accurate, real-time feedback rather than guesswork. SoundBridge gives you precise RMS and peak metering, flexible bus routing, and 32-bit float internal processing that protects your signal from internal clipping even when a subgroup runs hotter than planned.

For remote sessions, zero-latency tracking means every collaborator hears levels exactly as recorded, with no synchronization drift muddying your gain-staging decisions mid-session. That matters when a producer in one city is monitoring a vocalist’s take in another, and both need to trust the same numbers on screen. If you’re ready to stop second-guessing your meters and start tracking with confidence, explore what SoundBridge’s DAW can do for your next session.
Where to Learn More About Measuring Noise Floor
For deeper technical grounding, the Wikipedia entry on noise floor covers the fundamentals of measurement, while The Producer’s Bible offers studio-tested target ranges. For amp-specific headroom concepts, see MusicStreet’s guide to headroom in amps.
Sources
- Musical mix clarity prediction using decomposition and perceptual masking thresholds
- Musicproductionwiki
- Signal-to-noise ratio: How to avoid excess noise | LANDR Blog
Recommended
MASTER MUSIC PRODUCTION
Expert-led courses designed to take you from fundamentals to finished tracks.

HOUSEFrom bouncy bass and solid kicks, this course teaches you the most modern House music production techniques needed to succeed and stand out.

TRAPQuit sounding like generic Trap and produce something World with hints of the Far East. Create ethnic soundscapes to put your Trap ahead of the curve.

AMBIENTProduce relaxing, sophisticated psy-influenced ambient. Psychedelic and relaxing to listen to, create meditative soundscapes to put your listeners in Zen.