Optimize Your Spectrum Analyzer
Last Edited: Dec 6, 2023
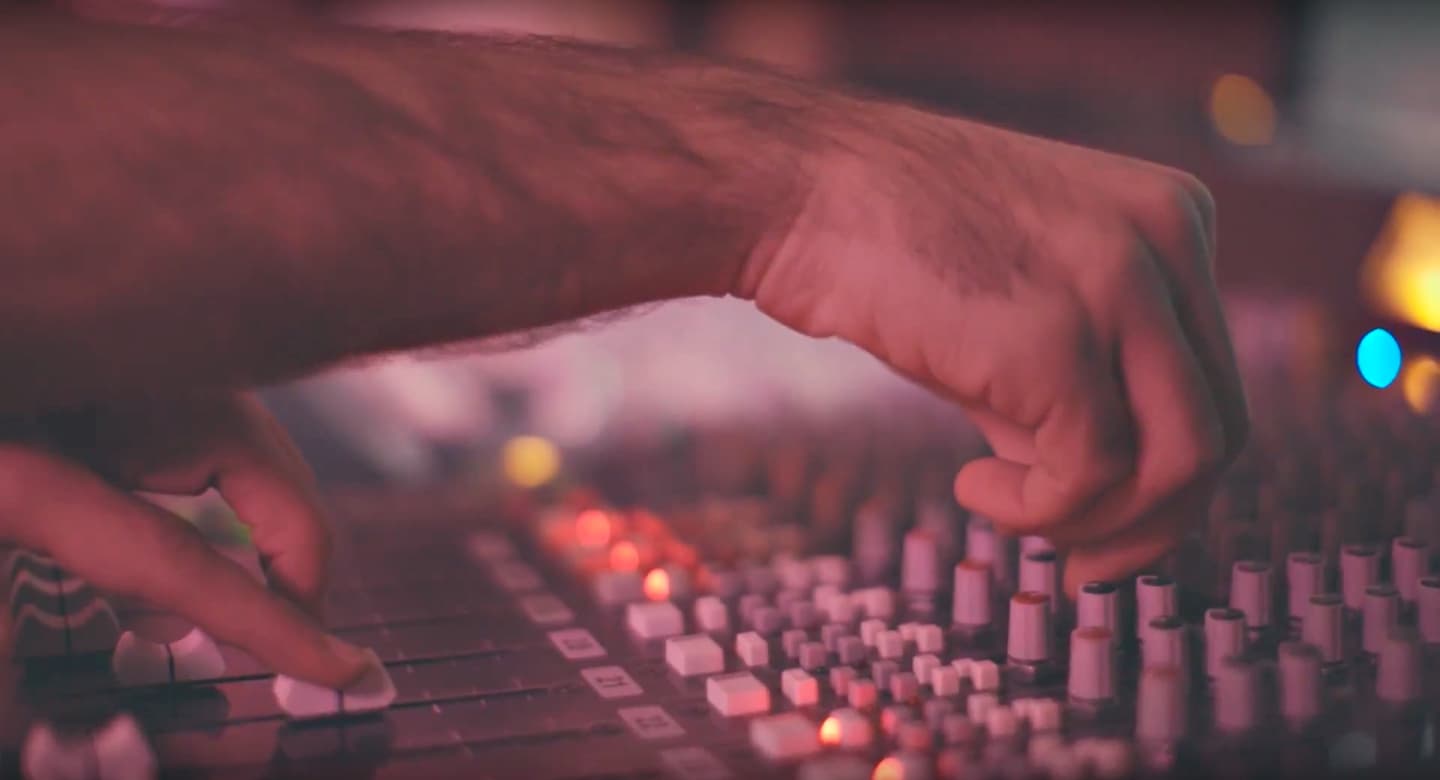
Having an accurate visual representation of your audio material is always an asset. This is true when working on lower-quality studio monitors or in an acoustically untreated room. A spectrum analyzer is a tool that represents a waveform in the frequency domain. It displays the amplitude on the vertical axis and frequency on the horizontal one. In the following tutorial, we will show you one way to optimize the settings on your spectrum analyzer. The benefit of this is achieving a realistic visual representation of your audio.
The Voxengo SPAN analyzer
In this tutorial, we have chosen a plugin called SPAN by Voxengo. Let's add an instance of it to the master bus of our SoundBridge: DAW. It's worth noting it should be the last plugin on the chain.

In this case, we're interested only in the spectrum analyzer, not the metering. We will cover the latter in one of the following tutorials. Let's hide it for now. You can do that by clicking on the "Hide Meters And Stats" button in the upper part of the interface.
Next, in order to adjust our spectrum analyzer display, let's click on the little wheel icon on the upper right part of the interface. Now, we can see the "Spectrum Mode Editor" menu, where we will do most of our adjusting.

We can notice a lot of information between 40 and 80 Hz. In our track, this means mainly the kick and bass drum. However, there is a vast spectrum in this range. Such a resolution is not exact enough to show what is happening and where each instrument's fundamentals are. We will increase the "Block Size" to 8192 value to fix this. With that, we can better understand where the fundamental frequencies of the kick or bass reside.

Smoothing and Averaging Time
Now, we seem to have too much detail everywhere else. Since we're not interested in individual harmonics or partials when looking at the whole mix, let's make further adjustments to see the overall trends. In order to do this, we will apply some smoothing by clicking on the "Smoothing" tab. Here, we will select a "⅓ OCT" setting.

We're also not interested in individual transients, so let's add more averaging time by increasing the average time setting to 6000.

This analyzer setting can be handy when mixing. As mentioned, an optimized spectrum analyzer can be very beneficial if you work in an untreated room. Ultimately, it can help your eyes and ears agree and significantly speed up your workflow.
MASTER MUSIC PRODUCTION
Expert-led courses designed to take you from fundamentals to finished tracks.

HOUSEFrom bouncy bass and solid kicks, this course teaches you the most modern House music production techniques needed to succeed and stand out.

TRAPQuit sounding like generic Trap and produce something World with hints of the Far East. Create ethnic soundscapes to put your Trap ahead of the curve.

AMBIENTProduce relaxing, sophisticated psy-influenced ambient. Psychedelic and relaxing to listen to, create meditative soundscapes to put your listeners in Zen.