Recording Vocals at Home: Your Practical Studio Guide
Last Edited: Jun 16, 2026
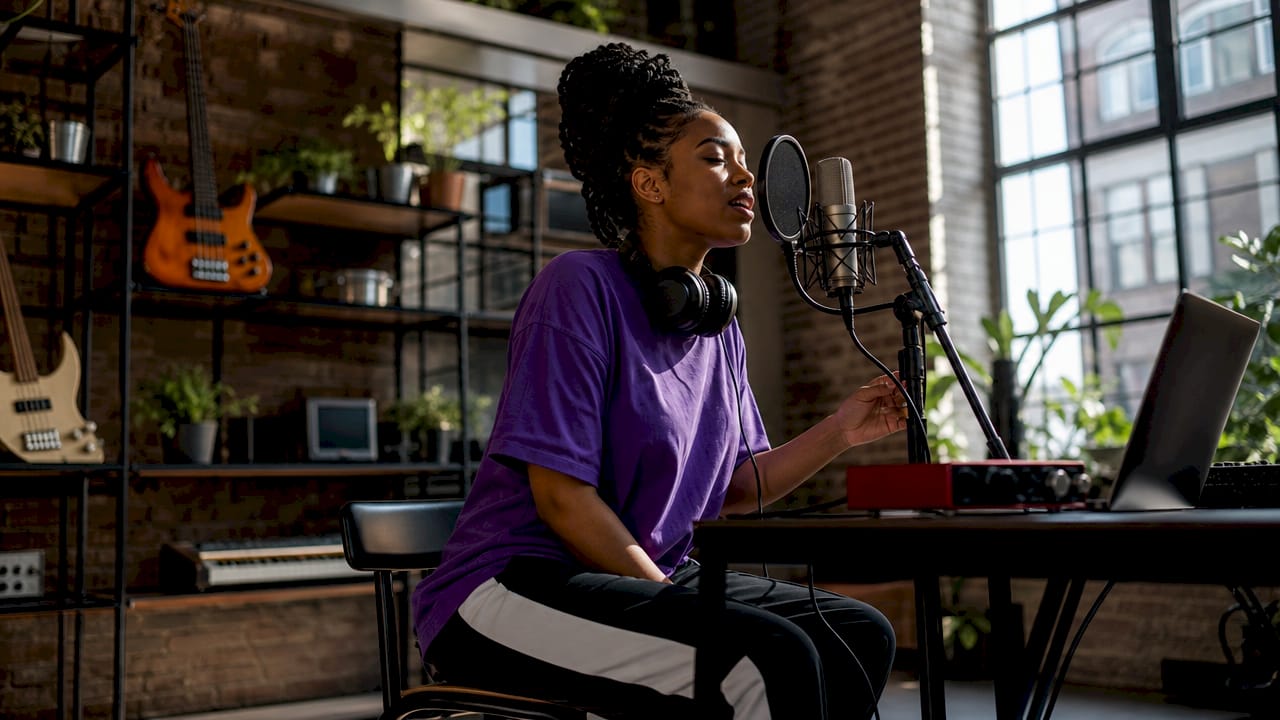
Recording vocals at home is the practice of capturing professional-quality vocal performances using a personal setup built around a quality microphone, an audio interface, and a digital audio workstation (DAW). You don’t need a commercial studio to get clean, expressive tracks. What you need is the right gear, a treated space, and a disciplined approach to technique. This guide covers every layer of that process, from choosing your first microphone to comping takes like a pro, so you can walk away with recordings you’re genuinely proud of.
What Equipment Do You Need to Record Vocals at Home?
Entry-level home studio setups cost between $300 and $500 and include a microphone, audio interface, DAW, and closed-back headphones. That price point gets you everything you need to capture a clean vocal signal. Spending more before you’ve mastered the basics rarely improves your results.
The Core Gear List
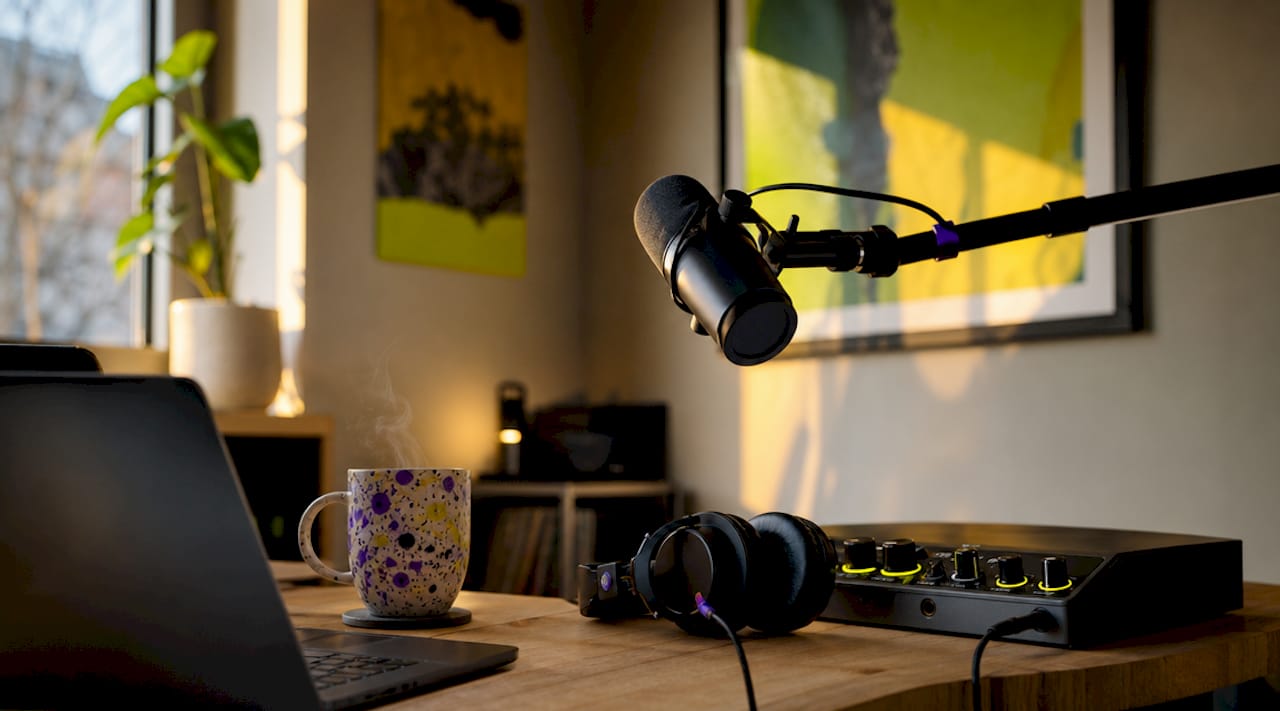
Here’s what every home vocal chain requires:
- Microphone: Your primary sound source. Large-diaphragm condenser microphones like the Rode NT1 or Audio-Technica AT2020 capture detail and air in treated spaces. Dynamic microphones like the Shure SM58 or Shure SM7B reject off-axis noise and handle untreated rooms far better.
- Audio interface: Converts your microphone’s analog signal to digital. The Focusrite Scarlett Solo is the most recommended entry-level option, offering clean preamps and direct monitoring at under $130.
- DAW software: Your recording and editing environment. Options range from free (GarageBand, Audacity) to paid platforms like Soundbridge, which supports up to 192kHz sample rates and zero-latency remote tracking.
- Closed-back headphones: Closed-back headphones prevent bleed from leaking back into the microphone during tracking. The Sony MDR-7506 is the industry standard at under $100.
- Pop filter and mic stand: A pop filter placed 3 to 4 inches from the capsule reduces plosive sounds (“p” and “b” bursts). A sturdy boom stand keeps your mic position consistent between sessions.
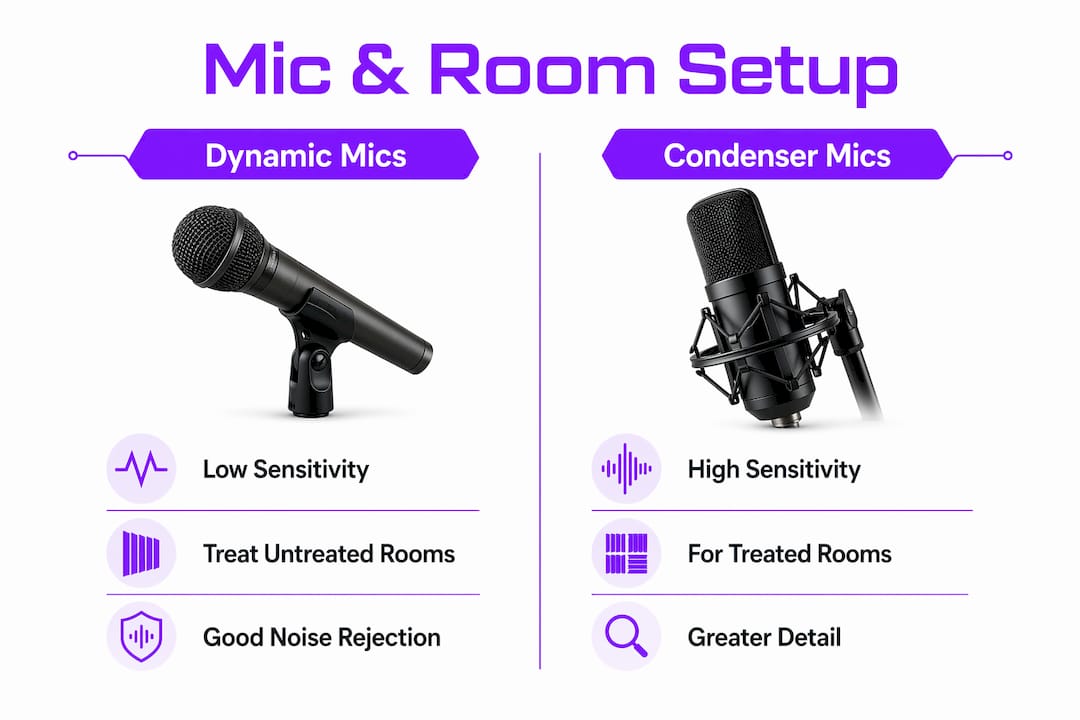
Dynamic vs. Condenser Microphones
| Feature | Dynamic (e.g., Shure SM7B) | Condenser (e.g., Rode NT1) |
|---|---|---|
| Room sensitivity | Low. Rejects background noise well | High. Picks up room reflections |
| Best environment | Untreated or noisy rooms | Treated, quiet spaces |
| Frequency detail | Warm, focused midrange | Extended highs, more air |
| Price range | $100 to $400 | $80 to $500+ |
| Phantom power needed | No | Yes (via interface) |
Pro Tip: Don’t buy a condenser microphone until your room is treated. A dynamic mic in a closet will sound cleaner than a premium condenser in a live, reflective bedroom.
How to Prepare Your Recording Space for the Best Vocal Sound
Room treatment matters more than microphone cost. A $100 microphone in a properly treated closet outperforms a $1,000 microphone in an untreated room. That’s not a metaphor. It’s the single most important principle in home vocal recording, and most beginners ignore it entirely.
Acoustic treatment and soundproofing are two different things. Soundproofing stops sound from entering or leaving a room. Acoustic treatment controls how sound behaves inside the room. For vocal recording, treatment is what you actually need. Soundproofing a bedroom is expensive and rarely practical.
The most cost-effective treatment approach targets two problems: flutter echo and bass buildup. Flutter echo occurs when parallel walls bounce sound back and forth. Bass buildup occurs in corners where low frequencies accumulate. Bass traps in the corners and absorption panels at first-reflection points deliver the highest return on investment in any home studio.
Budget-friendly options that genuinely work:
- Recording in a closet: Clothes act as natural absorbers. A walk-in closet lined with hanging garments can produce surprisingly dry, clean vocal recordings.
- Heavy blankets and moving pads: Hang them behind and beside you to kill reflections. Not pretty, but effective.
- Reflection filters: Products like the sE Electronics Reflexion Filter mount directly to your mic stand and create a localized dead zone around the capsule.
- DIY absorption panels: Rockwool or Owens Corning 703 rigid fiberglass, wrapped in fabric and mounted at ear height on side walls, address first-reflection points directly.
Pro Tip: Stand in your recording position and clap sharply. If you hear a flutter or ring, you have a reflection problem. Move your setup or add absorption before you record a single note.
Position yourself at least 3 feet from any wall. Corners are the worst place to stand. Turning off HVAC systems, refrigerators, and computers with loud fans before recording eliminates the ambient noise that ruins otherwise clean takes.
What Are the Best Practices for Mic Placement and Gain Staging?
Microphone placement and gain staging are the two technical skills that separate clean home recordings from muddy, distorted ones. Get these right and your raw tracks will need far less fixing in the mix.
Follow these steps for consistent, professional results:
- Set your distance. Position your mouth 6 to 8 inches from the capsule. Closer than 6 inches exaggerates bass frequencies through the proximity effect. Farther than 10 inches picks up too much room sound.
- Angle the microphone slightly off-axis. A 15- to 30-degree off-axis angle toward your nose or chin reduces sibilance and plosives while keeping the tonal character natural. Point the capsule at your mouth, but tilt it slightly rather than aiming it dead-on.
- Place the pop filter correctly. Mount it halfway between your mouth and the microphone, roughly 3-4 inches from the capsule. This catches the air burst from plosives before it hits the diaphragm.
- Set your interface gain. Sing or speak at your intended loudest volume, and adjust the gain so the loudest peaks hit between -12 and -6 dBFS on your DAW meter. This preserves headroom for mixing and prevents digital clipping.
- Enable direct monitoring. Most audio interfaces, including the Focusrite Scarlett range, include a direct monitor switch that routes your signal back to your headphones with near-zero latency. Use it. Monitoring via software introduces a delay that disrupts your performance.
- Mark your position. Put tape on the floor where you stand and on the mic stand at the height you’ve set. Consistency between sessions saves you from having to re-dial everything each time.
Pro Tip: Record a test take and zoom into the waveform in your DAW. If the peaks are touching the top of the track lane, you’re clipping. If they’re barely visible, your gain is too low. Aim for peaks that reach roughly two-thirds of the track height.
Common mistakes to avoid: recording too hot (above negative 6 dBFS), moving closer to the mic mid-take, and skipping the pop filter because it “looks unnecessary.” Each of these degrades your raw signal in ways that are difficult or impossible to fix in post.
How to Record Multiple Takes and Troubleshoot Common Problems
Professional vocal recordings are rarely single takes. Recording multiple full takes and comping produces more natural, emotionally cohesive performances than punching in line by line. Comping means assembling the best moments from several complete passes into one composite track. Most DAWs, including Soundbridge, have dedicated comp track features that make this process fast and non-destructive.
Here’s a practical session workflow:
- Record at least three full takes without stopping to fix mistakes. Let the performance breathe. Interrupting your flow for minor errors costs you emotional continuity.
- Label every take clearly. Name tracks with the date, song section, and take number. “Chorus_Take_03_2026-06-15” is infinitely more useful than “Audio 7.”
- Record 3 to 5 seconds of silence before your first take. This noise profile segment lets noise reduction tools in your DAW or plugins like iZotope RX isolate and remove consistent background hum during post-production.
- Back up your session after every recording block. Use an external drive or cloud storage. Losing a vocal performance to a crashed session is a preventable disaster.
- Listen back on headphones and speakers. Problems that hide on one playback system reveal themselves on another.
Common problems and how to fix them:
- Clipping: Lower your interface gain and re-record. No plugin fully repairs a clipped signal.
- Sibilance: Reposition the mic slightly off-axis or use a de-esser plugin during mixing. The Waves DeEsser and FabFilter Pro-DS are reliable choices.
- Headphone bleed: Switch to closed-back headphones and lower your monitor volume. Closed-back headphones and direct monitoring are non-negotiable for clean tracking.
- Background noise: Record during quiet hours, turn off all appliances, and close windows. If noise persists, use iZotope RX’s Dialogue Isolate or the noise reduction module in your DAW.
Pro Tip: After compiling your best take, listen to the composite from start to finish before editing. You’ll catch pacing issues and unnatural transitions that you’d miss if you edited section by section.
Which Mic and Room Setup Works Best for Your Situation?
Choosing the right combination of microphone and recording environment depends on three factors: your room’s acoustic condition, your budget, and your vocal style.
- Untreated room with background noise: Use a dynamic microphone such as the Shure SM7B or SM58. Their cardioid polar pattern and lower sensitivity reject room reflections and ambient noise that would ruin a condenser recording.
- Partially treated bedroom: A large-diaphragm condenser, such as the Audio-Technica AT2020 or Rode NT1, works well here, especially when paired with a reflection filter. You get the detail and presence of a condenser without capturing too much of the room's character.
- DIY vocal booth or closet: Any quality condenser shines in this environment. The Rode NT1 is particularly well-suited, with an exceptionally low self-noise floor of 4.5 dB(A) that cleanly captures subtle vocal nuances.
| Setup type | Recommended mic | Key treatment | Budget range |
|---|---|---|---|
| Untreated room | Shure SM7B (dynamic) | None required | $400 to $600 |
| Treated bedroom | Rode NT1 (condenser) | Panels + bass traps | $500 to $900 |
| Closet or DIY booth | Audio-Technica AT2020 | Hanging clothes | $150 to $300 |
Experiment with mic distance and angle even after you’ve found a setup that works. Moving the capsule 2 inches farther from your mouth can reduce proximity warmth and open up the high-mids. Small adjustments produce audible differences, and learning to hear them trains your ear faster than any tutorial.
Key Takeaways
Effective home vocal recording depends on treating your room before upgrading your gear, setting gain correctly, and capturing multiple full takes for comping.
| Point | Details |
|---|---|
| Room treatment first | A treated closet outperforms an untreated room regardless of microphone price. |
| Gain staging discipline | Keep vocal peaks between -12 and -6 dBFS to preserve headroom and avoid clipping. |
| Mic placement precision | Position 6 to 8 inches from the capsule, slightly off-axis, with a pop filter in between. |
| Comp your takes | Record three or more full passes and assemble the best moments into one composite track. |
| Noise profile capture | Record 3 to 5 seconds of silence before each session to enable effective post-processing noise reduction. |
What I’ve Learned After Years of Home Vocal Sessions
The biggest shift in my approach to home vocal recording wasn’t buying better gear. It was stopping the habit of blaming the gear for problems that were actually room problems. The moment I put bass traps in the corners of my recording space and hung absorption panels at ear height, my existing microphone sounded like a different piece of equipment entirely.
Most people spend their first year chasing the next microphone upgrade. I did the same thing. But the Rode NT1 I already owned sounded dramatically better in a treated space than the more expensive condenser I’d been eyeing. That realization saved me hundreds of dollars and redirected my focus toward technique.
Consistency in mic placement is underrated. Marking your floor position and mic stand height with tape sounds almost too simple to matter. But when you return to a session two days later, and your mic is in the same spot, your vocal chain sounds identical to where you left off. That consistency compounds over time into a recognizable sound.
The other thing I’d tell every aspiring home recording artist: record more takes than you think you need. The take you think is perfect in the moment rarely holds up on a fresh listen the next morning. The take you almost deleted often has the emotional quality that makes a song feel real. Comp generously. Trust the process.
Take Your Home Studio Further With SoundBridge
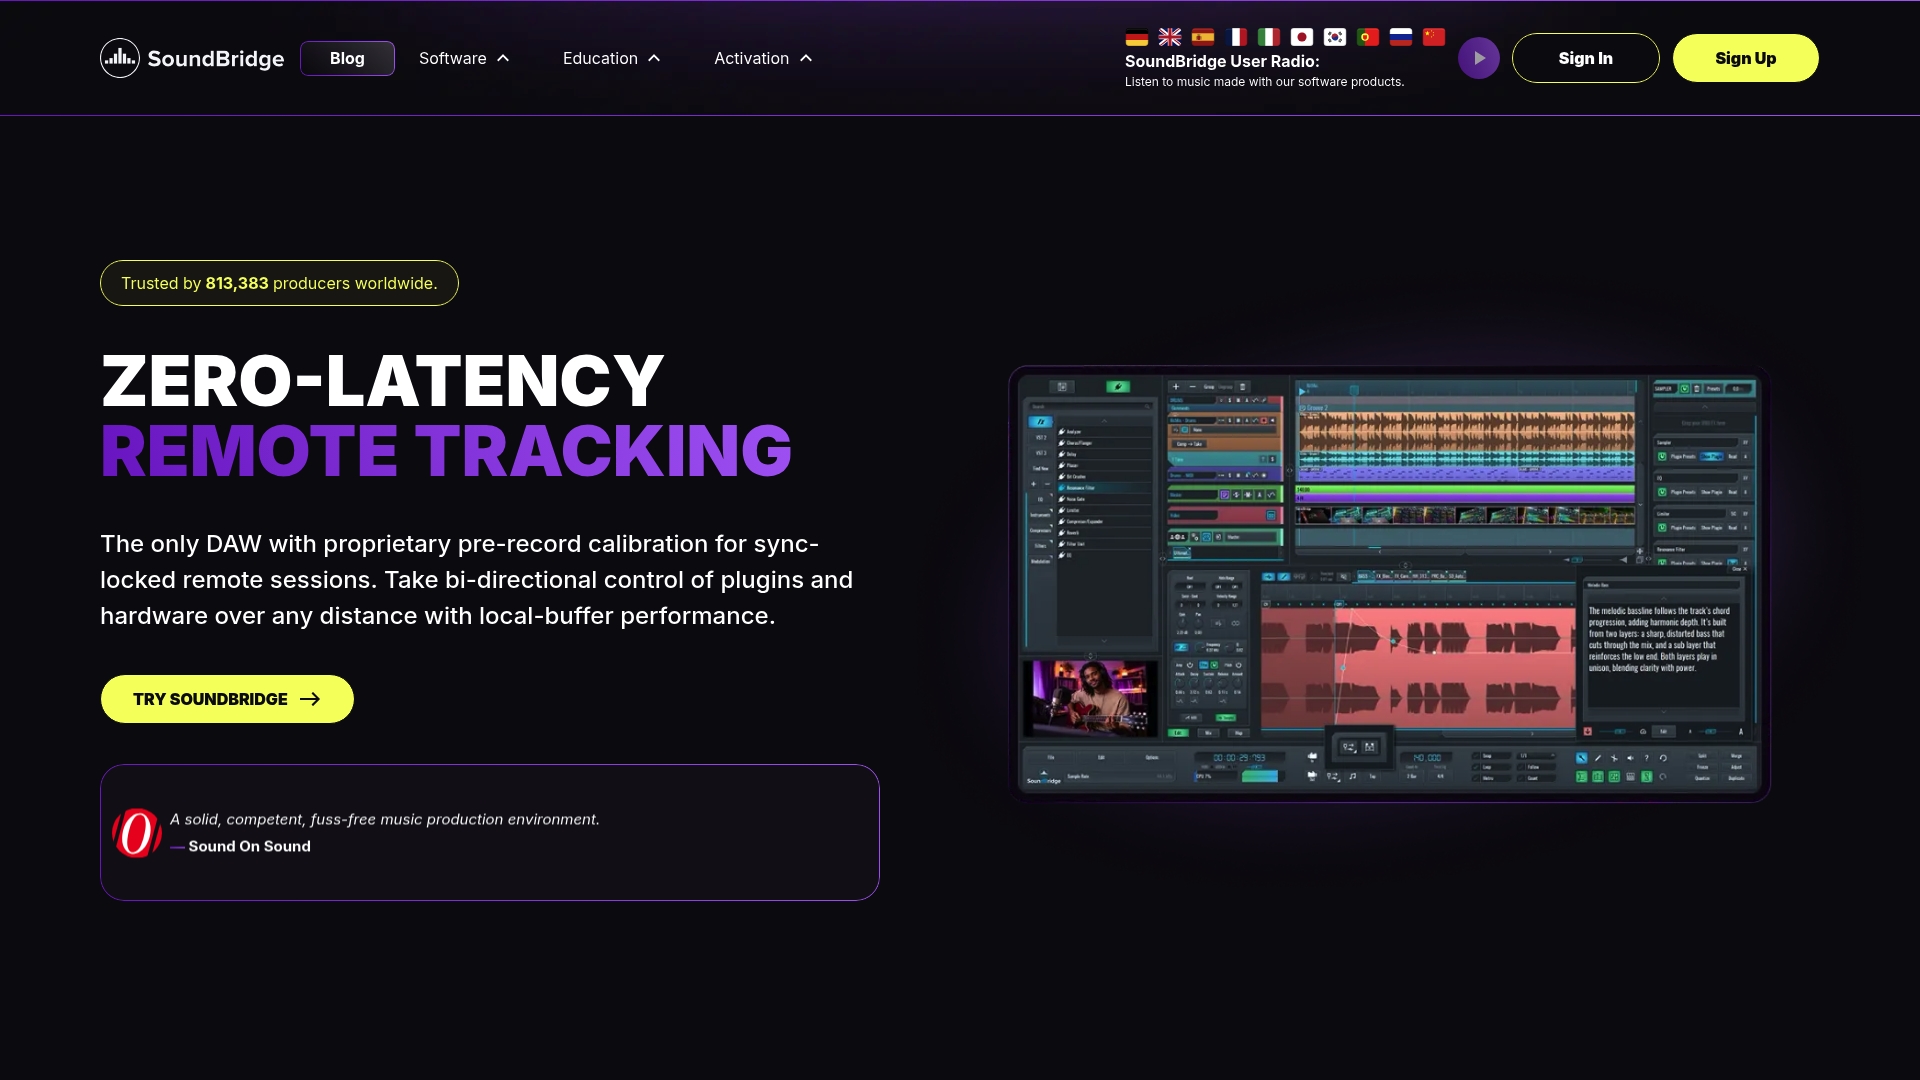
Soundbridge is built for exactly the kind of work this guide describes. Whether you’re tracking your first vocal or refining a polished home studio workflow, Soundbridge gives you a DAW that handles vocal recording and editing with precision and speed. Its zero-latency monitoring, intuitive comping tools, and support for 192kHz sample rates mean your performances are captured with full fidelity from the first take. Available on both Mac and Windows with free and paid tiers, it’s a platform that grows with your skills. Start with the complete DAW guide to understand how to set up your session, configure your interface, and get the most from every recording.
FAQ
What is the best microphone for recording vocals at home?
The best microphone depends on your room. A dynamic microphone, such as the Shure SM7B, works best in untreated or noisy spaces, while a large-diaphragm condenser like the Rode NT1 excels in treated rooms. Match the mic to your environment before your budget.
How do I stop my vocals from clipping when recording?
Set your audio interface gain so that the loudest vocal peaks hit between -12 and -6 dBFS on your DAW meter. This headroom prevents digital clipping and gives you room to work during mixing.
Do I need acoustic treatment to record vocals at home?
Yes. Room reflections degrade recordings regardless of microphone quality. Even basic treatment like recording in a closet or hanging heavy blankets behind you produces noticeably cleaner results than recording in an untreated room.
What is vocal comping and why does it matter?
Vocal comping is the process of recording multiple full takes and assembling the best moments into one composite track. It produces more natural and emotionally consistent performances than correcting individual lines through punch-in editing.
How far should I stand from the microphone when recording?
Position your mouth 6 to 8 inches from the microphone capsule. Closer distances exaggerate bass through the proximity effect, while greater distances pick up too much room ambiance and reduce presence.
Recommended
MASTER MUSIC PRODUCTION
Expert-led courses designed to take you from fundamentals to finished tracks.

HOUSEFrom bouncy bass and solid kicks, this course teaches you the most modern House music production techniques needed to succeed and stand out.

TRAPQuit sounding like generic Trap and produce something World with hints of the Far East. Create ethnic soundscapes to put your Trap ahead of the curve.

AMBIENTProduce relaxing, sophisticated psy-influenced ambient. Psychedelic and relaxing to listen to, create meditative soundscapes to put your listeners in Zen.