The Art Of Regenerative Resampling
Last Edited: Dec 11, 2023
What is Resampling?
So you've made a sound with a synth or some audio exactly how you want it. The problem is - it doesn't have a life of its own. Moreover, it doesn't change organically. It only comes in one form. You've probably found yourself wishing you had a thousand variations of it to compose a whole piece of music. This is where resampling comes in handy. Sometimes, all you need is one sound to make an entire piece of music. Therefore, this is an increasingly popular technique in electronic music production. With the power of resampling, variations are countless and unique. Yet, they all somewhat conserve the original design's character - providing an impressive cohesiveness. Below, I explore one method of composing a piece out of a single sample in Lumit that involves duplication, editing, FX, multi-sampling, and re-triggering. I will use this sample from Loop Masters for my example.

STEP 1 - Make Duplicates and Raw Edits
Firstly, duplicate the original sample 8-10 times. For each copy, make a unique edit and bounce it.
![]()
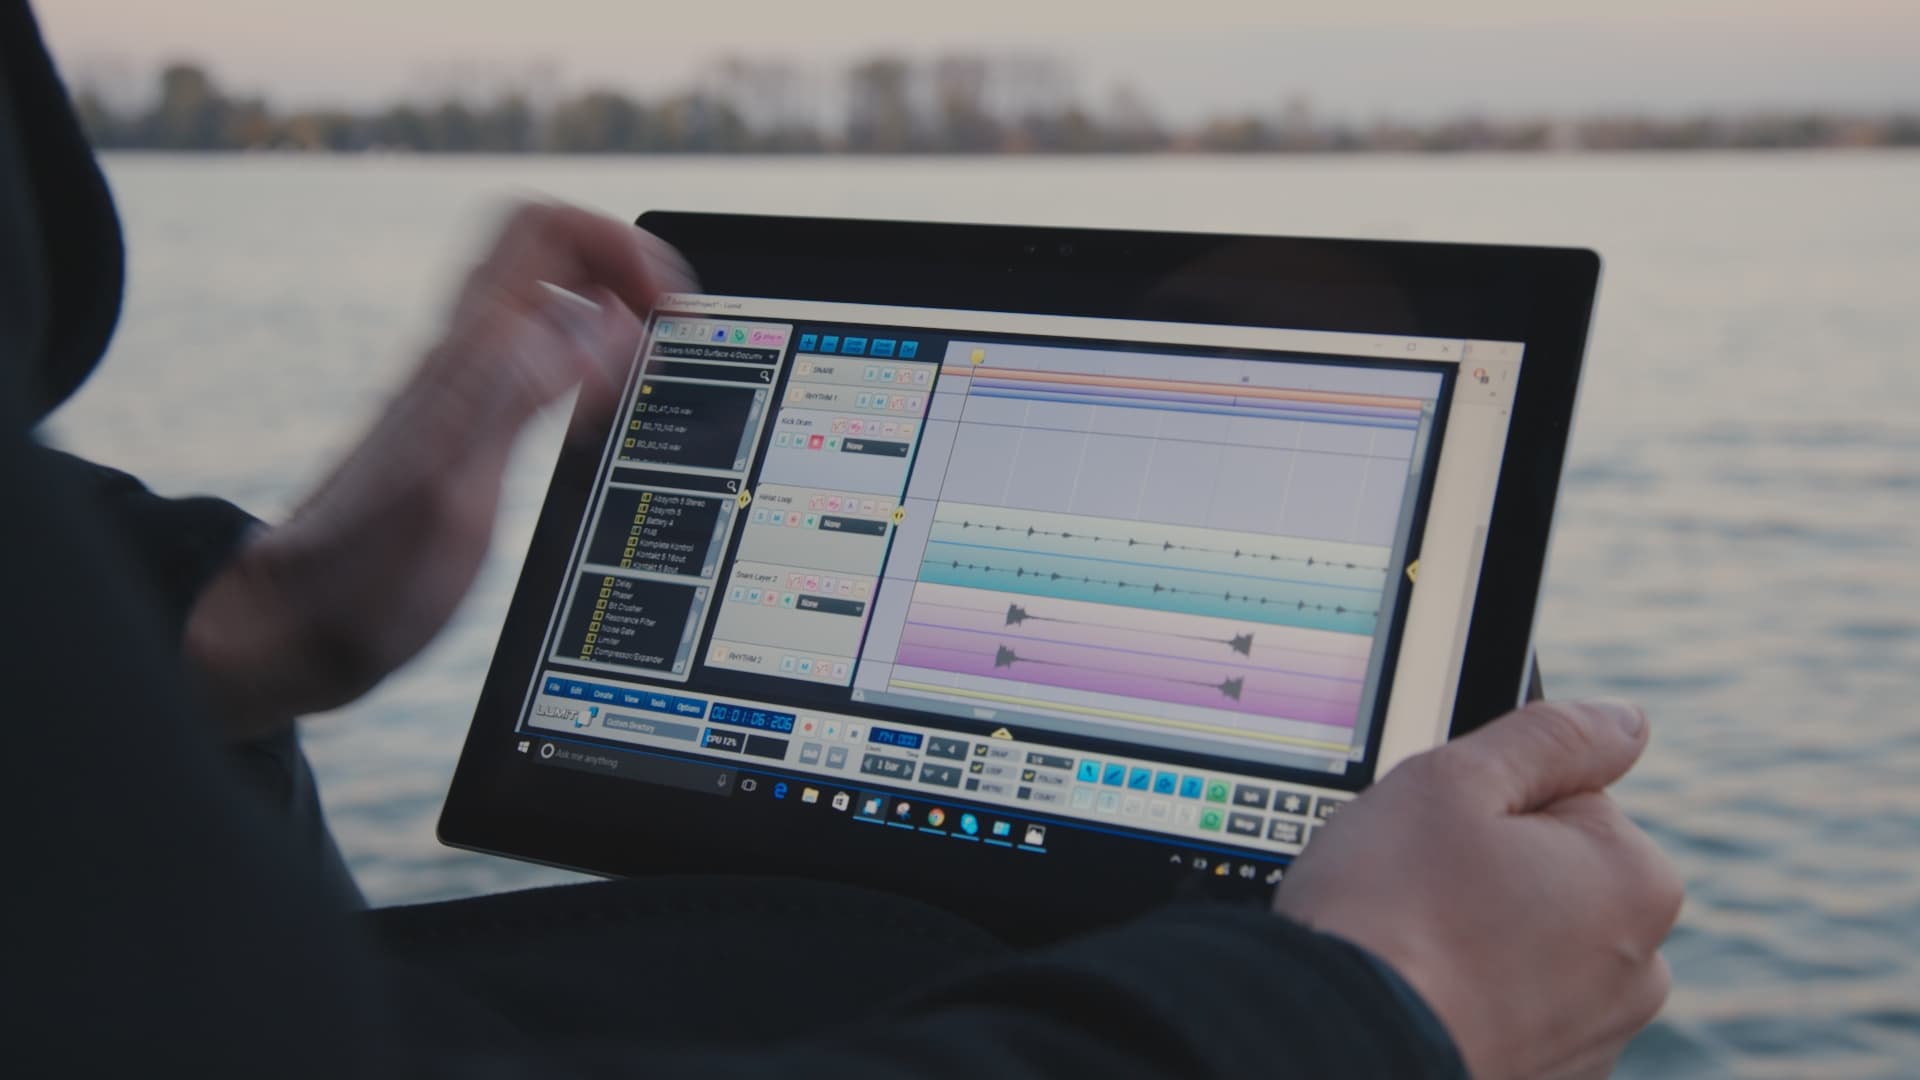
I like to keep my arrangement intentions in mind when I make edits. I figured I would need a kit of percussive sounds and a few longer samples for melodic instruments. So, I made five percussive edits and 4 longer edits. At this point, the session should look something like this….

After making your edits, you can delete the duplicates and consolidate the session like so…

My raw edits sound like this...
Use the "freeze to file" tool in Lumit to bounce each edit individually.
![]()
Additionally, be sure to name and organize them in a way that makes sense. I recommend bouncing them as WAV files since they will be manipulated and processed.

STEP 2 - Load Edits into Samplers
For the You'lly, you want to use an MPC-style sampler like Battery. However, for the percussive editor, for the longer samples, you will want to use a resampling tool like Kontakt to map the models to the keyboard ranges. Give each of the samples for melodic instruments its instance of Kontakt.


STEP 3 - Duplicate and Edit (Again!)
Please make at least one duplication of each sample in their respective samplers and create a subtle edit or variation on the duplicate. Good edits for this stage include reversals, time/pitch stretch, enveloping, and stuttering. At this point, you should have at least double the amount of edits from step 2 and are free to modify the samples to be in tune.


STEP 4 - Compose Something
Use the instruments you've created to compose something interesting. Furthermore, as the phrase you want to develop evolves, feel free to edit, fine-tune, duplicate, and modify the samples to suit the arrangement. This is what my raw percussion arrangement sounds like...
STEP 5 - Add Effects and Automate
In my example, I used delay, reverb, filters, a phaser, and a bit crusher to affect my sounds. Nevertheless, feel free to add any audio processing you desire and tweak settings over time. This is my composed 16-bar loop played twice, with effects.
MASTER MUSIC PRODUCTION
Expert-led courses designed to take you from fundamentals to finished tracks.

HOUSEFrom bouncy bass and solid kicks, this course teaches you the most modern House music production techniques needed to succeed and stand out.

TRAPQuit sounding like generic Trap and produce something World with hints of the Far East. Create ethnic soundscapes to put your Trap ahead of the curve.

AMBIENTProduce relaxing, sophisticated psy-influenced ambient. Psychedelic and relaxing to listen to, create meditative soundscapes to put your listeners in Zen.