Tough Pluck
Last Edited: Dec 11, 2023
This week's PATCH is a real tough bass. I made it in Massive, but you could make it in just about any synth with at least 3 oscillators that can generate complex waveforms. FX is essential on this one, especially compression and EQ. They help shape the sound into a tighter, clearer form. It may provide that confident presence you've sought in a bass patch.
~ PATCH
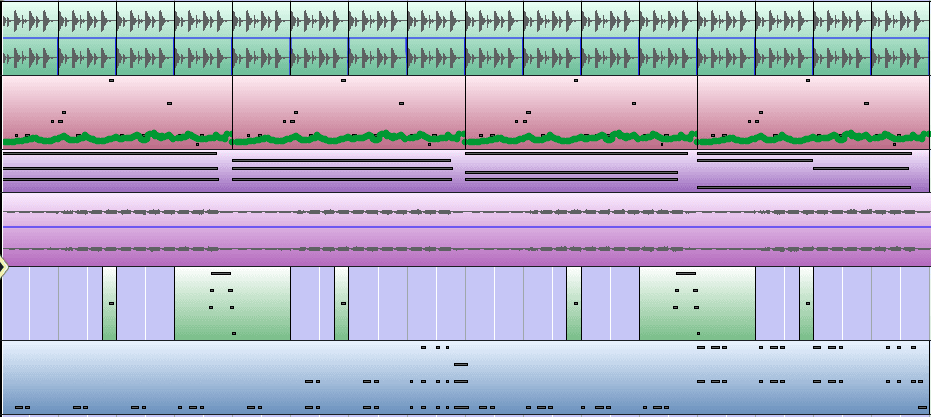
~ Possible Context (Loop from Lumit Sample Pack)
OSCILLATORS This patch has 4 source components: a Digi Cook 1 wave, a square-saw hybrid, an essential sine with some harmonic content, and a noise oscillator. Each oscillator is stuffed into filter one completely.

VOICING: I have made some changes in the voicing section of the synth. In order to standardize the start phase of each of the 3 basic oscillators, I enabled Restart via Gate. This ensures the timbre will be the same each time you press the same note without phasing. I have also given the pitch bend one whole step of range.

FILTER The Lowpass 2 filter used here is controlled by an extra envelope that Massive provides. This is really what characterizes the sound. You don't have to set the range exactly as it is here, but it is a good starting point. Macro 1 has been set up to control the filter's cutoff frequency over a pretty wide range. This comes in handy when making subtle variations and developments.

ENVELOPES For the amp envelope, don't make yourself crazy trying to get it perfect, mainly because it won't have the same effect after the filter envelope is set up. It can work in a lot of different contours.

For the filter envelope, be careful not to make the decay too short, and listen for the level at which you can hear just the third oscillator after the decay - that is a good start. It should just be low-end after the decay of the filter envelope.

FX Within Massive


Within Lumit, Keep the chorusing subtle - it should make it sound bigger and wider, not warbly or shaky. The compressor is used creatively rather than in a corrective way, like a dynamic envelope. Its purpose is to emphasize the bite of the sound. The attack is set around 90ms, the release is around 10ms, and there is about 10 dB of make-up gain. I used Nicky Romero's Kickstart to make the bass duck for the kicks in my drum loop from the Lumit Sample Pack. It is also used on some other elements in my contextual audio example.

CONTROL As I mentioned earlier, Macro 1 controls the cutoff frequency of Filter 1. I then mapped that control to the modulation wheel on my MIDI controller and used it to record some automation.

![]()
I hope this tutorial was interesting and eye-opening to you. Stay tuned for more #FreeSounds and helpful tips!
MASTER MUSIC PRODUCTION
Expert-led courses designed to take you from fundamentals to finished tracks.

HOUSEFrom bouncy bass and solid kicks, this course teaches you the most modern House music production techniques needed to succeed and stand out.

TRAPQuit sounding like generic Trap and produce something World with hints of the Far East. Create ethnic soundscapes to put your Trap ahead of the curve.

AMBIENTProduce relaxing, sophisticated psy-influenced ambient. Psychedelic and relaxing to listen to, create meditative soundscapes to put your listeners in Zen.