

Editors: Fix Frame Rate Audio Drift with 48 kHz Sessions and FFmpeg
Last Edited: Oct 13, 2026
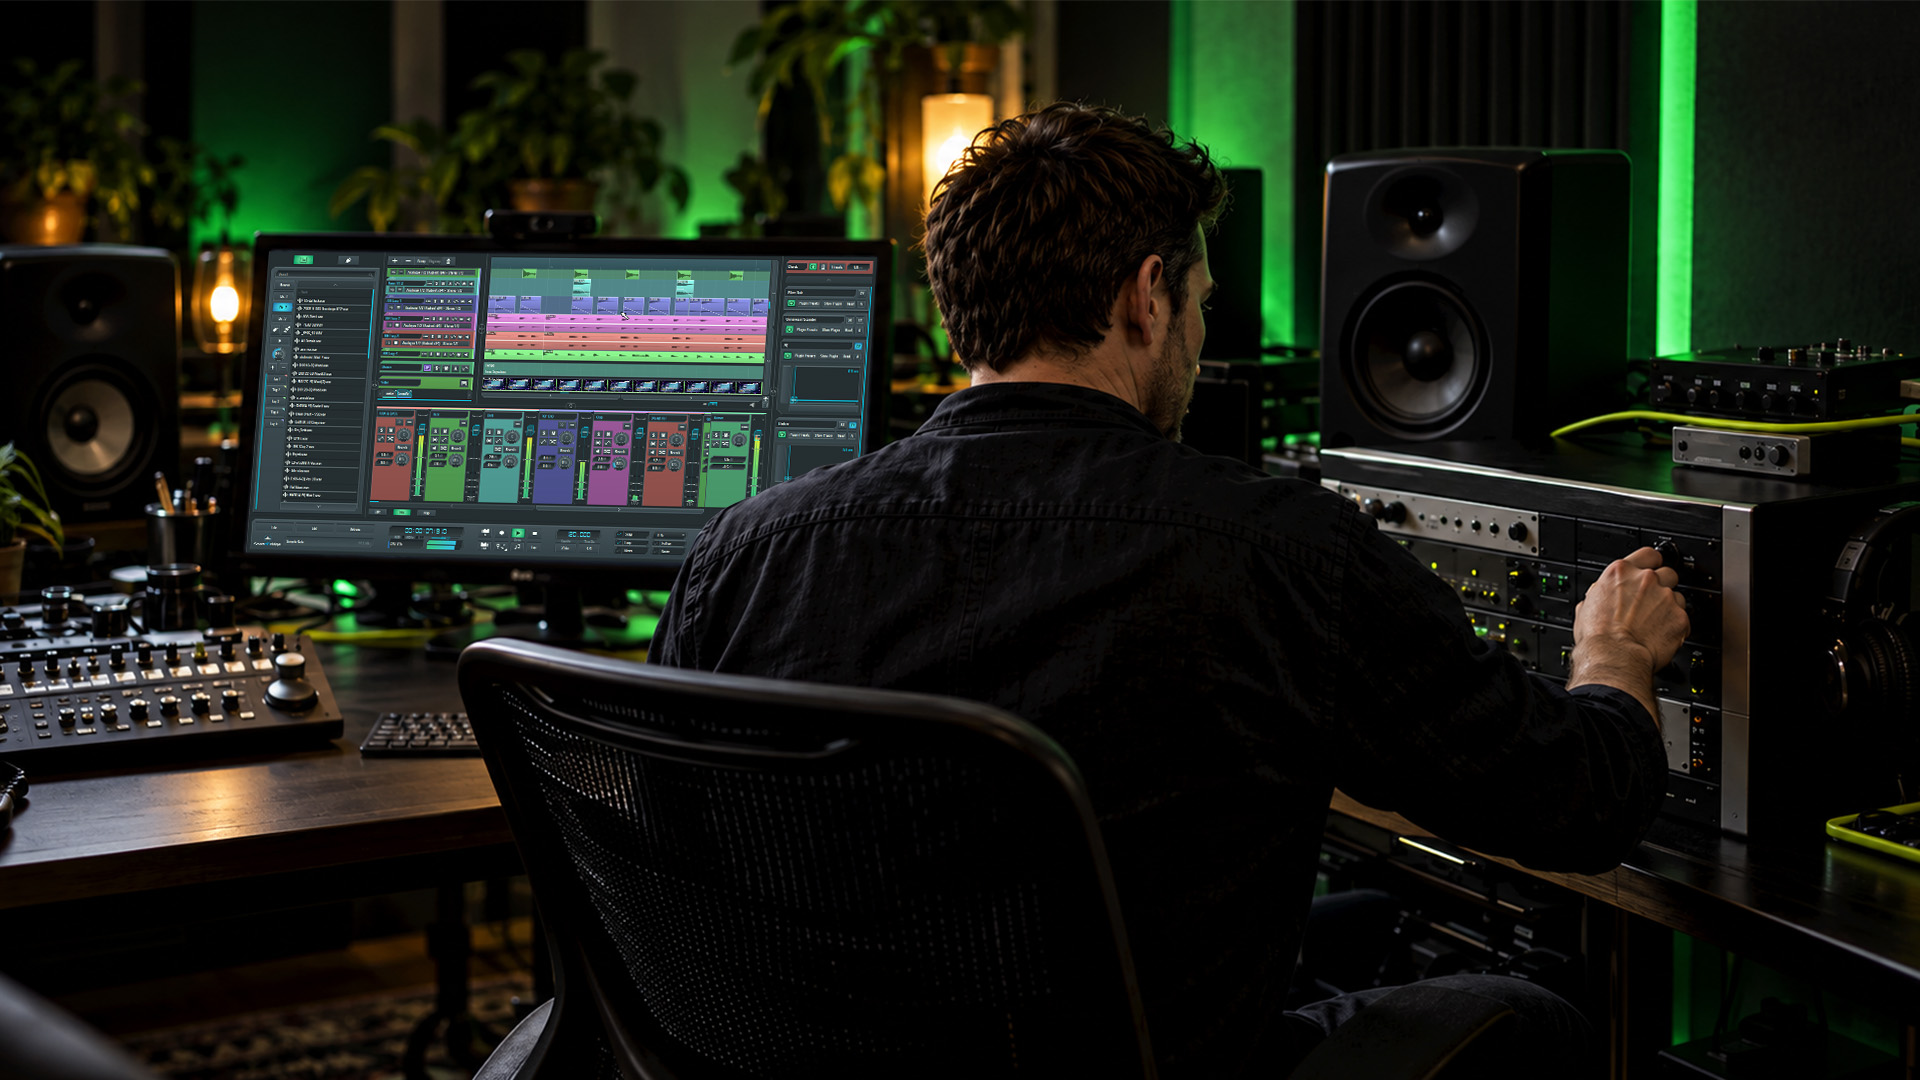
No, audio doesn’t use a picture-style frame rate: it runs on a sample rate measured in Hz. For picture work, we recommend setting a single session clock at 48 kHz and matching your sequence frame rate to your footage to keep everything locked. If you’re already seeing drift, check for variable frame rate video and mismatched timecode clocks before you touch anything else.
TL;DR:
- Using 48 kHz sample rate ensures consistent, integer samples per frame at common video frame rates, reducing audible clicks and sync issues.
- Fixed offset problems are corrected easily with
-itsoffset, while drifting caused by variable frame rate video requires converting to constant frame rate before editing begins.- Converting inbound files once at high quality, then leaving session sample rate unchanged during editing, prevents artifact stacking and preserves audio fidelity.
- Detecting variable frame rate can be done by comparing
r_frame_rateandavg_frame_ratewith ffprobe, which helps prevent cumulative drift over long projects.- Native video support in DAWs like SoundBridge enables setting a shared project clock, simplifying sync maintenance from ingest to final export.
How Audio Timing Works: Sample Rate, Audio Frames, and Clocks
Sample rate tells you how many times per second your audio hardware captures or reconstructs a waveform. At 48,000 Hz, your system takes 48,000 snapshots of the sound wave every second, and that number alone determines playback speed and pitch accuracy. There’s no visual “frame” equivalent here: audio is a continuous stream, sampled at fixed intervals, not a sequence of discrete images like video.
The term “audio frame” causes real confusion because it means different things depending on context. In uncompressed PCM audio, a frame is simply one sample across all channels at a single instant in time, according to MDN’s audio concepts guide. In compressed codecs, a frame is something else entirely: an access unit the decoder processes as a chunk. AAC, for instance, commonly groups samples into frames of 1,024 samples each, which is why tools sometimes report an “audio frame rate” for compressed streams that has nothing to do with video frame rate, as Video Stack Exchange explains.
This distinction matters once you start diagnosing sync problems, because the clocks driving audio and video are fundamentally different animals:
- Your audio hardware runs on a sample clock, a steady electronic pulse that ticks at your chosen sample rate.
- Video uses presentation timestamps, which assign a specific moment to each discrete frame.
- Audio is continuous and self-correcting within its own clock domain; video is a series of snapshots with gaps between them.
- When these two clocks drift apart, even slightly, the mismatch compounds over the length of a project.
Platform-level documentation on frames, periods, and buffer sizes, such as the ALSA project’s explanation, reinforces the same point from the hardware side: a frame is the full set of samples across all channels at a single instant, tied directly to the sample rate and channel count, never to a picture rate. Keep that separation clear, and most sync confusion resolves itself before it starts.
Common Rates and Samples-Per-Frame Math (Practical Reference Table)
Production work generally settles around a handful of standard sample rates: 44.1 kHz, 48 kHz, and 96 kHz. Video frame rates cluster around 23.976/24 fps, 25 fps, 29.97/30 fps, and 60 fps. The arithmetic that connects them determines whether your edits land cleanly on frame boundaries or introduce fractional-sample errors that accumulate into audible problems.
| Frame rate | Samples per frame at 48 kHz | Samples per frame at 44.1 kHz |
|---|---|---|
| 24 fps | 2,000 | 1,837 |
| 23.976 fps | 2,002 | 1,839 |
| 25 fps | 1,920 | 1,764 |
| 30 fps | 1,600 | 1,470 |
| 29.97 fps | 1,601 | 1,471 |
| 60 fps | 800 | 735 |
Notice the pattern: 48 kHz divides evenly into 24, 25, and 30 fps, producing whole-number samples per frame every time. At 44.1 kHz, almost every common frame rate yields a fractional result, and 29.97 fps does so at both rates because it is not an integer.
One of the most reliable fixes for click-and-pop artifacts at cut points is choosing a sample rate that divides cleanly into your frame rate, according to SoundBridge’s guidance on frame-rate mismatches. When a cut falls mid-sample due to fractional math, the discontinuity can register as an audible click, especially on sharp transients such as percussion or dialogue plosives.

Fractional samples per frame aren’t fatal on their own. Modern editing software handles sub-sample positioning reasonably well. But the fractional remainder accumulates across hundreds or thousands of cuts in a long-form project, and that accumulation is exactly where drift and clicking tend to surface in finished deliverables.
Why Finishing at 48 kHz / 24-Bit Is the Practical Standard for Video Projects
Streaming platforms and broadcast delivery specs consistently point to 48 kHz / 24-bit as the baseline for finished video audio, and the reasoning is as much arithmetic as tradition. Versely’s breakdown of finishing at 48 kHz lays out the practical case: picture work benefits from a session rate that divides evenly into the frame rates editors actually use.
The math from the previous section backs this up directly. At 48 kHz, 24 fps, 25 fps, and 30 fps all yield an integer number of samples per frame. At 44.1 kHz, none of them do cleanly. That single difference is why 48 kHz became the default session rate for picture editing rather than the 44.1 kHz rate more common in music-only production and CD mastering.
A few practical reasons this holds up in real projects:
- Integer samples-per-frame means edits land on clean boundaries, reducing the risk of clicks at cuts.
- A single consistent session rate avoids the need for repeated conversions as footage moves between tools.
- Converting once at ingest, rather than resampling repeatedly during editing, preserves audio fidelity and avoids compounding artifacts.
- Delivery specs for streaming and broadcast overwhelmingly specify 48 kHz, so finishing at that rate avoids a conversion step before delivery.
Pro Tip: Run one high-quality sample rate conversion when you bring a file into your session, then leave the session rate untouched for the rest of the project.
That one-conversion rule, outlined in Versely’s finishing guidance, is the single habit that prevents most pops and clicks from showing up in final mixes. Repeated conversions, especially cheap ones buried in export settings, stack small errors on top of each other until they become audible. Convert once, on the way in, with a filter you trust, and leave your session clock alone until the project ships.
Diagnose Sync Issues: Fixed Offset vs Growing Drift (VFR/Clocks) and How to Test
Not all sync problems behave the same way, and figuring out which kind you’re dealing with determines the fix. A fixed offset means audio and video are consistently off by the same amount throughout the entire file: a constant lag or lead that never changes. Growing drift is different: the gap widens over time, starting small and becoming more noticeable by the end of a long clip.
- Check for a constant offset first. Play the start and end of the file; if the lag is identical at both points, you’re dealing with a fixed offset, correctable with
-itsoffsetin FFmpeg to shift the audio stream relative to video. - Compare
r_frame_ratetoavg_frame_ratewith ffprobe. When these two values differ, your source is likely variable-frame-rate video, and that mismatch is the usual cause of growing drift rather than a fixed offset, per FFmpeg Micro’s diagnostic guidance. - Rebuild to constant frame rate when VFR is confirmed. Converting with
-fps_mode cfrnormalizes the timeline so audio and video share a single, predictable clock in the future. - Measure offset at both the start and the end of the clip, not just one point, since a fixed offset and a drifting one can look identical if you only check a single timestamp.
Mismatched clocks between video frame-rate timecode and audio sample clocks can produce several seconds of drift over the course of an hour, even when the discrepancy looks negligible at first glance. SoundBridge, on frame-rate mismatch and audio
Container-level timing adds another wrinkle. Some containers store timestamp gaps or irregular packet timing that doesn’t show up until you inspect the stream directly, which is exactly why ffprobe’s frame rate fields are worth checking before you assume the problem lives in your edit rather than your source file.
Step-By-Step Ingest, Resample, and Repair Workflows (Including FFmpeg Commands)
A defensible ingest policy removes most sync headaches before they start. Set your session rate once, route every incoming file through a single conversion pass, and never let your export stage silently resample anything.
- Set your session to 48 kHz / 24-bit before importing anything, and keep a dedicated raw-audio folder for files exactly as they arrived, untouched.
- Convert every inbound file once, using a SoX-class resampling filter rather than whatever quick conversion your NLE defaults to, since quality varies widely between resampling engines.
- Rebuild variable frame rate sources to constant frame rate before editing, using FFmpeg’s
-fps_mode cfrflag, so your timeline doesn’t inherit irregular frame spacing from the source. - Resync drifted audio with
aresample=async, which stretches or compresses small amounts of audio to follow video timestamps. A typical command looks likeffmpeg -i input.mov -af aresample=async=1000:first_pts=0 -fps_mode cfr output.mov, a combination of FFmpeg Micro documents for exactly this repair. - Keep every export at session rate. Avoid a “match source” export setting when your project contains mixed-rate sources, since that setting can trigger a silent, uncontrolled resample at the worst possible stage.
- Treat generated clips as inbound files, not exceptions. Text-to-speech output and image-to-video renders often have nonstandard frame rates or inconsistent frame timing, so they deserve the same one-time conversion pass as any camera file.
A one-time, high-quality sample rate conversion at ingest is one of the most effective ways to prevent the compounding clicks and drift that show up after multiple editing passes, according to Versely’s finishing workflow guidance.
Deciding whether to re-record or re-ingest comes down to severity. For a deeper walkthrough of applying these conversions inside an actual timeline, see how post-production enhances your wedding story by keeping audio and video perfectly in sync to tell your couple’s day clearly through all editing stages. A fixed offset or a confirmed VFR source is almost always fixable in software, through the commands above. Genuine clock drift from faulty hardware, where the audio interface itself runs at a slightly wrong rate, is harder to repair convincingly after the fact and often justifies a short re-record if the session is still accessible. For a deeper walkthrough of applying these conversions within an actual timeline, our step-by-step guide to editing audio tracks covers the practical sequence in more detail.
Practical Tools and Settings That Preserve Sync
A handful of utilities and settings cover nearly every sync-preservation task you’ll run into during post-production.
- SoX and SoX-class filters handle high-quality sample rate conversion with far better results than the fast, lossy resamplers built into many default export chains.
- FFmpeg’s
swrandsoxrresampler options let you name exactly which engine performs a conversion, which matters because the two produce noticeably different results on transient-heavy material. - ffprobe and VFR detection tools reveal whether a source file is constant or variable frame rate before you commit to an editing workflow built on the wrong assumption.
- Header-editing utilities like Wave Agent let you inspect and correct metadata in PCM files without a full re-export, which is useful when a sample rate tag is wrong but the actual audio data is fine.
- NLE per-clip attributes that preserve original timecode matter when you’re cutting between sources shot at different frame rates, since losing that metadata makes drift far harder to trace later.
Naming your resampler explicitly, rather than trusting whatever your software picks by default, is a small habit that prevents a surprising share of finishing problems, particularly on dialogue-heavy or percussive material where artifacts are most audible.
How a DAW Workflow Like Soundbridge Helps Maintain Studio-Accurate Sync
Native video support inside a DAW changes how ingest actually happens in practice. When picture and sound live in the same environment, you set your session clock once and every imported clip references that same timeline, which removes an entire category of mismatched-rate mistakes before they happen.
A few things to look for in a workflow built this way:
- Native video import that locks audio and picture to a shared project clock from the start.
- Studio-accurate synchronization features designed specifically so remote collaborators hear and see the same timeline reference.
- High-fidelity processing supporting sample rates up to 192 kHz for sessions that require headroom beyond standard delivery specs.
- Integrated talkback and video monitoring, useful for scoring and sound-design passes where picture reference is constantly needed.
For readers who want the detailed steps behind ingest and editing referenced earlier in this piece, our guide to essential audio editing techniques walks through the same conversion and timeline practices in a hands-on format.
Three Rules We Follow to Never Ship a Lip-Sync Error
After enough finished projects, the fixes above collapse into three habits worth keeping on a sticky note.
First, set your session to 48 kHz / 24-bit and convert every inbound file exactly once. Second, check for variable frame rate at ingest, before you’ve cut a single clip, because normalizing afterward costs far more time. Third, name your resampling filter and use it consistently. Never let an export stage quietly resample behind your back. These three habits catch nearly every sync problem before it reaches a client.
— Wake
A DAW built for sound-for-picture workflows
We built SoundBridge around the exact problem this article walks through: keeping audio and picture locked to a single clock from ingest through the final bounce. Native video support means you’re scoring and mixing against picture inside the same timeline, not juggling a separate player and hoping the sync holds. Real-time remote collaboration with studio-accurate synchronization lets collaborators work the same session from different locations without the clock drift that plagues browser-based tools.

High-fidelity processing gives you headroom well past standard delivery specs when a project calls for it. We offer a Free Version you can start with today, alongside Premium and Lifetime License options for projects that need the full toolset. If you want to see the ingest-to-edit flow in action first, our step-by-step audio editing guide walks through it directly inside the platform.
FAQ
Does frame rate matter for audio?
Frame rate itself doesn’t change how audio is captured, since audio is defined by sample rate rather than frames per second. What matters is choosing a sample rate, like 48 kHz, that divides evenly into your project’s frame rate so edits land on clean sample boundaries and avoid clicks, as detailed in SoundBridge’s guidance on frame-rate mismatches.
Which is better, 44100 or 48000?
For video and picture work, 48 kHz is the practical standard because it yields integer samples per frame at common frame rates such as 24, 25, and 30 fps, according to Versely’s finishing guidance. For music-only production without a picture component, 44.1 kHz remains common and perfectly suitable, so the better choice depends on whether video is involved.
Is 24 or 30 frame rate better?
Neither rate is inherently better: 24 fps delivers the traditional cinematic look, while 30 fps suits broadcast and fast-motion content more naturally. For audio purposes, both rates produce clean integer samples per frame at a 48 kHz session rate, so either choice supports solid sync when your session clock is set correctly.
Is 60 or 120 frame rate better?
Higher frame rates, such as 60 fps, capture smoother motion and work well for slow-motion or fast-action footage. From an audio standpoint, 60 fps divides cleanly into a 48 kHz session rate, producing exactly 800 samples per frame, which keeps edits landing on clean boundaries.
How do I detect variable frame rate video before editing?
Run ffprobe on the source file and compare its r_frame_rate and avg_frame_rate values: a mismatch between the two signals indicates variable-frame-rate footage, according to FFmpeg Micro’s diagnostic breakdown. Rebuilding the file to a constant frame rate -fps_mode cfr before you start cutting prevents the drift that variable frame rate sources tend to introduce.
Sources
- MDN — Audio concepts
- FFmpeg Micro — FFmpeg audio out of sync isn’t the codec; it’s the frame rate
- Versely — Finishing audio at forty-eight kilohertz
Recommended
MASTER MUSIC PRODUCTION
Expert-led courses designed to take you from fundamentals to finished tracks.

HOUSEFrom bouncy bass and solid kicks, this course teaches you the most modern House music production techniques needed to succeed and stand out.

TRAPQuit sounding like generic Trap and produce something World with hints of the Far East. Create ethnic soundscapes to put your Trap ahead of the curve.

AMBIENTProduce relaxing, sophisticated psy-influenced ambient. Psychedelic and relaxing to listen to, create meditative soundscapes to put your listeners in Zen.